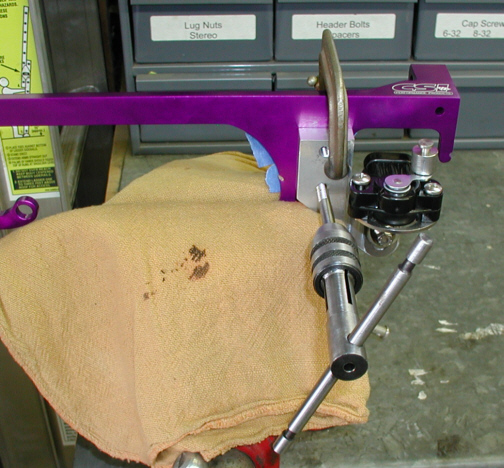
Here you can see the tap threaded in
and up against the throttle bracket. Now I don't need a large dent only
a small one is needed here. Let's take a look and see how we did.
|
|
|
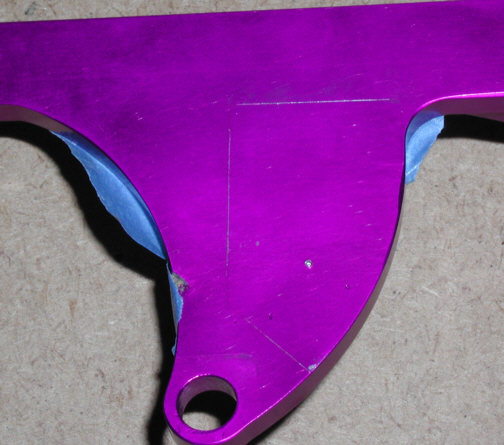
This is more than enough to get me
going. All I did now was hit it once with a center punch and we're ready
for some drill'n. Notice the faint outline that I scribed around the new
bracket. This is just for reference.
|
|
|
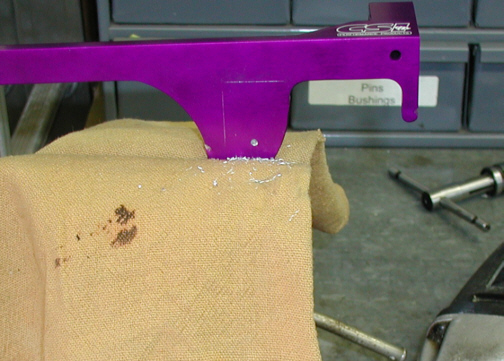
After center punching the bracket, I
drilled a 3/32" diameter hole first. This will follow the center
punch much better than a larger drill will. After drilling the small
hole, I then went in with a 1/4" drill. The larger
drill again follows the smaller hole so things stay on location.
|
|
|
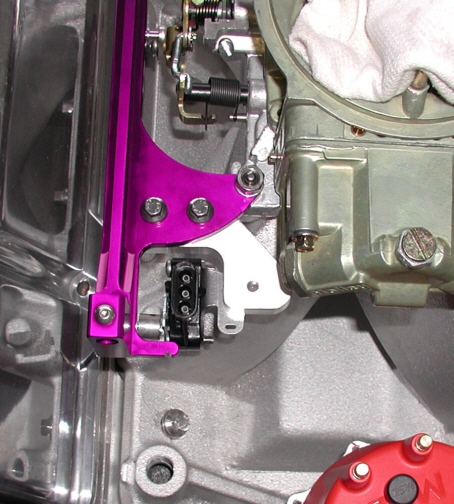
Here is the new bracket bolted on with
some polished stainless steel bolts. The new bracket fits just like I
wanted. I'll be installing the TPS linkage next but I'll have to
lengthen it first.
|
|
|
|
1 2
3 4
5 6
7 8
9 10
11 12
13 14
15 16
17 18
19 20
21 22
23 24
25 26 |
|
27
28 29
30 31
32 33
34 35
36 37
38 39
40
|