|
Here is a close up of the area that still needs to be machined.
|
|
 |
Both ends cleaned up nicely and and now
I'm going to add a little something that will be two-fold.
|
|
 |
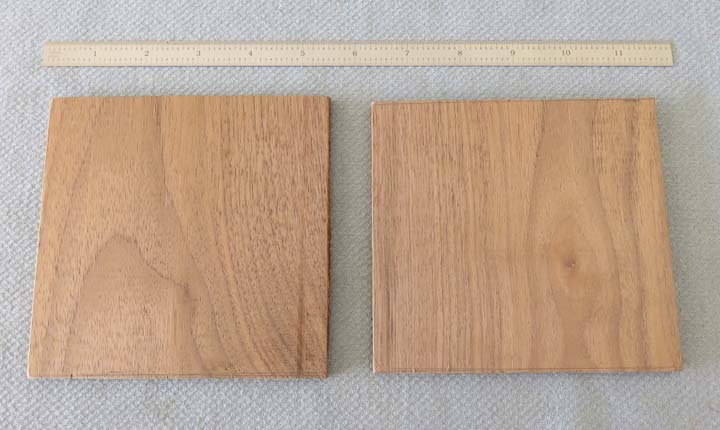
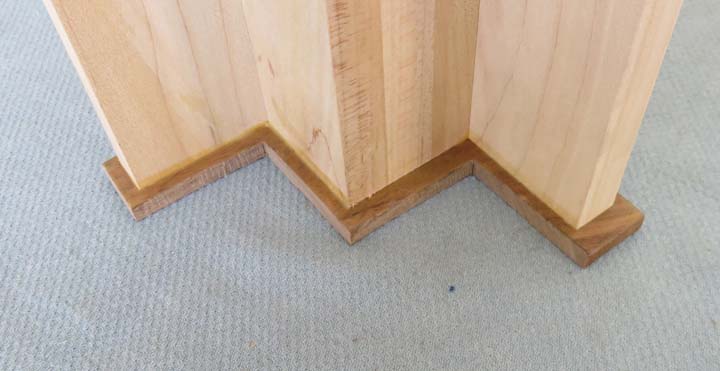
I'm going to add a piece of 1/4" thick black walnut to each end. This will
give it some contrast and second it will hide the end grain of the
base.
|
|
 |
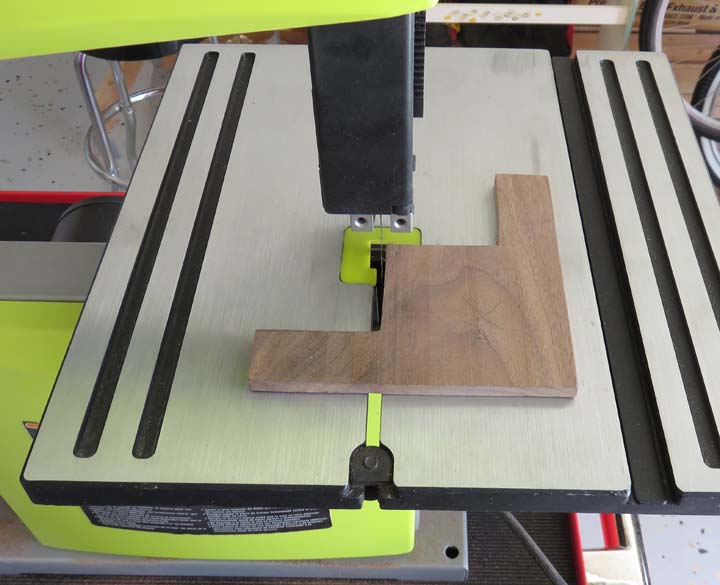
I traced around each piece and now I'm cutting off the excess with my
bandsaw. These will be glued to each end.
|
|
 |
|
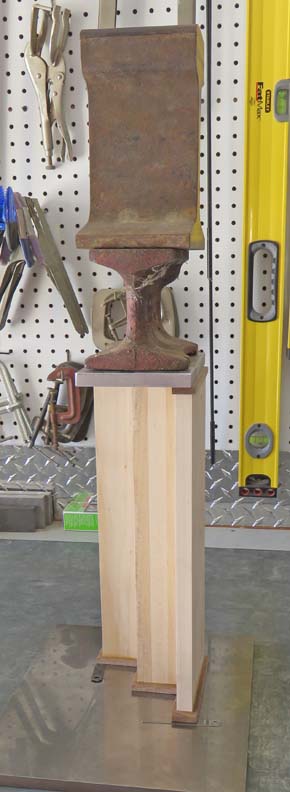
I didn't have any clamps that would hold this correctly
so I improvised. First I placed a nice flat piece of steel on my work bench, glued both pieces to the
ends and then added some weight to
the top (which acts like a clamp). In case you were wondering, the red
piece is a small anvil and the top piece is a small section of rail road track.
Whatever works you know...
|
|
 |
The next day I removed my weights (clamps) and now I'm ready to machine
away the excess.
|
|
 |
|
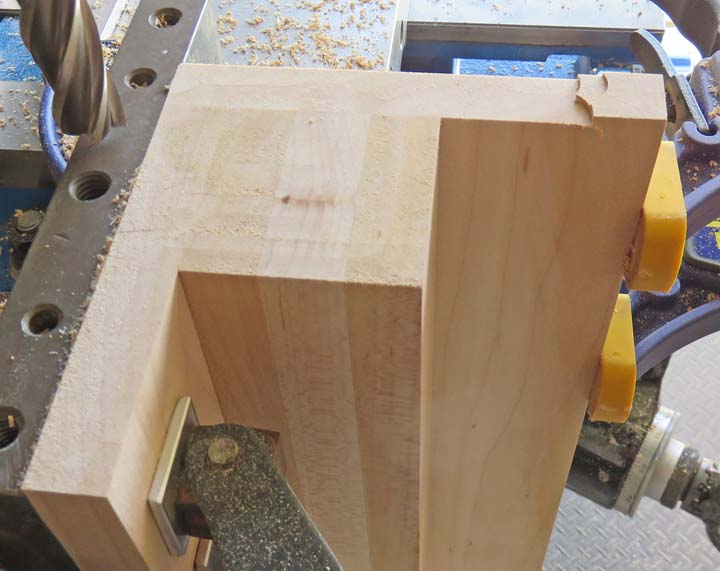
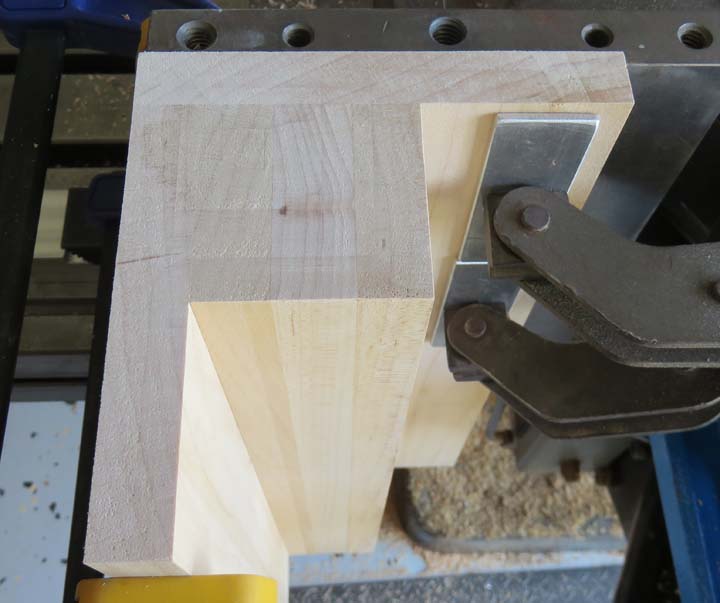
To machine away the unwanted material I had to make
multiple setups. Here I'm machining the bottom and the second step on the
right-hand side. Once I was finished with this end, I moved the base to
the other side of my vise and repeated the machining. I did this for every side,
which was time consuming but worked out great. I also stayed away a
couple of thousandths and sanded the remaining material flush.
|
|
 |
|
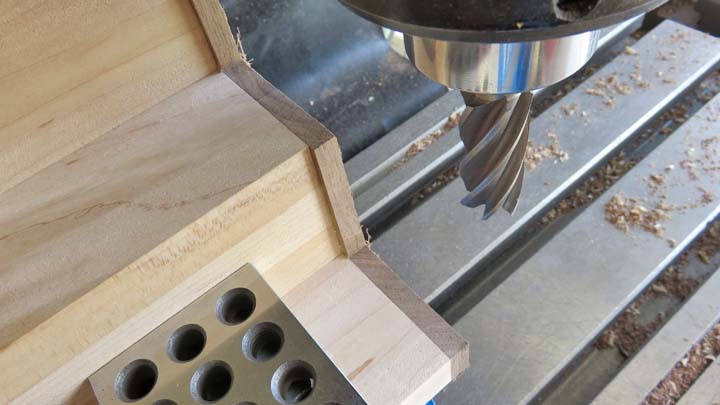
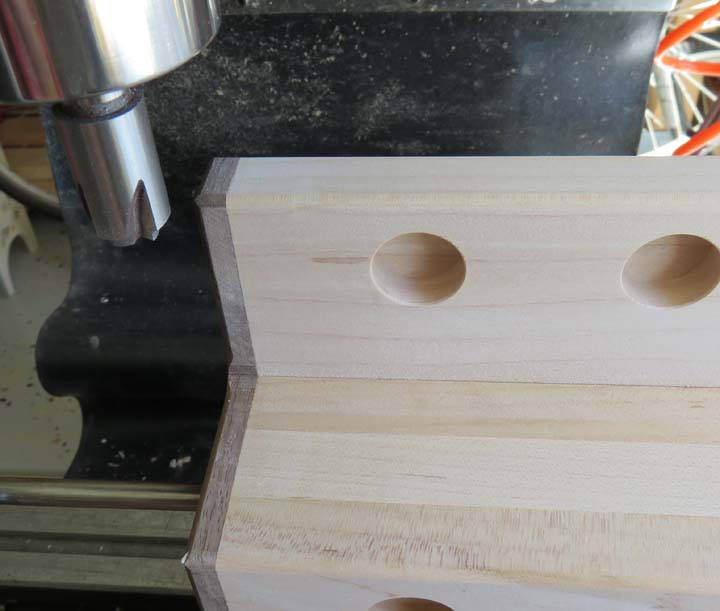
The next step was to make pockets for all the weights. I did
this with a 3/4" diameter end mill. If you look close
you'll see that the pockets are not centered. I have a reason for this
that I'll talk about later.
|
|
 |
|
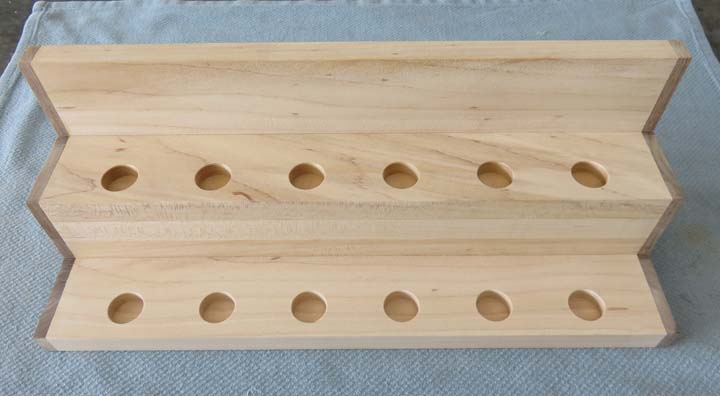
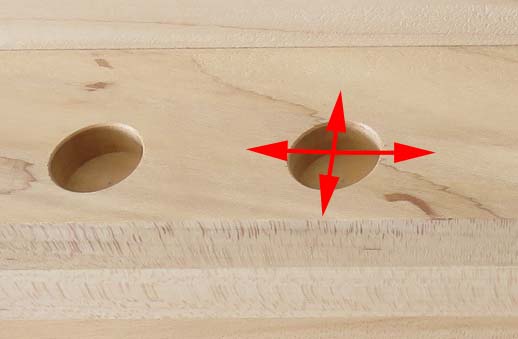
With the weights being 3/4" diameter and my end mill
being exactly the same size, the pockets were not going to be larger
enough. To have the weights fit nice and easy, I moved over .003 in each direction
(arrow) which made the pockets slightly larger.
|
|
 |
|
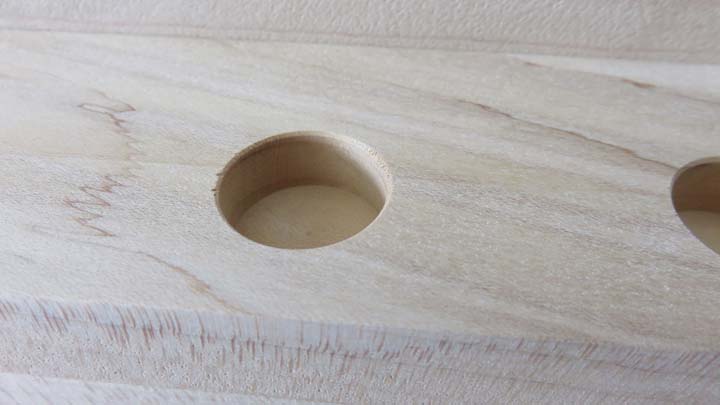
If you're wondering: are the pockets round by
doing it this way? No. Will the weights fit correctly doing it this way?
Yes they will. And if I didn't tell anyone about it, no one would ever
know. Just a little machinist trick here. I also chamfered the holes to aid
when putting the weights in.
|
|
 |
I'm using a corner rounding end mill with a 1/8" radius on a few
edges. I would have used my router table but with this irregular shape
now, that wasn't going to work for me.
|
|
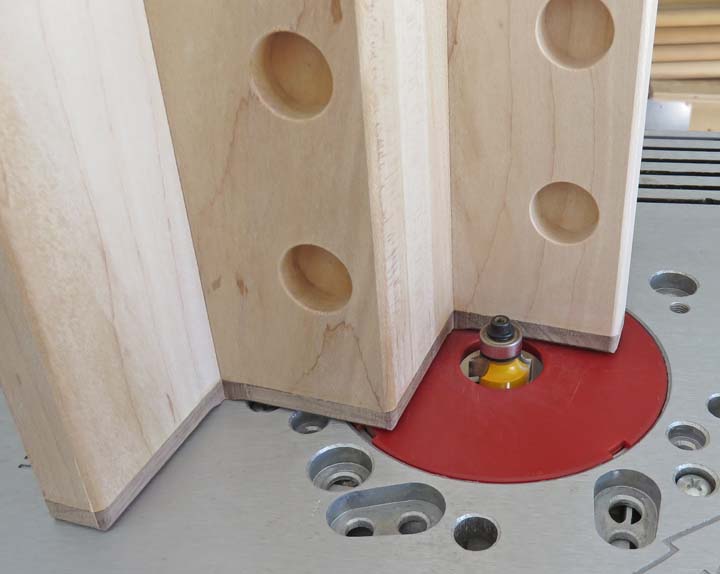
However I was able to use my router table on the outside edges. Again
I'm using a 1/8" radius.
|
 |
|
1
2
3
4 |