|
2nd. Bandsaw Upgrade Continued
I placed my new slick surface on my bandsaw, cut a slot
in it about halfway through and then stopped. This will act as a 'zero
clearance table insert; like you'd find on a table saw. Now there's no way my
work piece will get hung-up on my table insert any longer.
|
|
 |
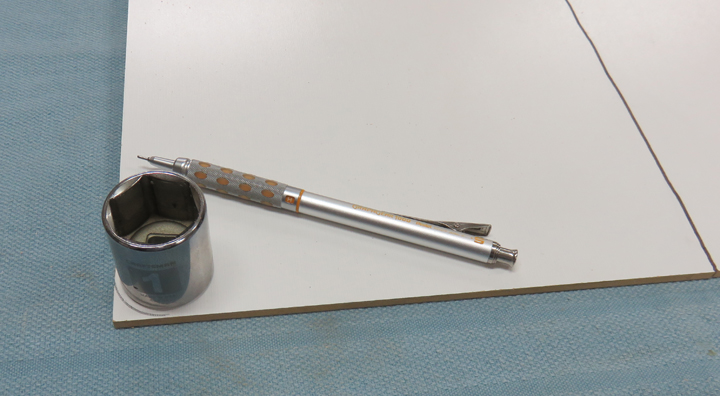
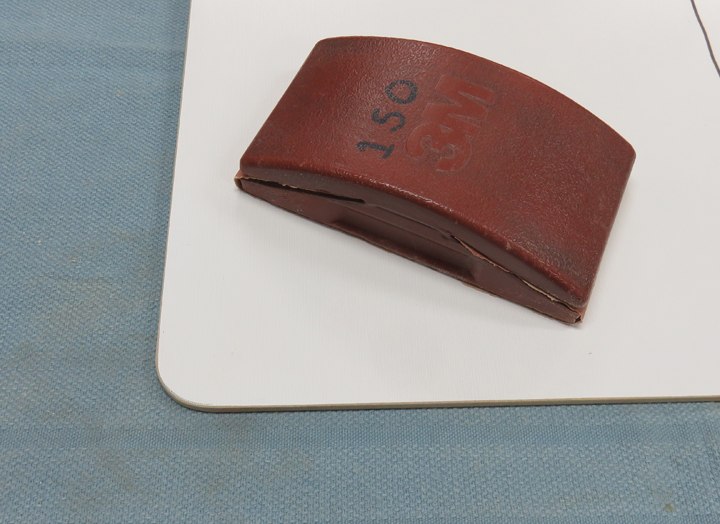
Next I drew some lines at each corner so I
could round them over. I used my belt sander for this and sanded to the
line.
|
|
 |
Next
I sanded all the edges so it will be easy to handle. Now it's time to
make sure it doesn't move while I'm using it.
|
|
 |
|
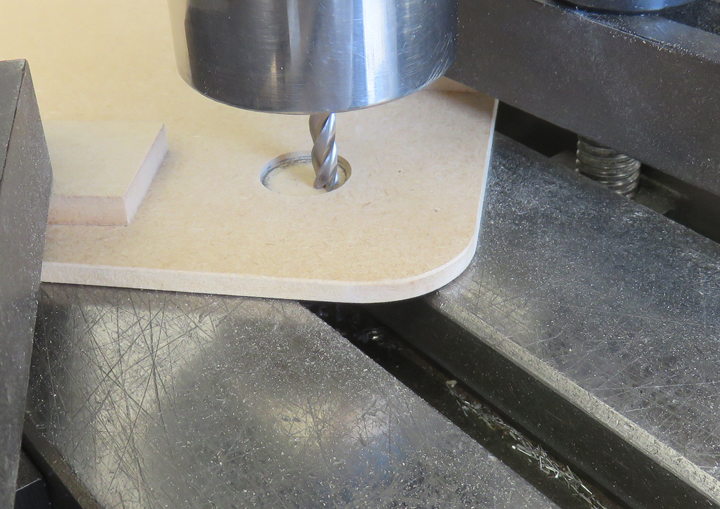
I'm going to use four small magnets to hold this board in
place. That means I'll need to machine some pockets for the magnets to set
in.
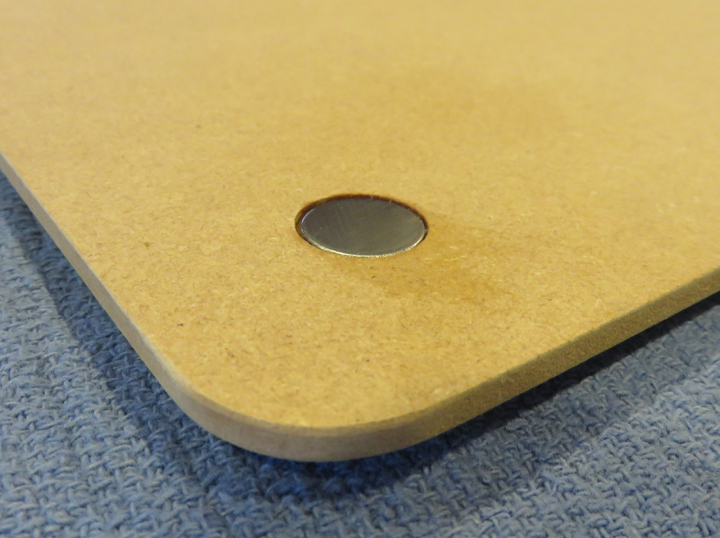
I used a 3/4" end mill to produce the pocket that you
see here. However, end mills have an angle ground on the bottom of them and will
leave a high spot in the center while plunging straight down. To get
around this I switched over to a smaller end mill and walked around the
pocket, staying away from the sides. This creates a nice flat surface
when you're finished. The gray color that you see in the pocket is
pencil lead. I colored the entire surface to see where I was cutting
because the depth is only a few thousandths.
|
|
 |
|
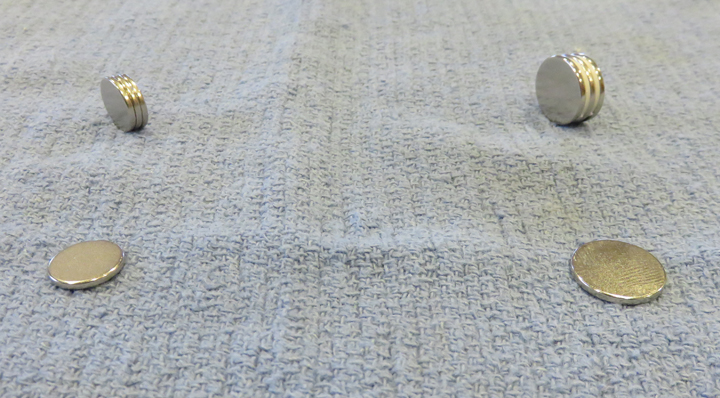
I bought two different diameter magnets to place in the
pockets because I didn't know which one would work the best. I ended up
using the larger ones, which are 5/8" diameter. The smaller ones are
1/2" diameter and both are 1/16" thick. Side note: the reason
the magnets are so far apart is because they're really strong and kept
moving towards each other.
|
|
 |
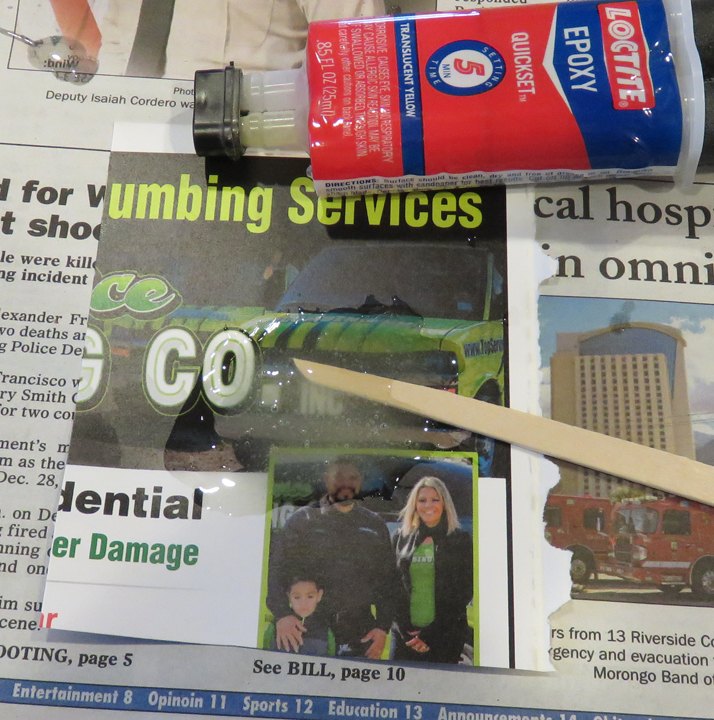
Here I'm mixing some five minute epoxy to keep the magnets in place.
|
|
 |
A few minutes later I had all four magnets bonded. This was
easy to do and should work great to keep my slick new table in place.
|
|
 |
|
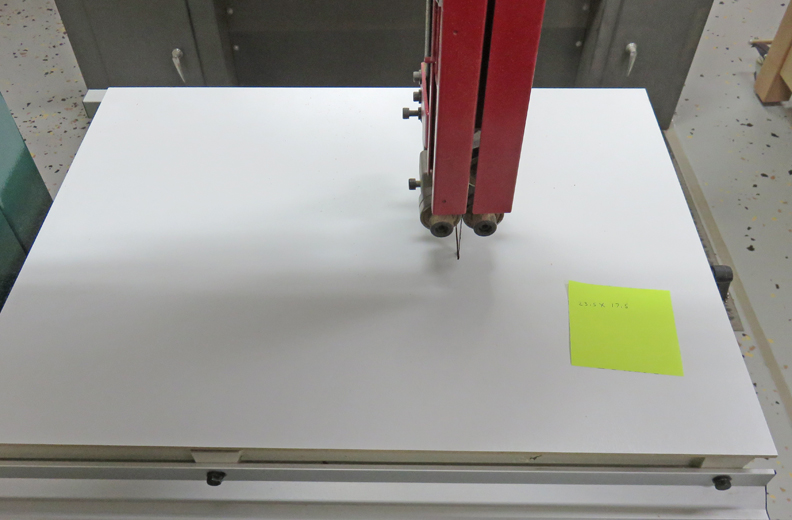
3rd. Bandsaw Upgrade
One other thing I saw while watching that same video was
the use of a "Stabilizer". What's a stabilizer? Well I didn't know
either until the guy explained it and the more I watched the more I had
to try one. A stabilizer is used with very small blades, 1/4" or less,
and excel at making a very small radius while cutting. And the first
thing I thought of was how nice it would've been if I had this while
making that Christmas gift.
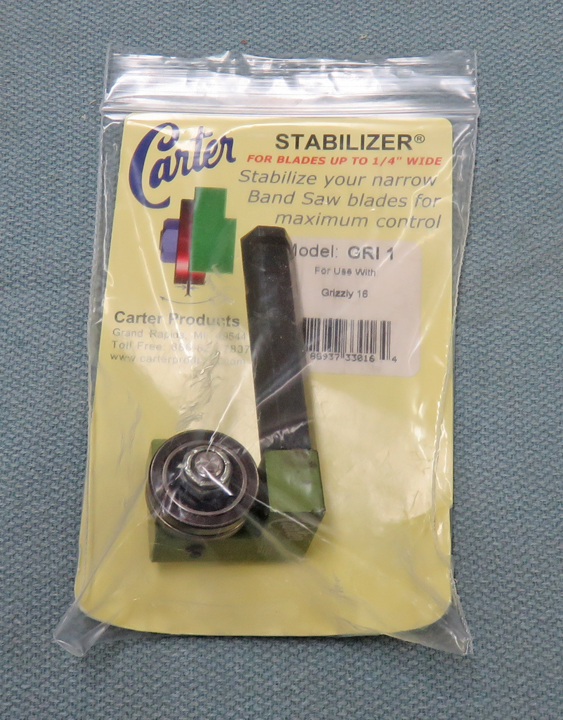
Anyways, I started looking for one and found this model
made for a Grizzly saw. Cool I thought. However, just because something
looks like it will work doesn't mean it will. Case and point:
when I first saw this unit with the hex shank and none of the other
models had one, I figured it was the right part for my saw. Well that's
what I get for thinking!
I was almost ready to send this back but then I started
looking at what I would have to do so I could use it. And after a day or
two I came up with a plan to give it a try after all.
|
|
 |
A stabilizer takes the place of of your guide bearings...and I mean all
of them. So what you see below will need to be removed along with the
lower ones as well.
|
|
 |
|
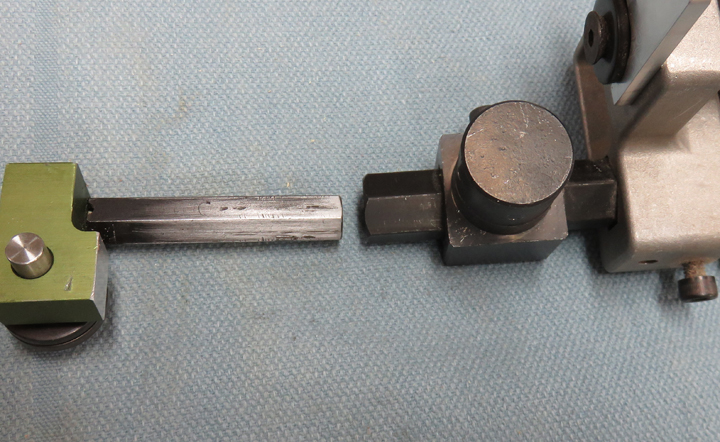
When I was looking at the picture online I saw this hex
shank and thought I was good to go. But as you can see the stabilizer's
shank is much smaller. Now if it was larger I could've just machined it
down but it's not. So now what?
|
|
 |
|
1
2
3
4
5 |