|
Making A Bowl Continued
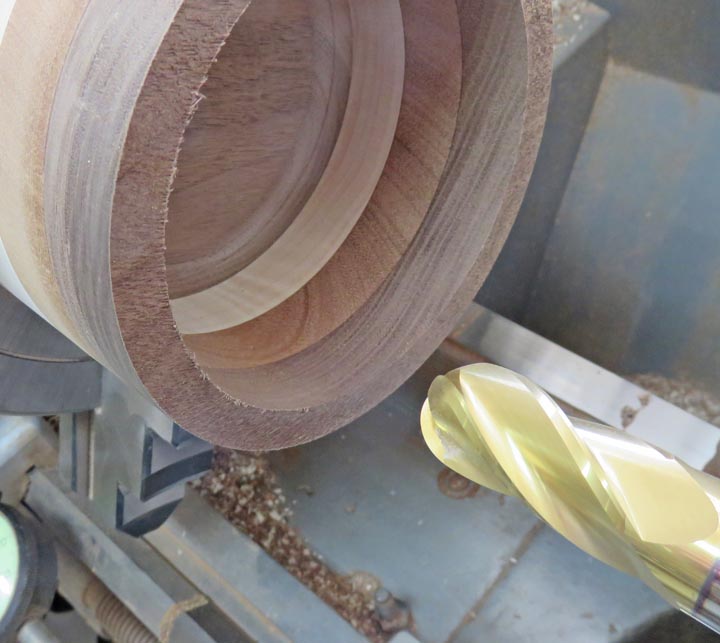
First I used a large drill, then a boring bar
to get close. Then I finished the bottom and inside diameter with a 3/8" radius tool. If you're wondering
what kind of tool this is, it's called an 'end mill' (3/4" diameter),
which is used for the metal working world. I'm only using one of the
four flutes here, which I used for cutting the small amount that I need to produce
that radius in the bottom. And yes, this is an unconventional way of doing this but
it worked.
|
|
 |
|
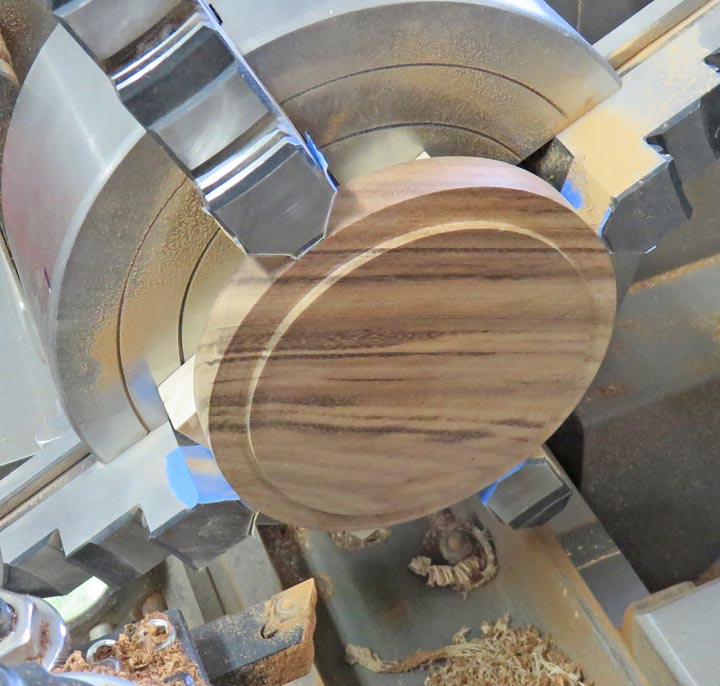
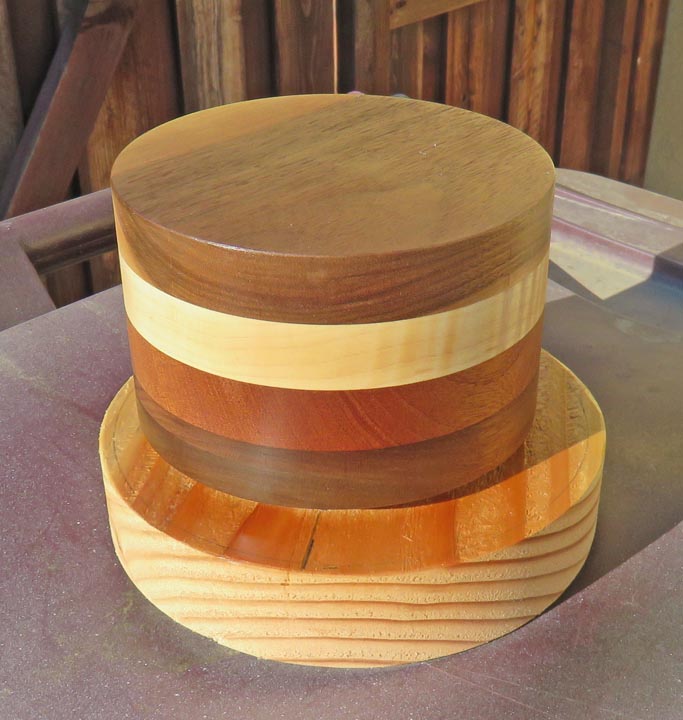
Once I was done sanding on the bowl, I was ready to cut
the lid. All I needed was a small lip to locate inside the bowl which
was easy. However, I plan on putting a clear finish on this project and
I don't know how thick that will end up. That means I'll be using an
educated guess here. I gave the lid .008 of clearance so we'll see if
that was enough or not later.
|
|
 |
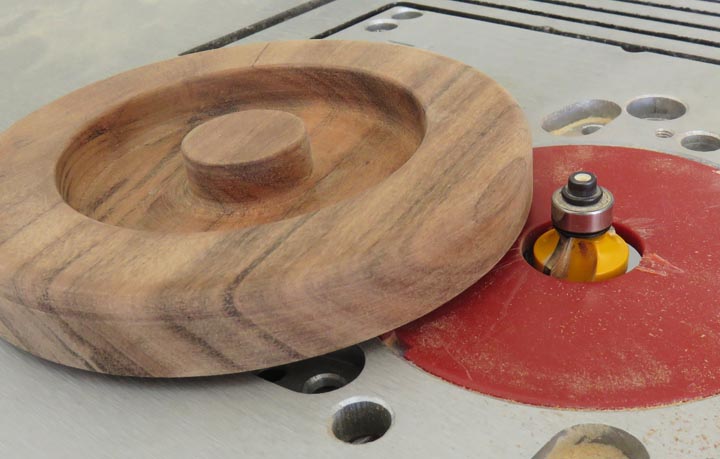
I used a 3/16" roundover bit for the top surface of the lid. This went
nice and smooth. Now it's time to do some sanding.
|
|
 |
I put my brand on the inside of the lid and then went into the paint
booth to spray some semi-gloss clear on both pieces.
|
|
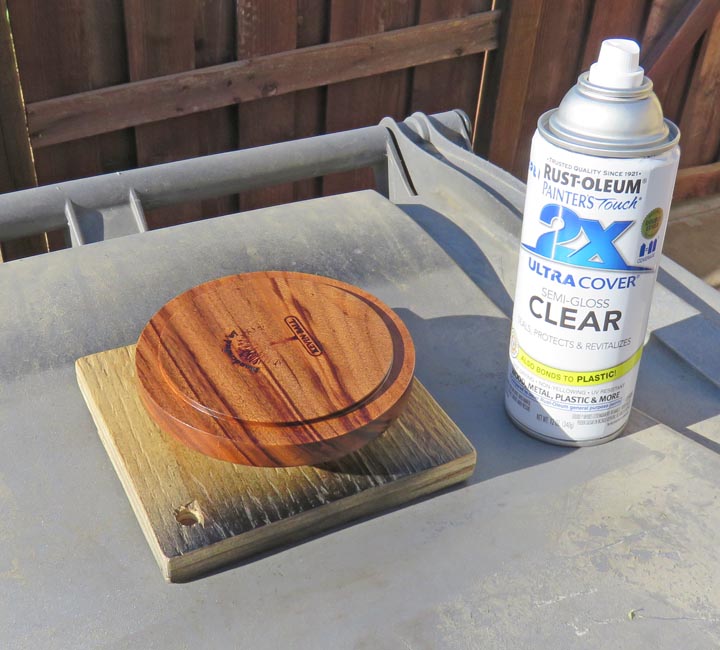 |
It's hard to see here but the bowl is not touching the scrap round piece. I
put three screws in the scrap piece and those are resting on the inside
of the bowl.
|
|
 |
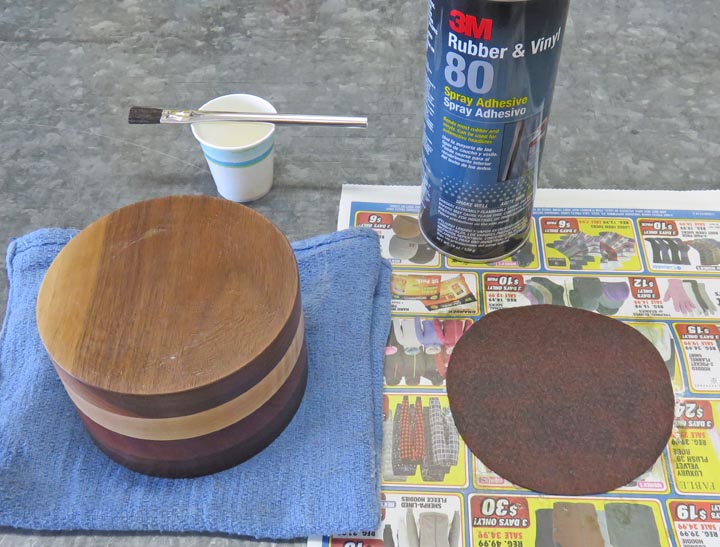
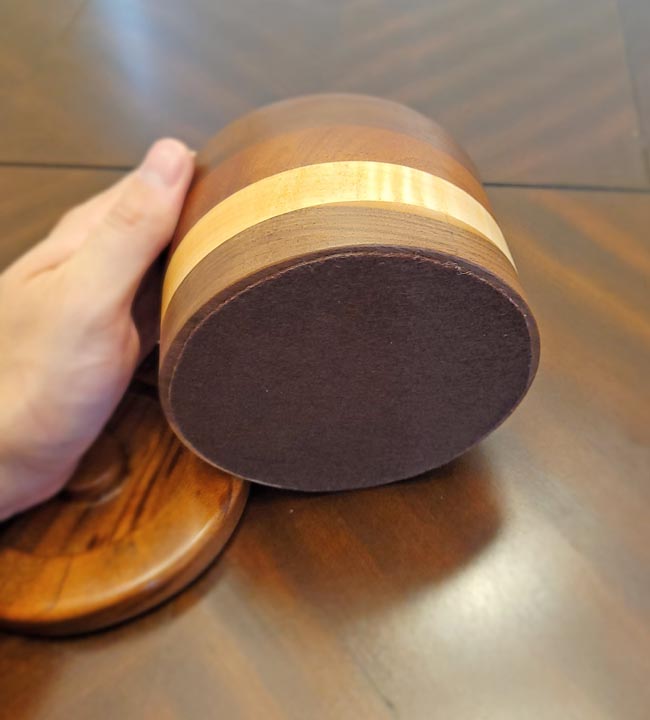
The next day I cut a piece of brown felt to glue on the bottom. I
sprayed the felt but brushed the adhesive on the bowl.
|
|
 |
|
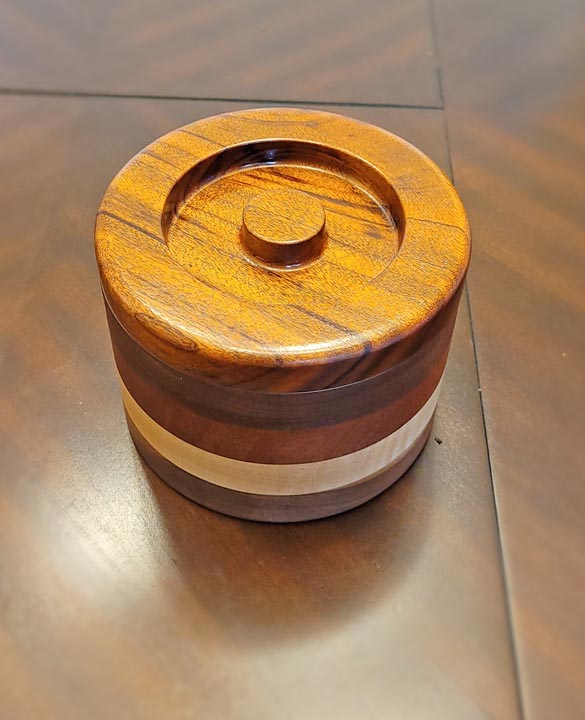
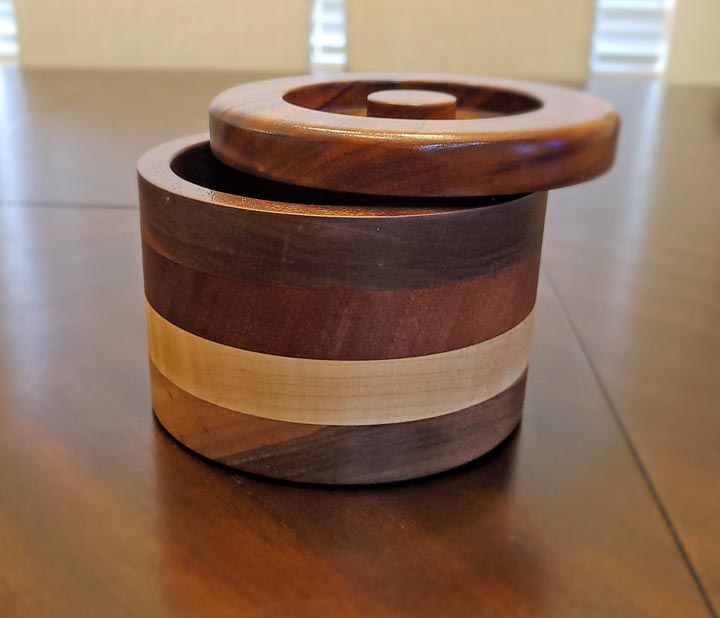
It's Finished
I was in such a hurry to send this to my daughter-in-law, I forgot to
take pictures of it before hand. So I asked my son Tony to take some for me when it arrived
at their house.
|
|
 |
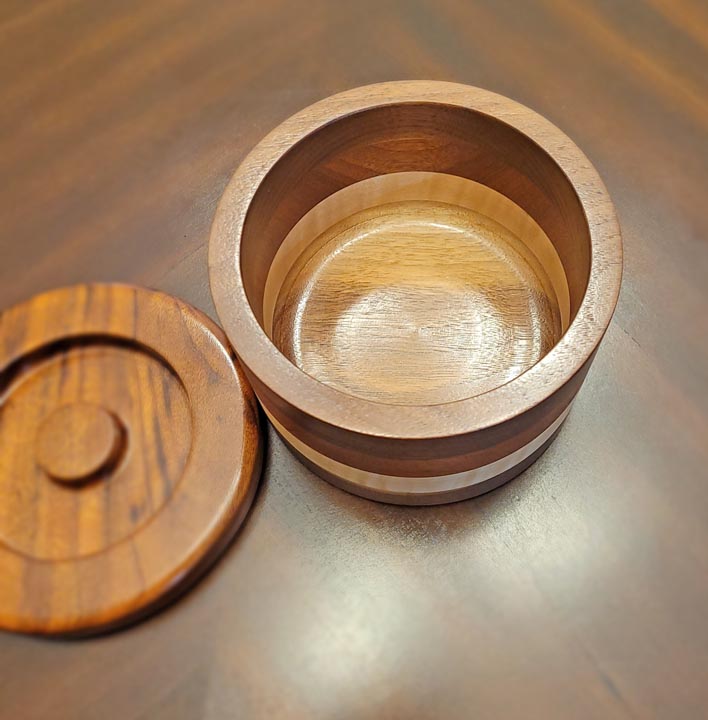
If some smaller items are placed inside here, that radius will make it
easier to remove them.
|
|
 |
The felt bottom is furniture friendly.
|
|
 |
|
If you're wondering how the lid fit after spraying clear
in it? Well, it didn't. I had to do a little sanding on the
lid so it would sit correctly. No big deal but now I know my next
project that has a close fit will need more clearance. Happy birthday
Angelica, I hope you like it.
|
|
 |
|
1
2 |