Woodworking Continued
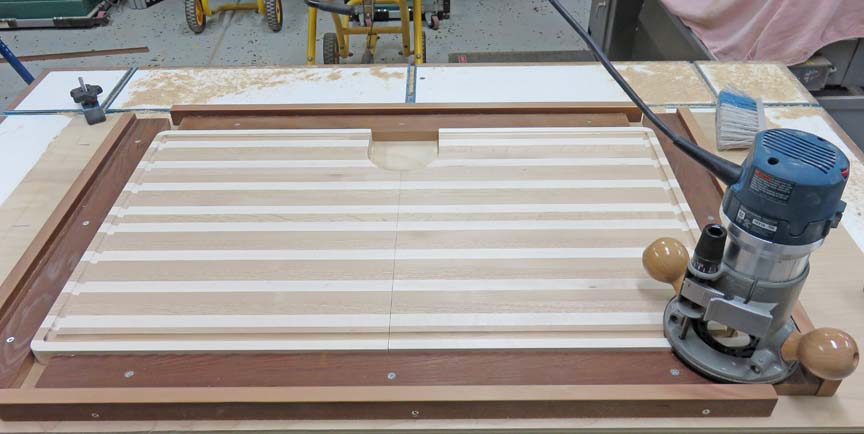
The base of the router runs against the sides of
the tooling while I progressively lower the bit after each pass. I'm
using a 1/4" radius bit and going about .400" deep.
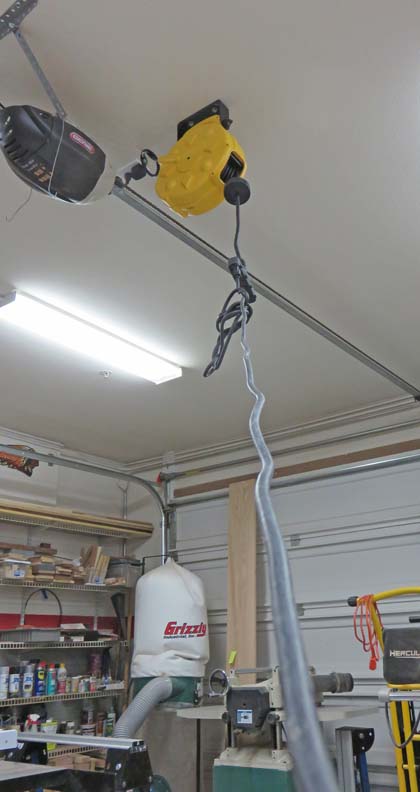
One thing I found while using a router in this fashion
is the cord gets in the way. To get around that I mounted a cord-reel on
the ceiling in place of using one of my plugs on the wall.
|
|
 |
|
This way the cord stays out of the way while I'm using
it. The funny looking bunch of wire is something I did. I moved the
router to the farthest point and then tied the cord in a knot so it
would stay there. This makes sure the cord and router don't get tangled
up. Whatever works!
|
|
 |
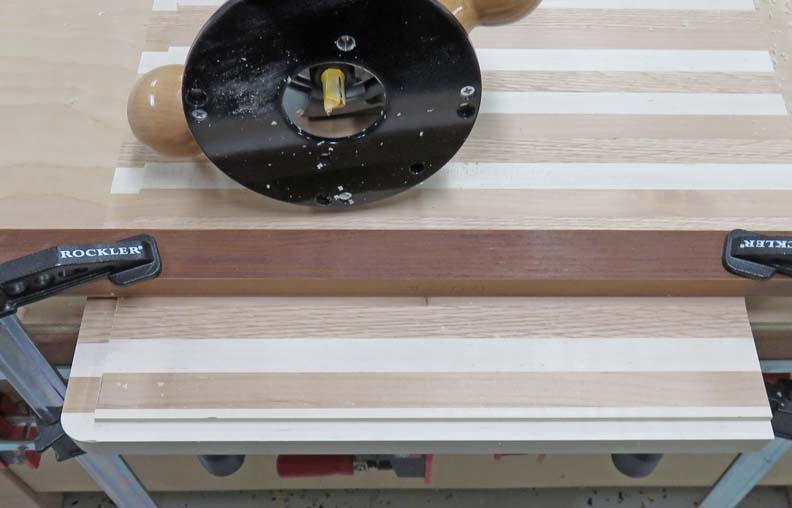
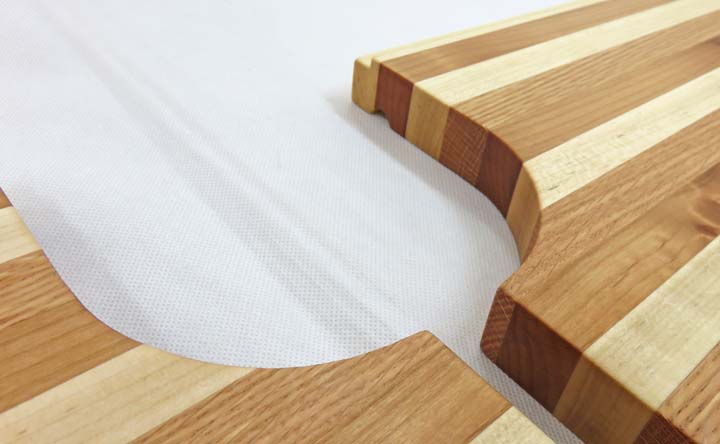
The bottom of the cutting board is going to have a 1/8" step in it so it
locates on the lip of the sink. Here I'm using a 1/2" flat bit and a
scrap board clamped into place to produce the step.
|
|
 |
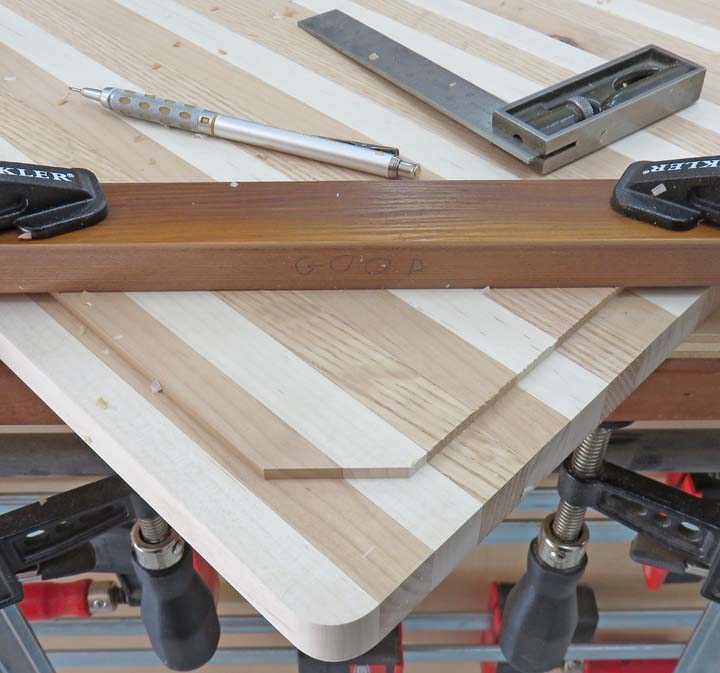
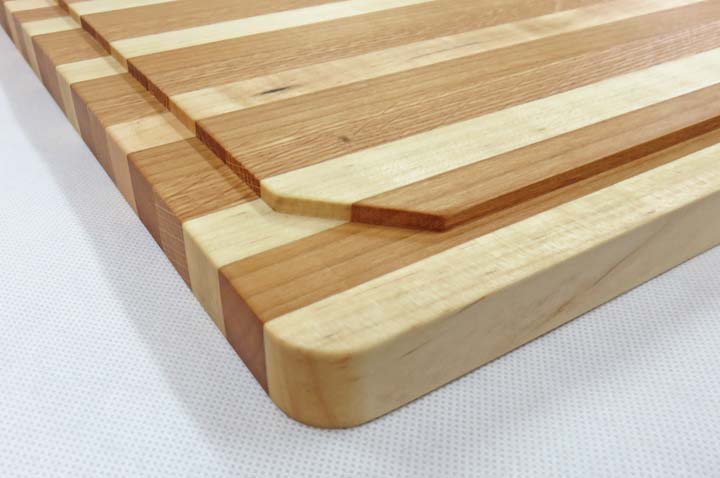
I put a 45 degree cut to clear the radius on the sink. This is much
easier to do in place of trying to match the radius of the sink here.
|
|
 |
|
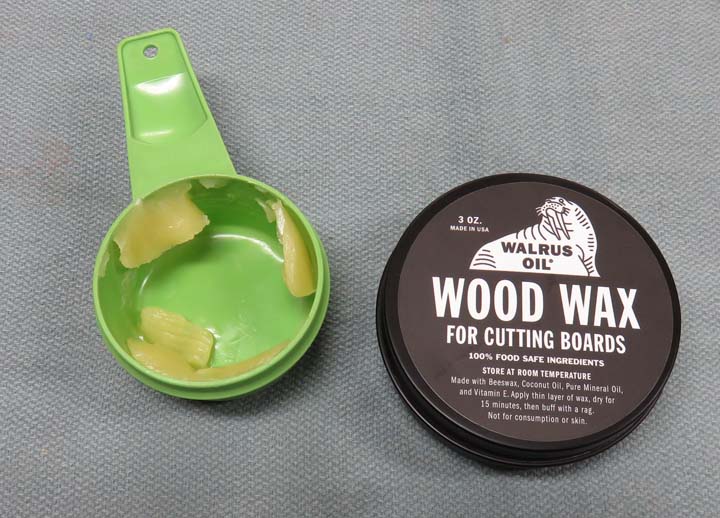
I applied a heavy coat of vegetable oil first and the
next day I put on a coat of wood wax. Now the wax is too hard to apply
right out of the can so I put a little in a separate cup, set it outside
for about 10 to 15 minutes in the summer heat and then it's ready to go.
|
|
 |
|
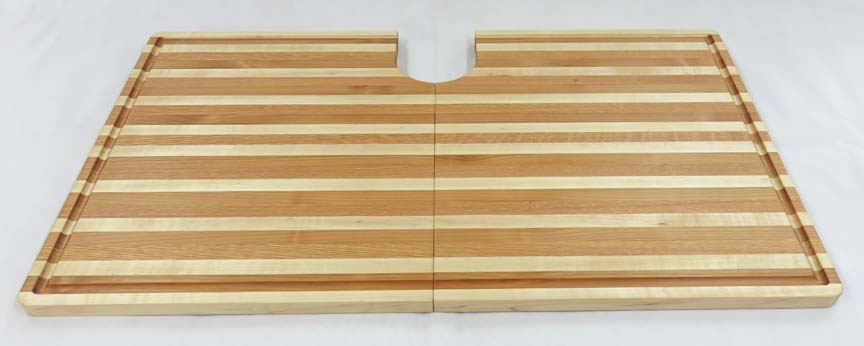
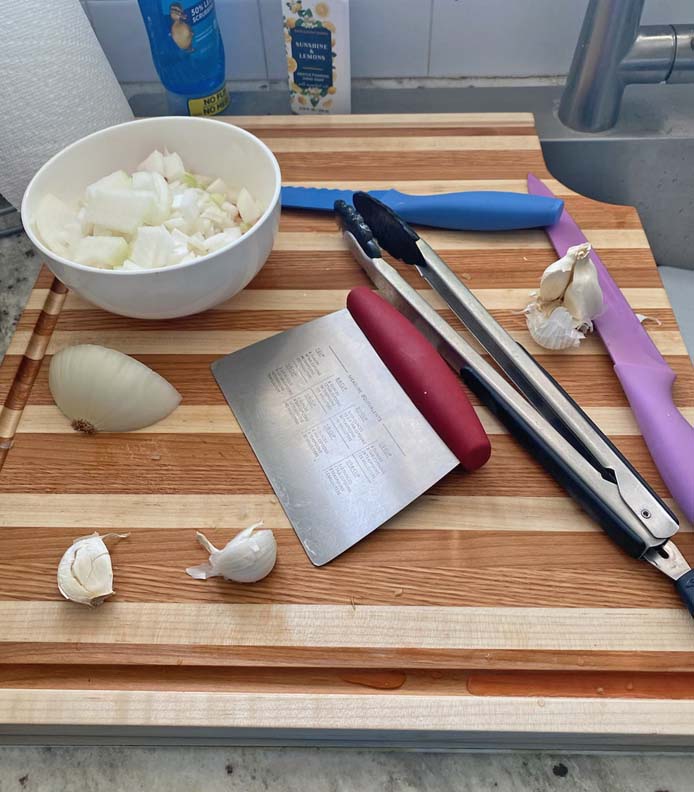
It's Finished
Here it is all finished.
|
|
 |
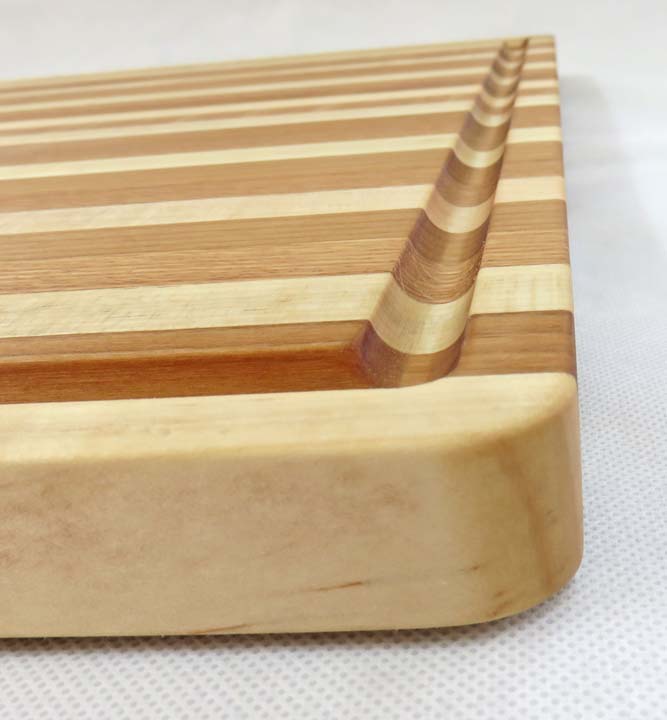
This groove will come in handy and it empties into the U shaped cutout.
|
|
 |
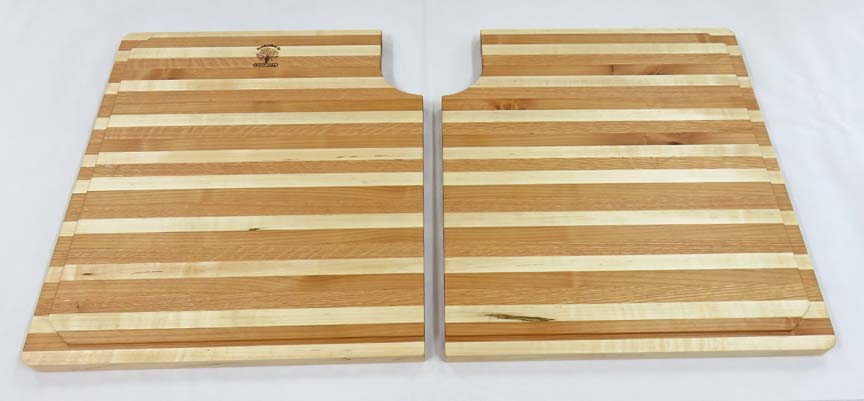
This is the back.
|
|
 |
I did a test fit at Stef's house before finishing and everything fit
great.
|
|
 |
Still looking at the bottom here, but you can see the blood groove dumps
out into the U shaped area.
|
|
 |
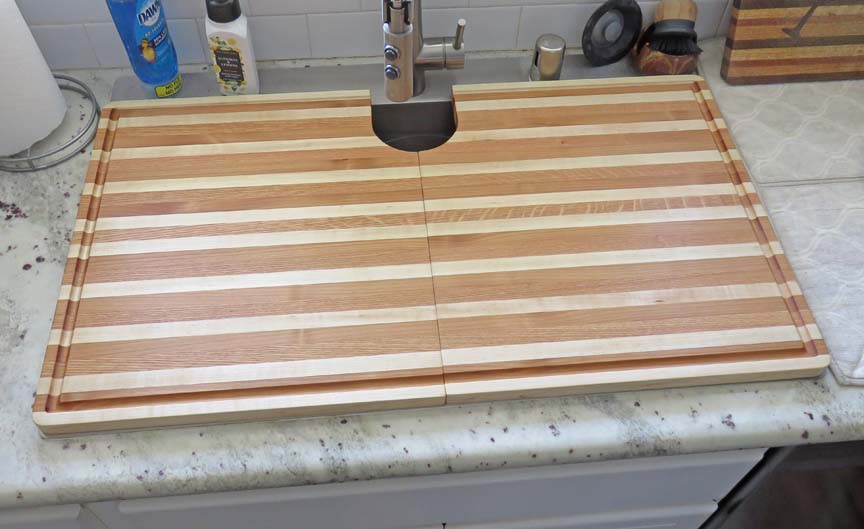
Here it is installed at her house.
|
|
The following day I got this picture from her. Stephanie loved it and
says it works great, so if she's happy then I'm happy. Enjoy!
|
 |
|
1
2
3 |