|
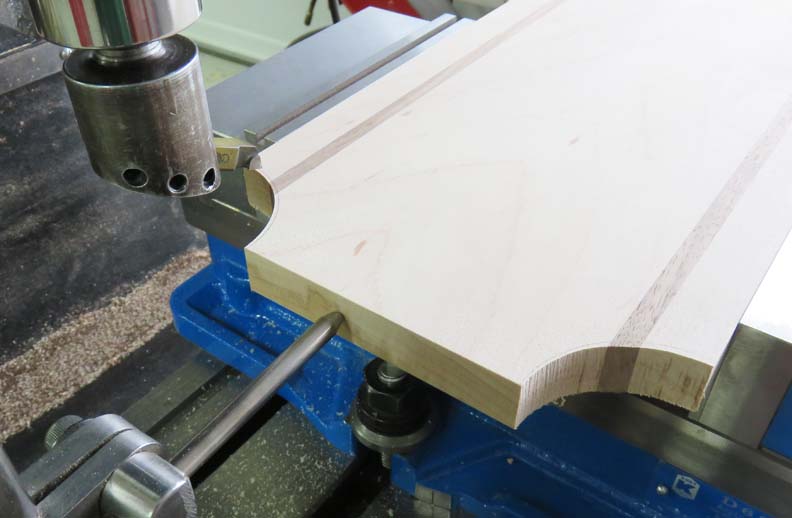
To finish the corners I used a fly cutter with the cutting tool set for
my 1 1/2" radius. This worked much better than when I used a circle
cutting sheet metal tool for the
wine rack that I made for daughter
Stef.
|
|
 |
|
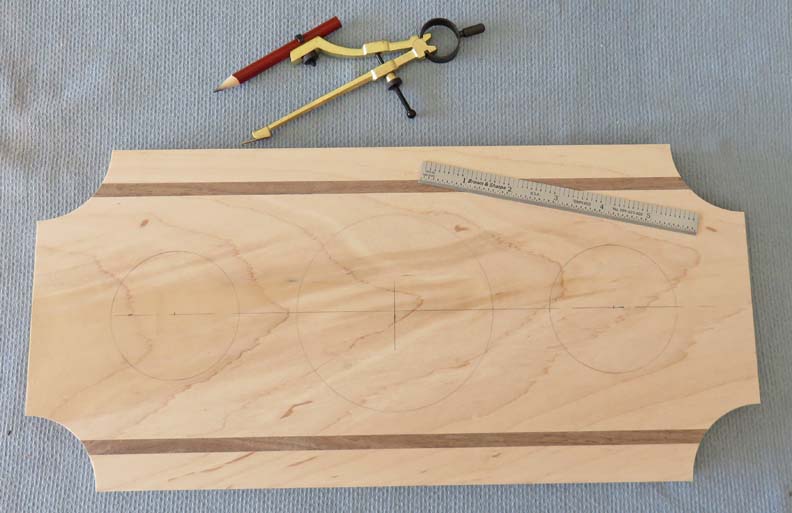
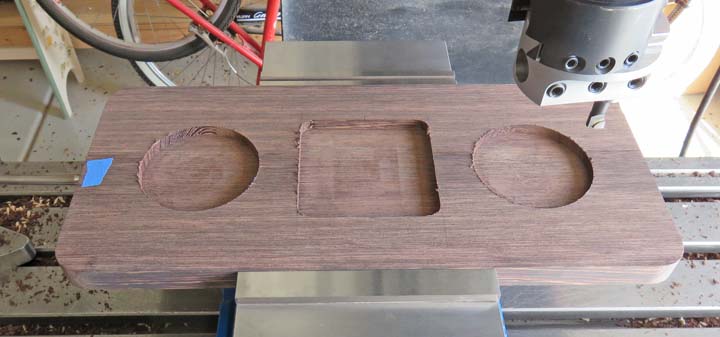
Now it's time to layout the pockets for the glass's
and decanter. I measured each glass and the decanter and used my compass
to make some circles.
|
|
 |
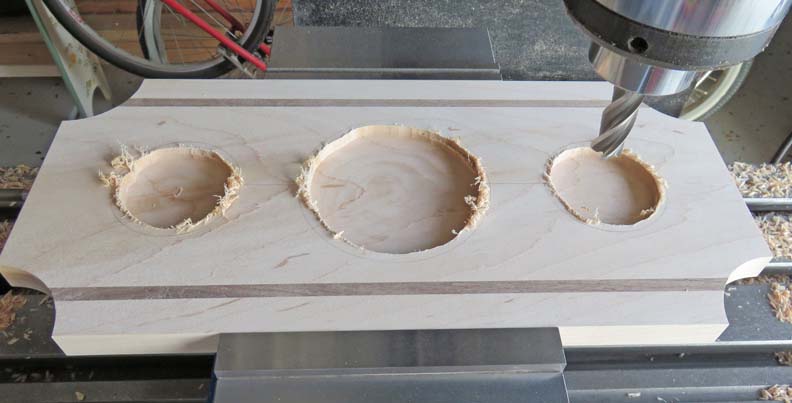
I used and end mill to rough-out the material by using both X and Y
handles at the same time. It doesn't have to look pretty here, just as
long I don't go outside the pencil lines. The depth is 1/4 inch.
|
|
 |
|
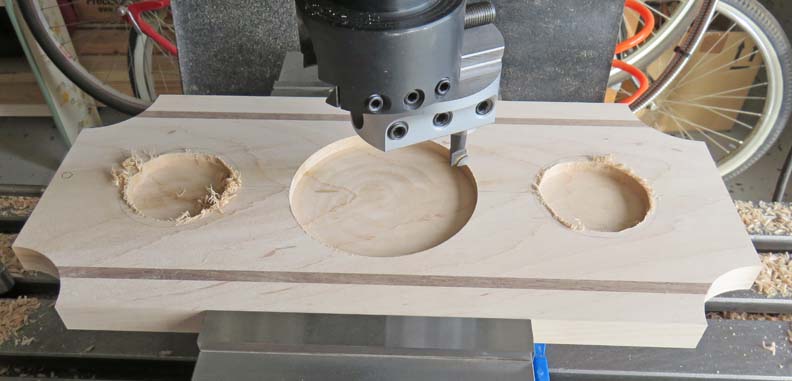
To finish each pocket with, I used my boring head.
This worked great but the boring head is almost maxed out for the larger
pocket.
|
|
 |
|
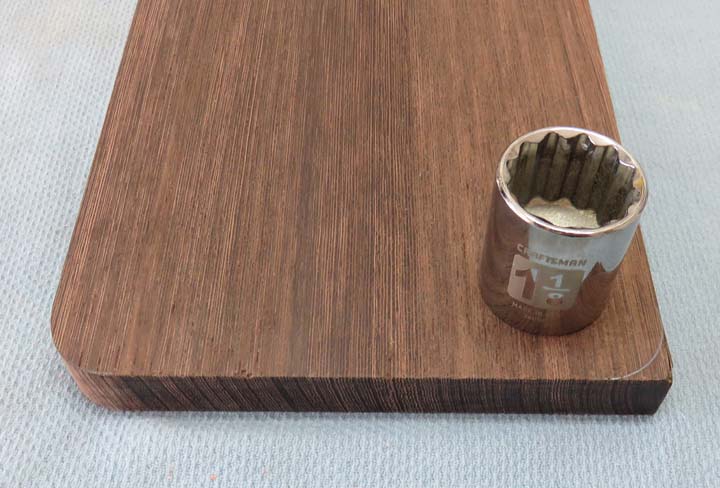
I'm putting a convex radius on Tony's and used a
socket for laying it out. Once I had a pencil line I used my belt-sander
to sand up to the line.
|
|
 |
Same thing for roughing and finishing outer pockets here but the
decanter is square for Tony's. I used a 3/4" end mill for the square
pocket as this size will have clearance for the 45 degree corners on his
decanter.
|
|
 |
|
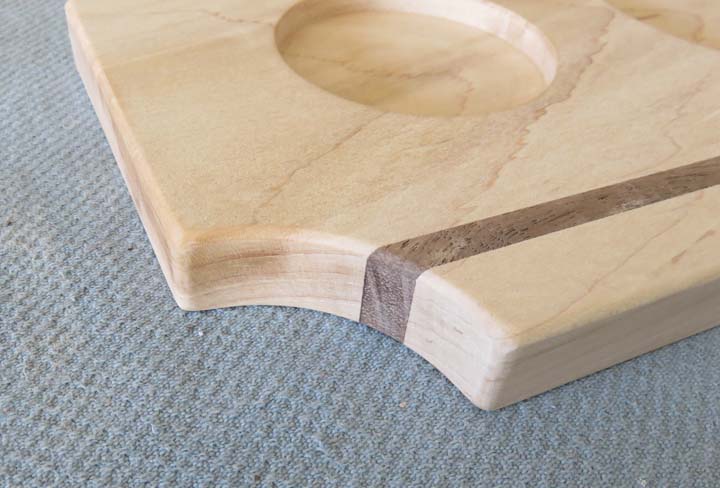
I put a 3/16" radius on Lenny's using my router table.
|
|
 |
|
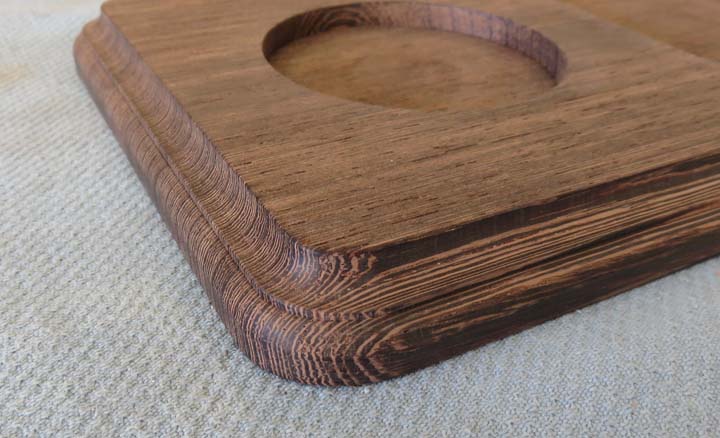
I used a cove and bead router bit for Tony's tray.
Nice looking grain here.
|
|
 |
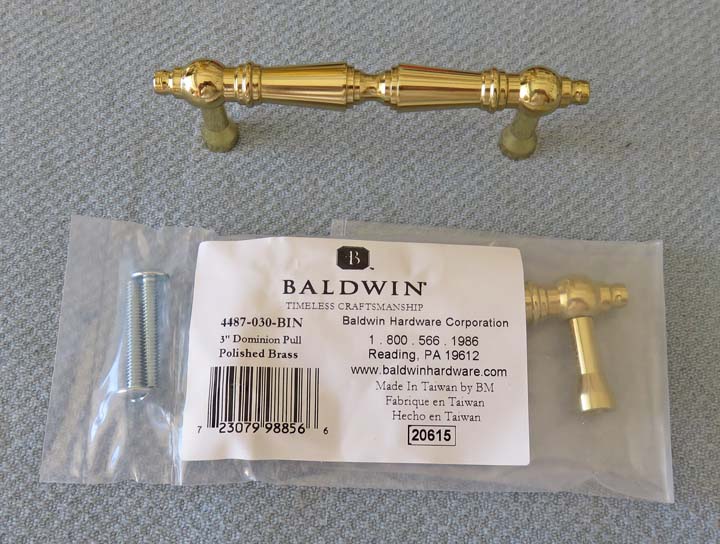
I wanted to make the handles for the trays but after seeing some of the
choices out there, I decided to buy them. These are solid brass drawer
pull handles that have been clear coated so they don't tarnish and they
have a nice look to them as well.
|
|
 |
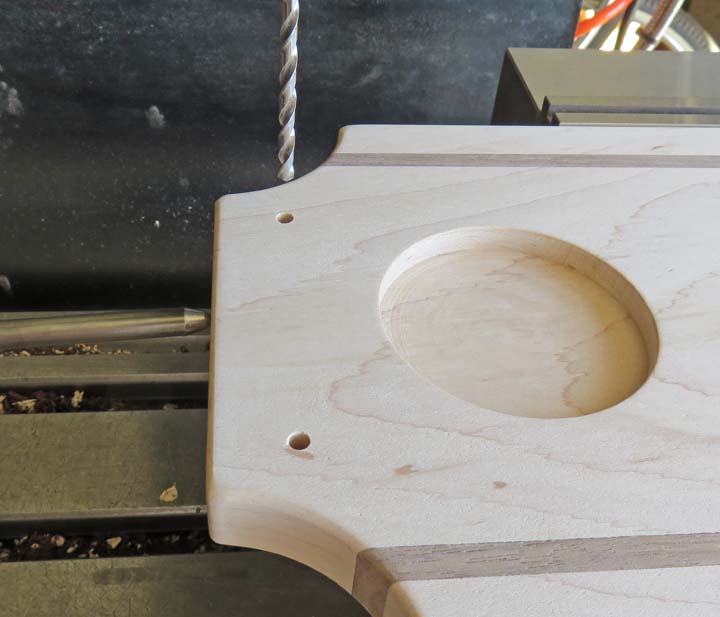
Here I'm drilling some clearance holes for the handles. The manufacture
claims the holes are 3" center-to-center but after measuring them I
found the dimension to be 3.010" apart. Notice the mill stop on the left
side, once I had the correct distance here I turned the tray around and
drilled the other end.
|
|
 |
|
1
2
3
4 |