|
Final Assembly Continued
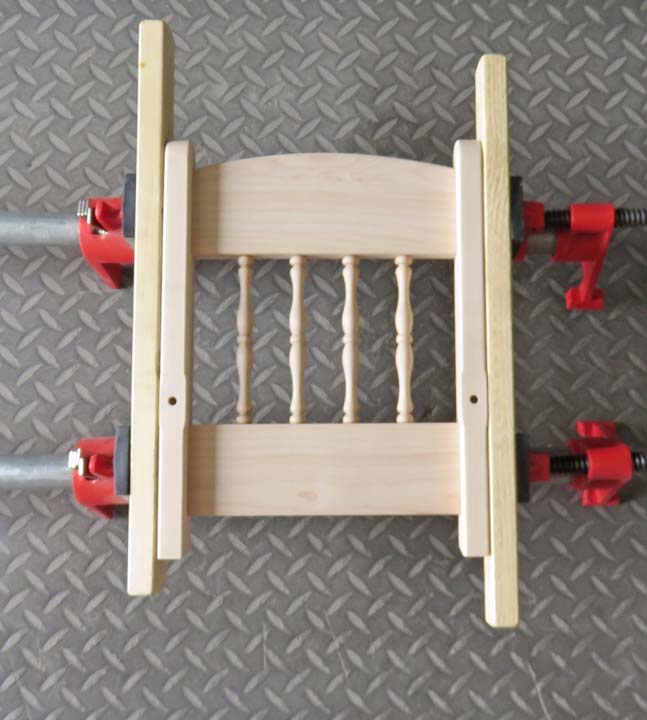
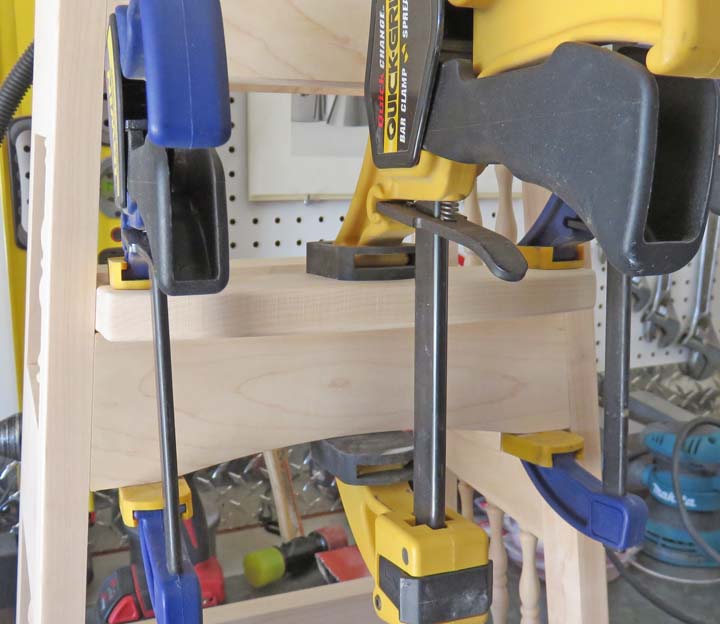
Here I'm gluing the chair together which was much easier than the
base. Once this piece set overnight, I glued the remainder of the pieces
the following day.
|
|
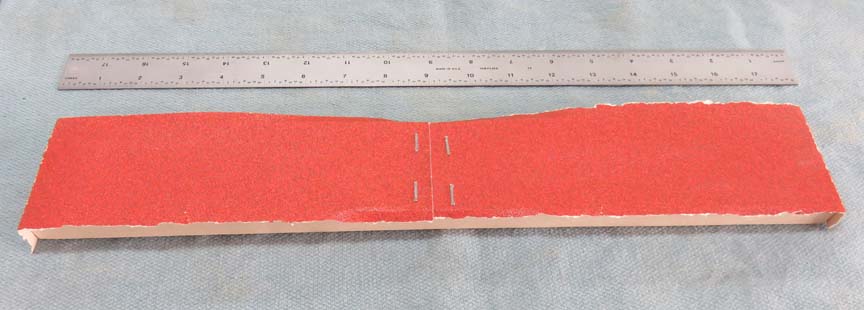
| One More Compound Angle
What you see below is my solution for putting a compound
angle on the bottom of the legs. I used a scrap piece of wood and
stapled some 80 grit paper to it, which worked pretty good. I tried
using a rough file first but that didn't work very well. Then I started
thinking about a setup for the milling machine and decided not to. I
then started using
my small sanding block to work the angles with and that's when the idea of using a longer piece of
of wood/sandpaper came to mind. By spanning across two legs at a time,
slowly those pointed legs became compound angles and I was in business.
|
|
|
This only took about 1/2 an hour and I had the legs and
angles looking pretty good. If your asking, "why didn't you put this
compound angle on before you glued everything"? I did think about it,
but for some reason I just didn't do it. My bad....
|
|
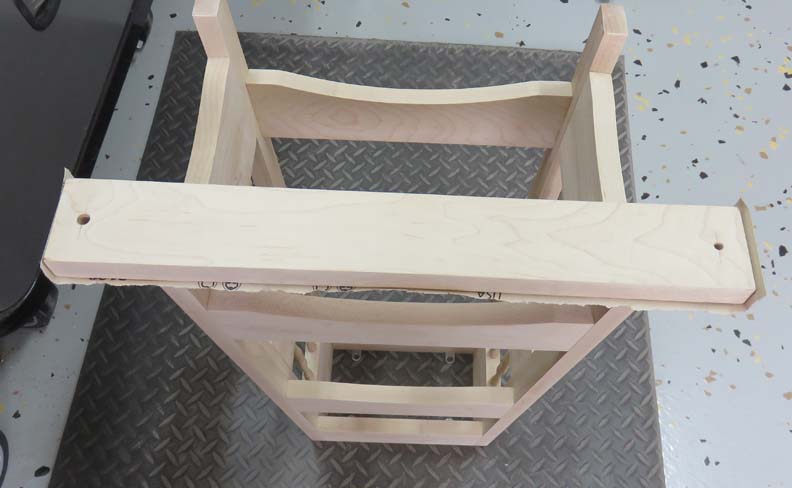
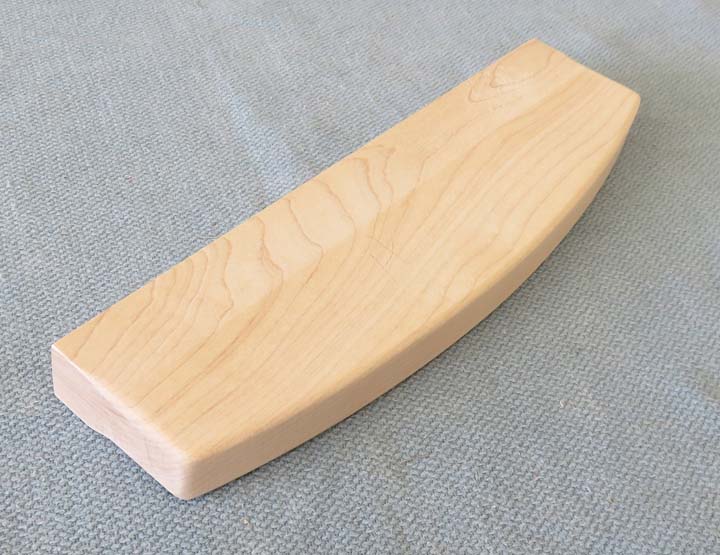
This foot rest is one of the last pieces and I'll be gluing it on.
|
|
This was very easy to do but I had to make sure the rear of the foot
rest stayed flush with the piece it's glued to.
|
|
|
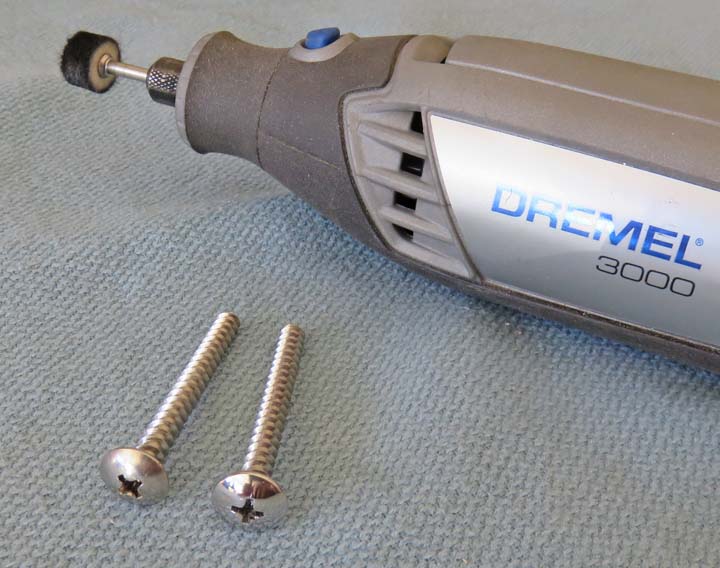
I'm using some # 10 stainless steel wood screws to hold
the tray on with. And with the nice rounded heads that they have, I decided to
get out the Dremel and give them a shine. This only took a minute or two
and now they look pretty good.
|
|
|
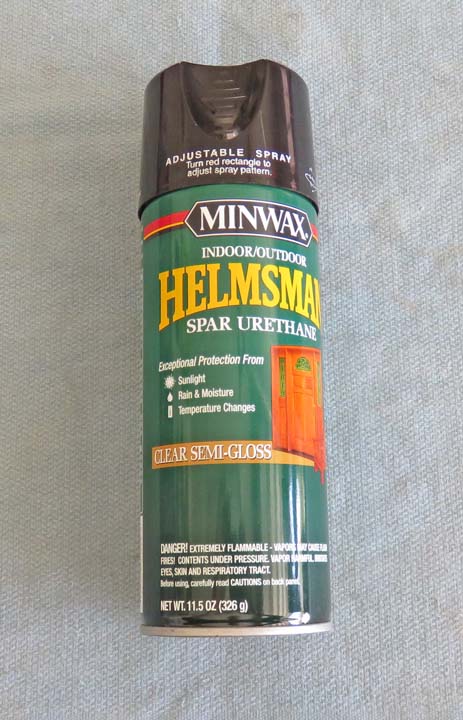
Clear Finish
To protect the high chair, I'll be using some clear
semi-gloss urethane. I thought about brushing some clear on but with so
many small areas to cover, this aerosol can was a smarter choice. BTW,
to end up with two coats for this project, I had to use two cans of it. This
stuff sure is smelly but it does cover well and it's easy to apply.
|
|
|
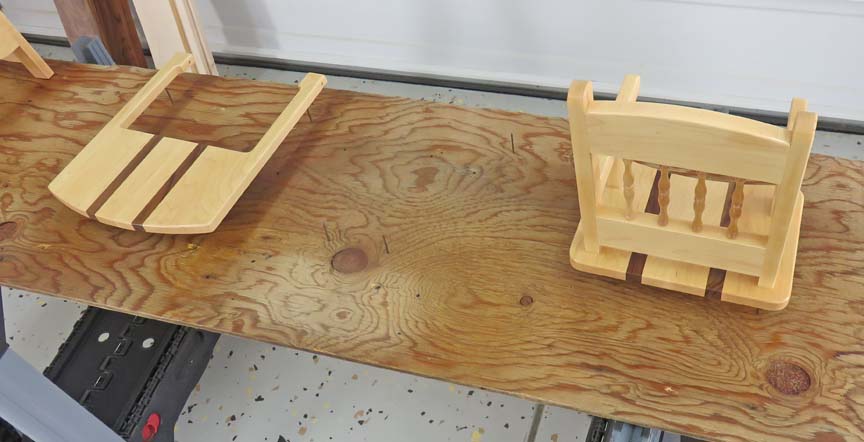
Here is my paint booth, two sawhorses and a piece of
plywood. If you look close you can see my work pieces are not touching
the plywood. I like to use finish nails under my projects because
those have a small head and I can spray or brush things much easier this
way.
|
 |
|
1
2
3
4
5
6
7
8
9
10
11 |