|
Working With Metal Continued
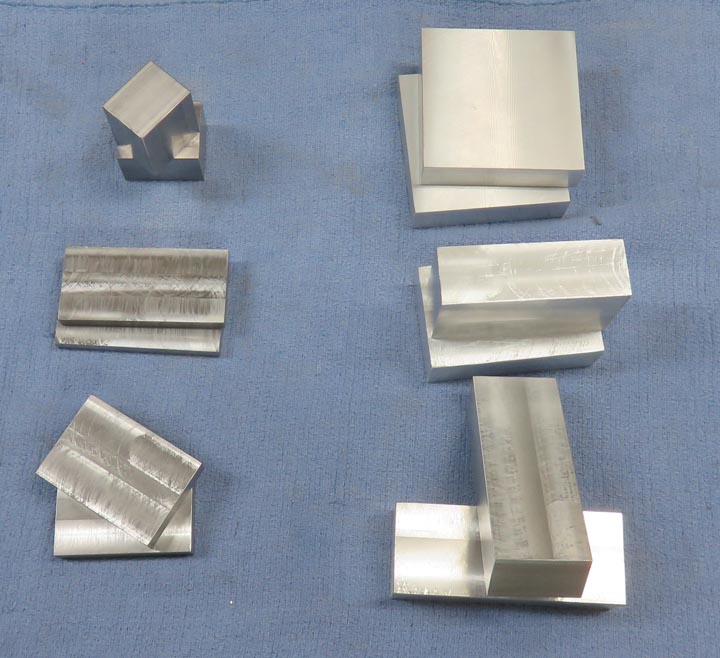
After about an hour, I've machined all six sides of the bars. Now
it's time to put a pocket in each one.
|
|
 |
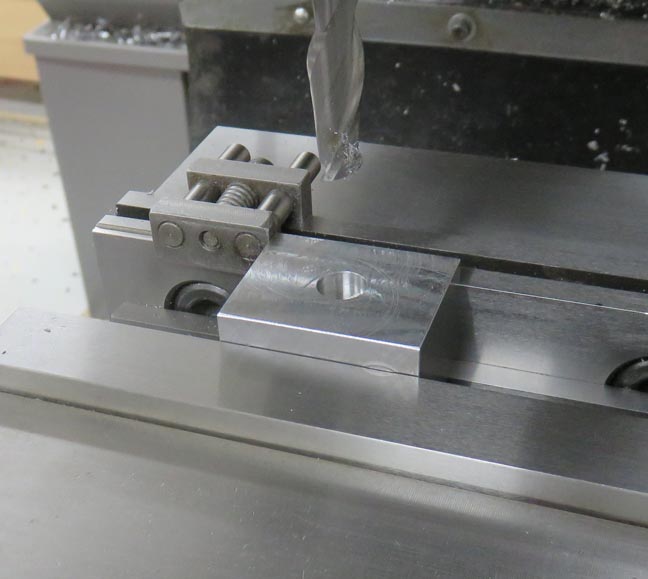
I'm using a 3/8" end mill to put a pocket
in each one that will be .150" deep. This pocket will locate on the 3/8"
pin on the balancing arm. This should keep the center of mass in the
correct place every time.
|
|
 |
|
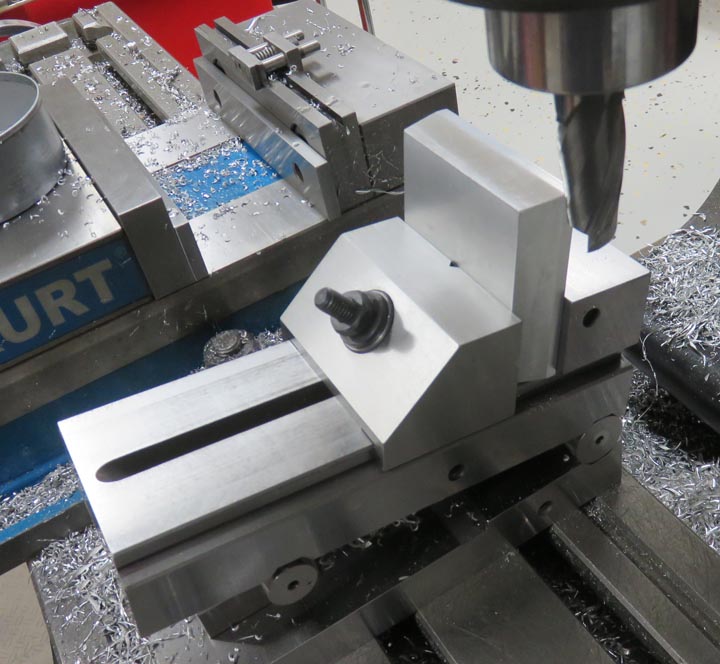
Here I'm using my sine vise to put a 10 degree angle on
four sides of the bars. This angle is to resemble a real gold bar
because they have tapered sides. Now I did leave a small straight
section at the bottom of each one, so they're easier to pickup.
|
|
 |
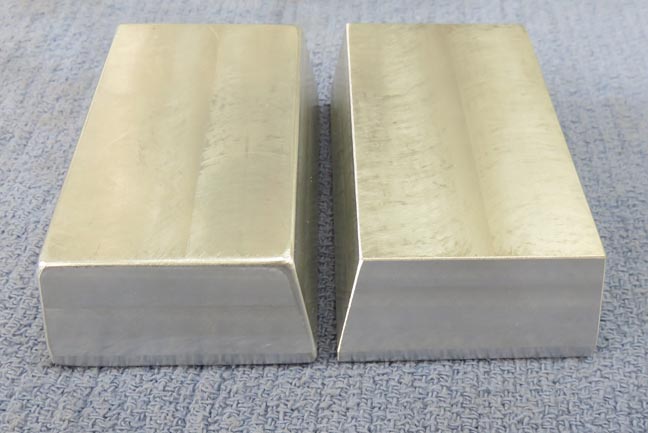
There we go, they all have 10 degree sides and are almost ready for
paint.
|
|
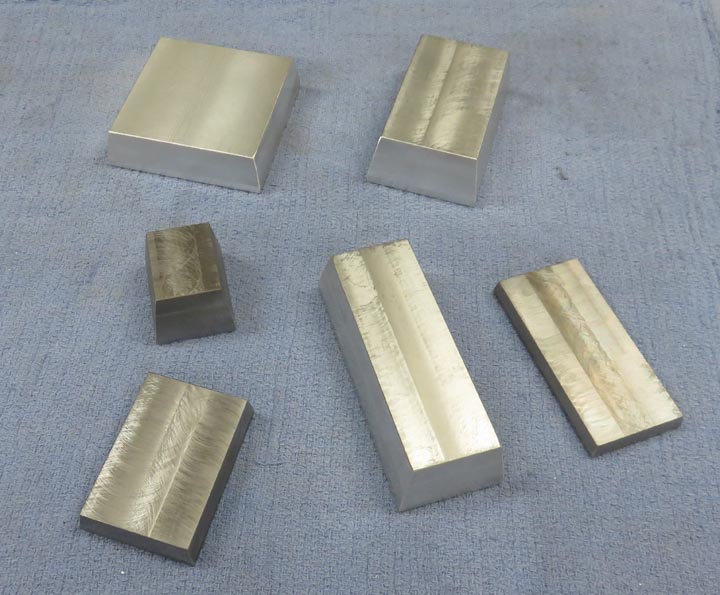 |
A close-up of the angles.
|
|
 |
|
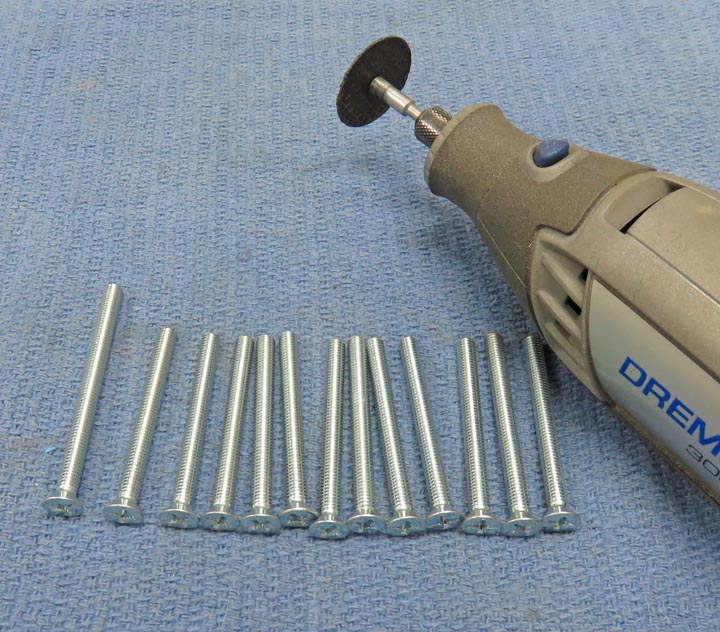
One last thing needed to be done was
to cut down some 10-32 screws, which will keep the end caps on. I used my Dremel
to remove about 1/4" which went fast. Then I used my belt sander to
deburr the threads.
|
|
 |
|
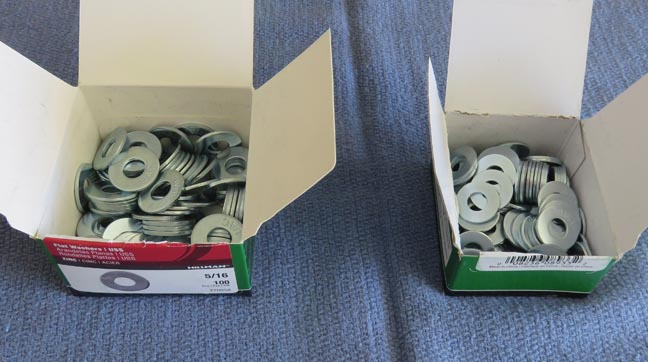
I'm going to need some kind of weight to put inside each
cylinder and thought steel washers would work good for this. I'll be
using 5/16" and 1/4" washers for this, which should be easy to do.
|
|
 |
I started with the small steel gold bar and add some washers as needed.
|
|
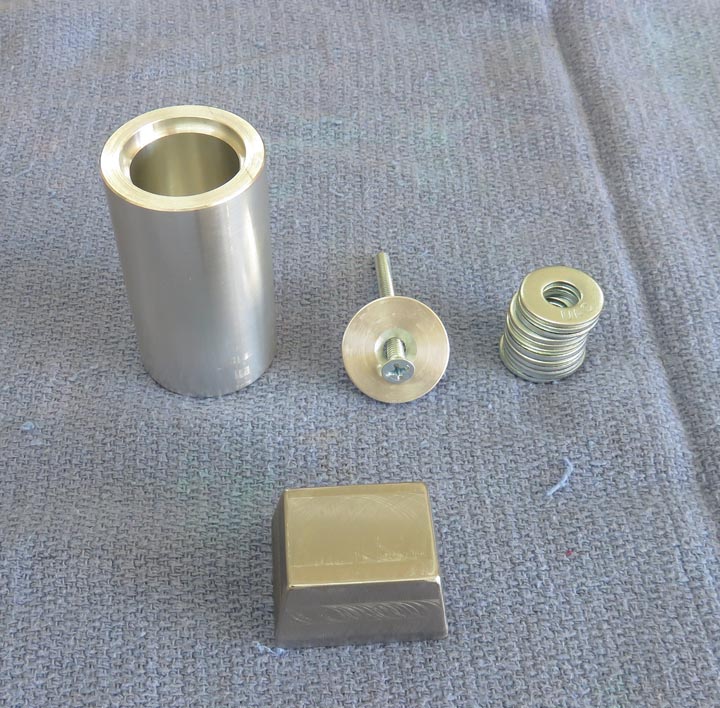 |
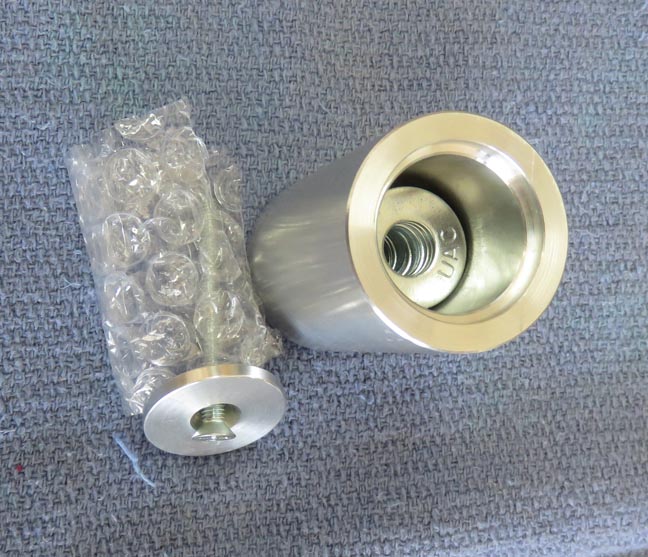
To make sure they didn't move inside the cylinder, I used some
bubble-wrap to fill the void.
|
|
 |
By wrapping the bubble-wrap around the screw, this would create a nice
tight package.
|
|
 |
|
1
2
3
4
5
6
7
8 |
