|
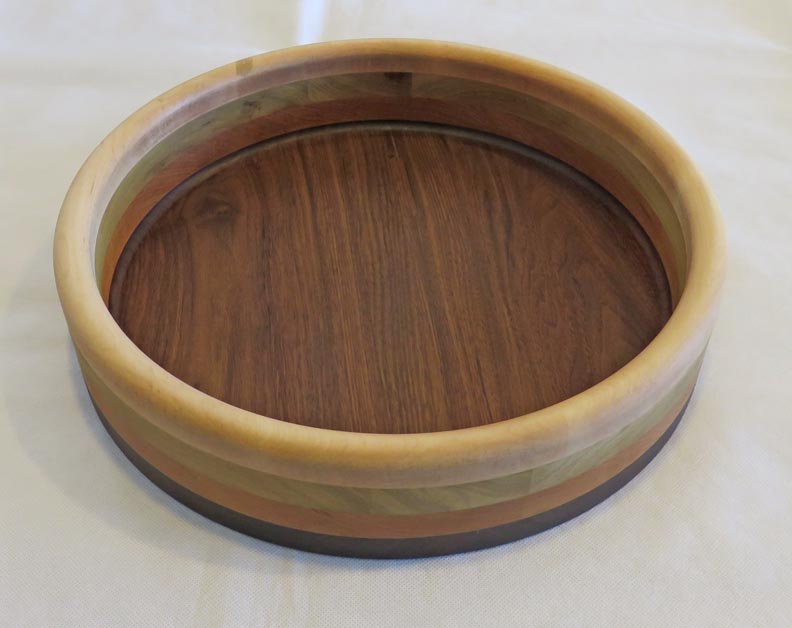
My daughter Tracey requested a food serving tray and
sent me a picture of one that she had in mind. Turns out it was very
close to the
fruit bowls that I made a few months
ago, so I told her she could have the extra one. But she had
two requests after looking at the one I had: first she didn't want the
full radius at the top and second, she wanted some slots that she could
put her fingers into so she could carry it. I told her no problem that I
could modify it to her liking.
Modification Time
Here is the fruit bowl I made awhile back and now it's
time to implement some changes to it.
|
|
 |
A close-up of the full radius at the top.
I have a plan to remove it to make the top surface flat.
|
|
 |
|
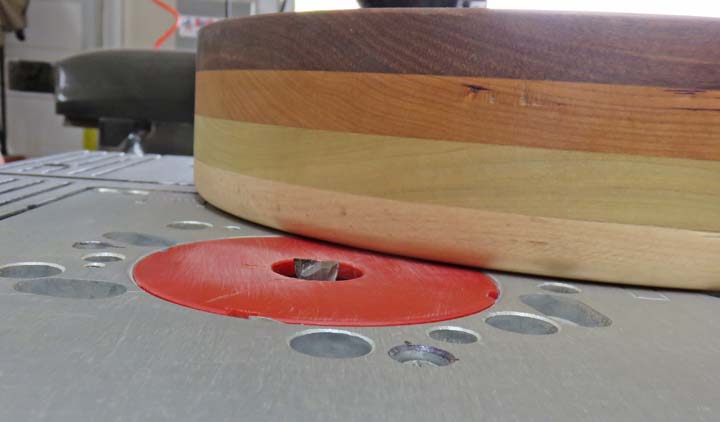
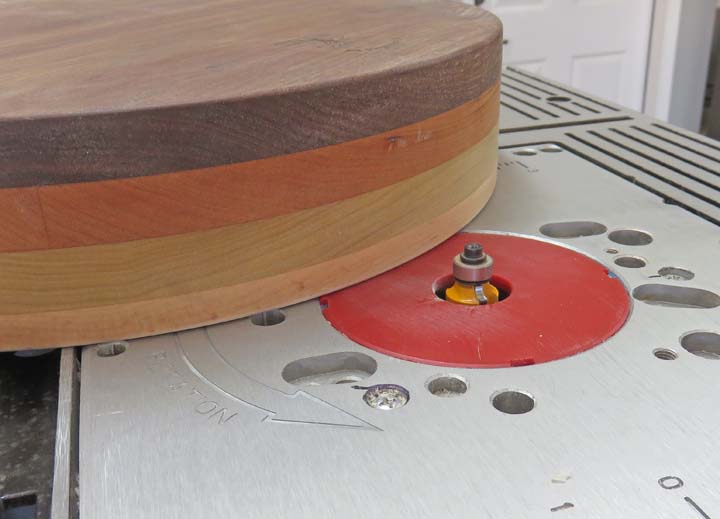
I thought that I could take off small amounts of
material on my router table but quickly found out that wasn't a good
idea. I placed some shims under the area that I cut so the bowl would
still sit flat however that didn't work very well.
|
|
 |
|
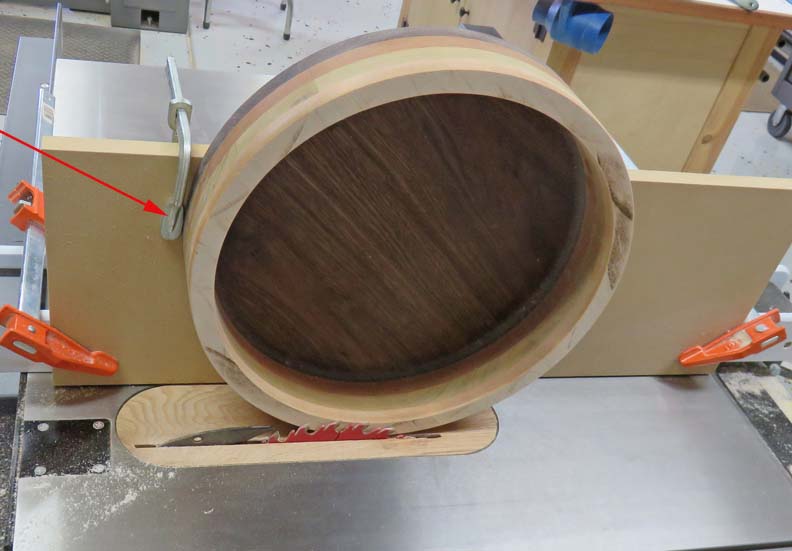
Plan B I started thinking of ways
to remove this radius and decided to use my table saw. I clamped a large
piece of MDF to the fence and then used a smaller clamp as my work stop
(arrow). Then I slid the bowl into the saw blade nice and slow until it
hit my work stop. At that point I have one hand placed inside the bowl
putting pressure towards the fence and rotating the bowl with my other
hand. I only took about half a blade width each time and after about
four cuts I had a nice flat surface. This worked fine but was very scary
because of how close my hand was to the blade.
|
|
 |
|
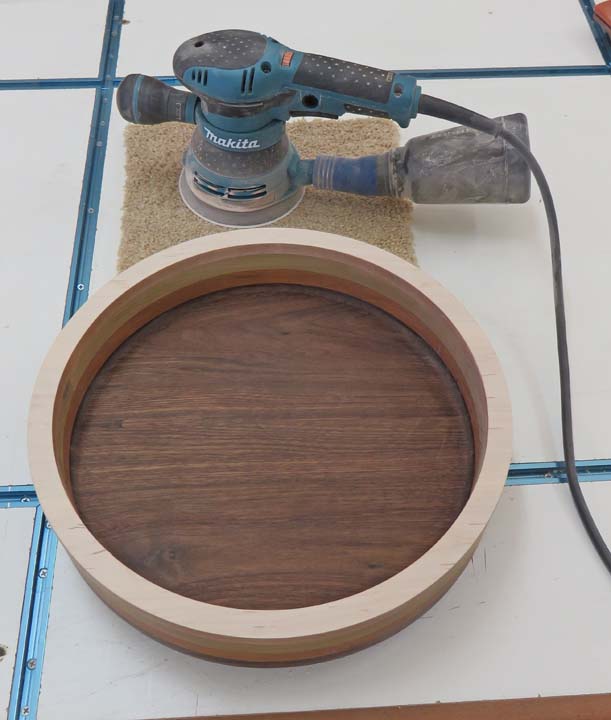
Modification Time Continued
I had some burn marks on the maple because of how slow I was rotating my
work piece but those disappeared quickly with my DA sander.
|
|
 |
And there we go, time to put a smaller radius on the top now.
|
|
 |
I used a 1/8 roundover bit for the top surface which goes very fast.
After a quick sand it was time to put some slots in.
|
|
 |
|
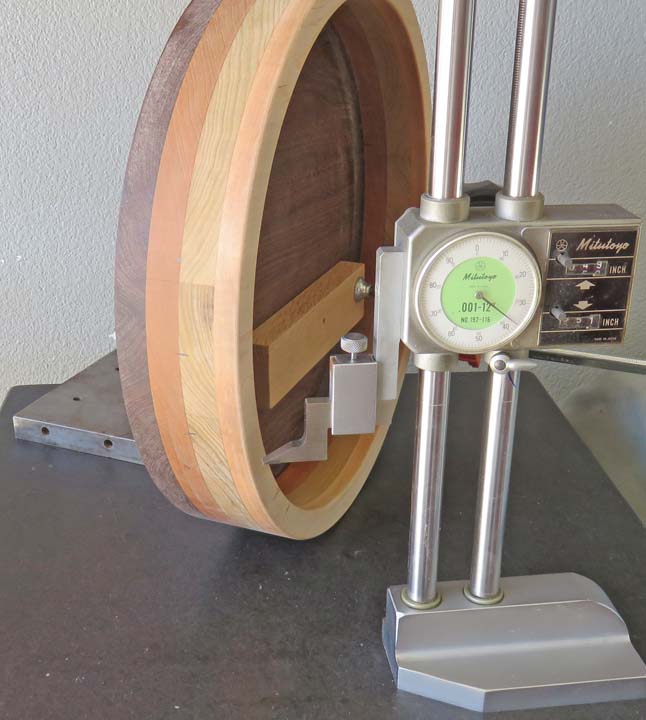
Here I'm laying out for my two slots. First I put lines
in the middle, then I put a line at both ends of my slots. Once the
wood had lines in them, I ran my pencil over them so I could see them
better.
|
|
 |
|
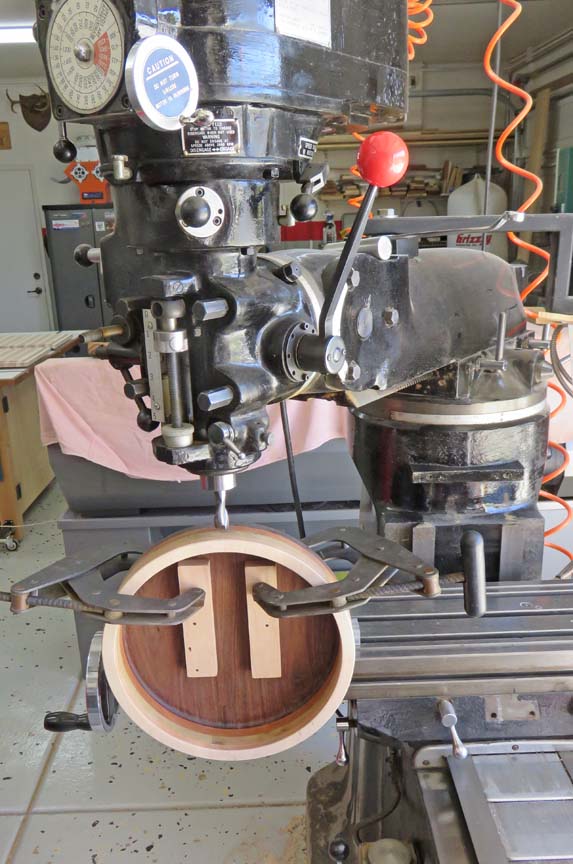
To cut these slots, I had to arrange my milling machine
so I could hang my work piece over the edge of the table. Notice the
head is turned and the ram is extended outward as far as I could get it.
This was just enough so I could get to my work piece.
|
|
 |
|
1
2 |