|
Making Some Bowls Continued
Here I'm working on the inside diameter which isn't to depth here
either.
|
|
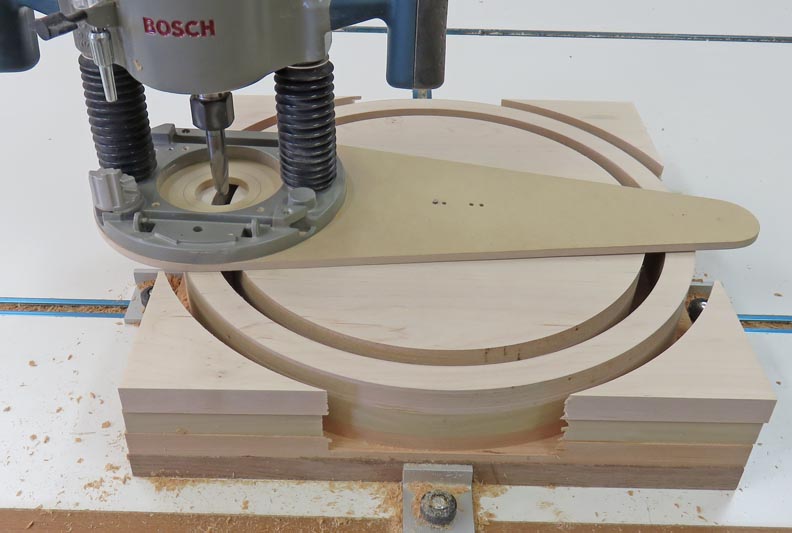 |
This is how far I was able to cut with my
1/2" cutter. I'll use a flush-cut trim bit on my router table for the outside later.
|
|
 |
|
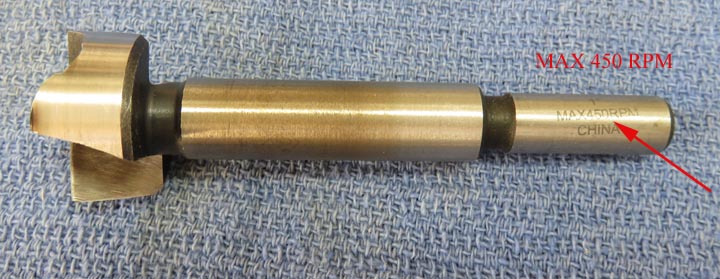
Now that both the I.D and O.D. have been established it's
time to remove all the material in the middle area. I'll be using a 1.0"
diameter Forstner bit and notice the rpm callout on the shank. It says,
"450 max rpm". so I started with about 400 rpm to see how it worked.
|
|
 |
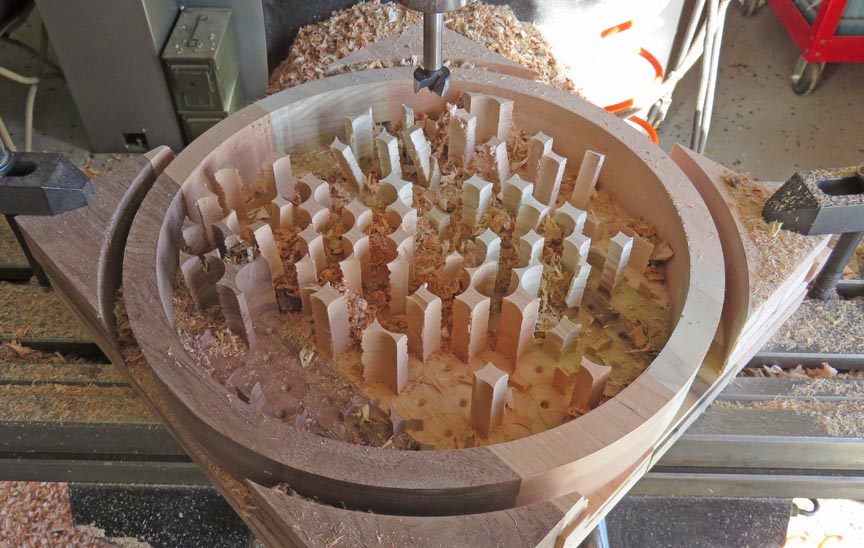
This is what one hour of work looks like with that Forstner bit set at
400 rpm. Yeah, I know...way too slow. Now it's time to kick it up a
little.
|
|
 |
|
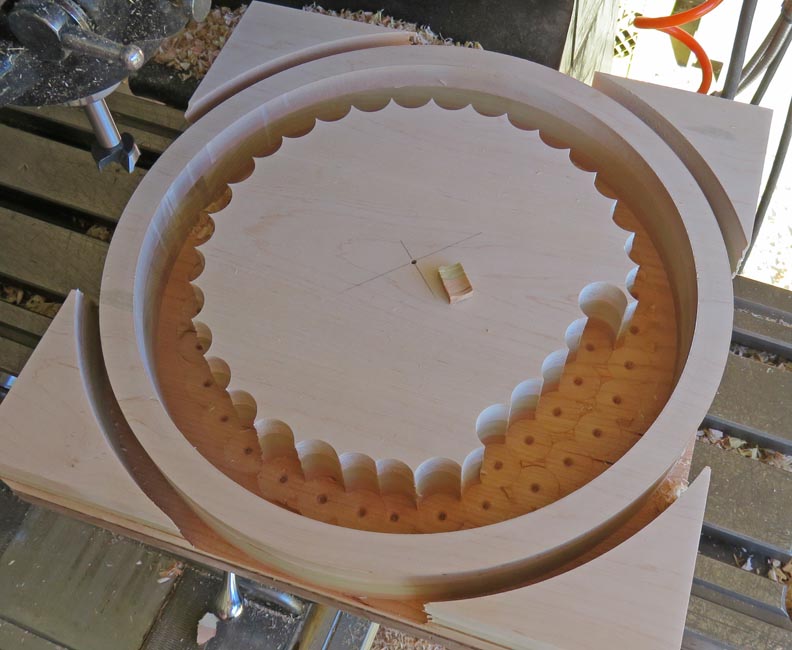
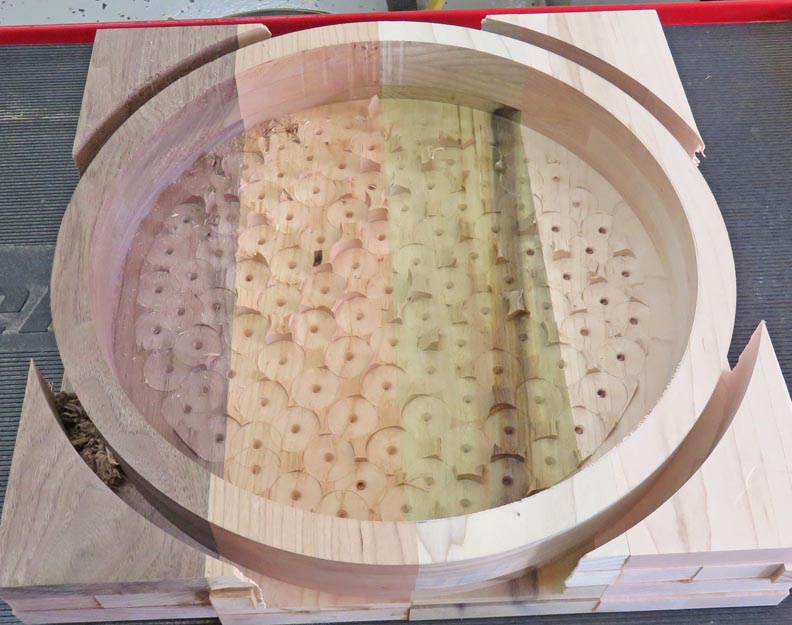
This is what one hour looks like with my mill set to 900 rpm. Much
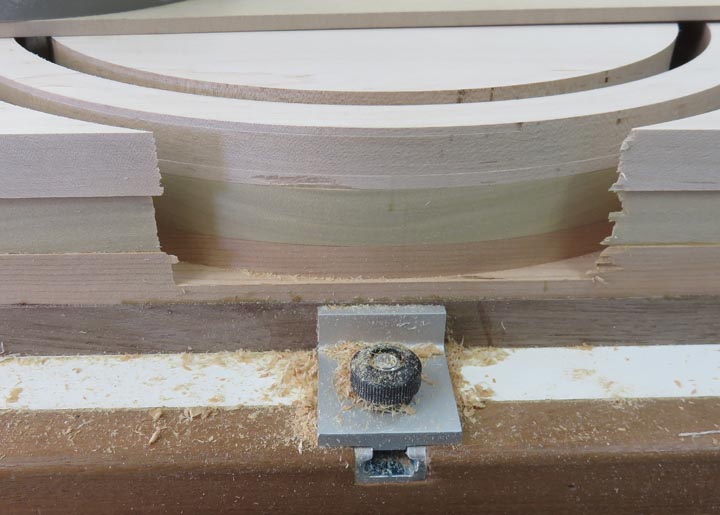
better to say the least. Note the clamps on each corner now: this is how I
got away with that amount of rpm because of the rigid setup. Otherwise
bad things will happen.
|
|
 |
|
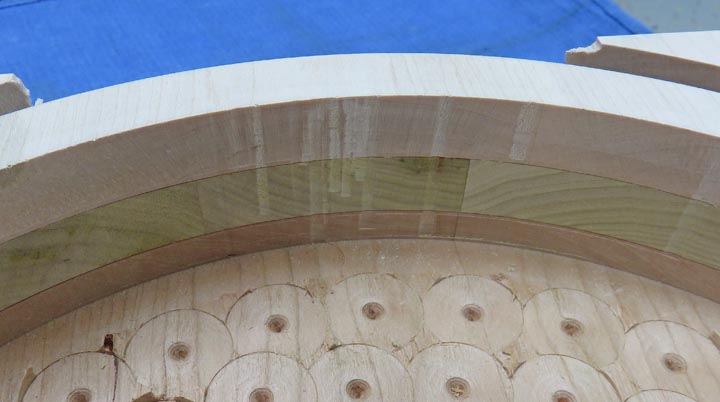
I used some pliers to remove all the standing pieces as
they broke off very easy. If I ever do this again, I'll buy a larger
Forstner bit. Also, I still have more than 3/8" to go on the depth
below, which I'll
do with my router and a bowl bit.
|
|
 |
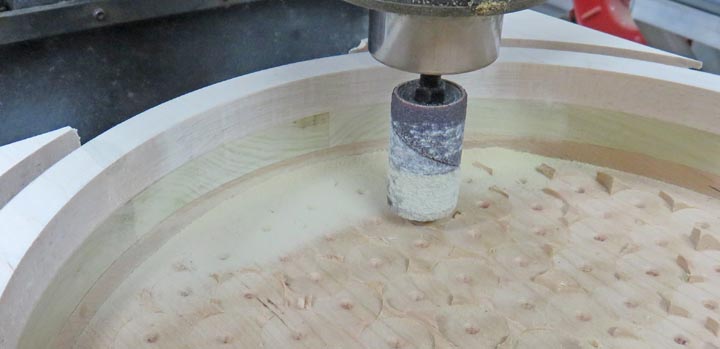
Speaking of my router, that's how those lines were made while I was
plunging with my cutter earlier. Now it's time to sand them out.
|
|
 |
I could have done this by hand but I decided to use my milling machine
with a sanding drum. This worked great and didn't take long.
|
|
 |
|
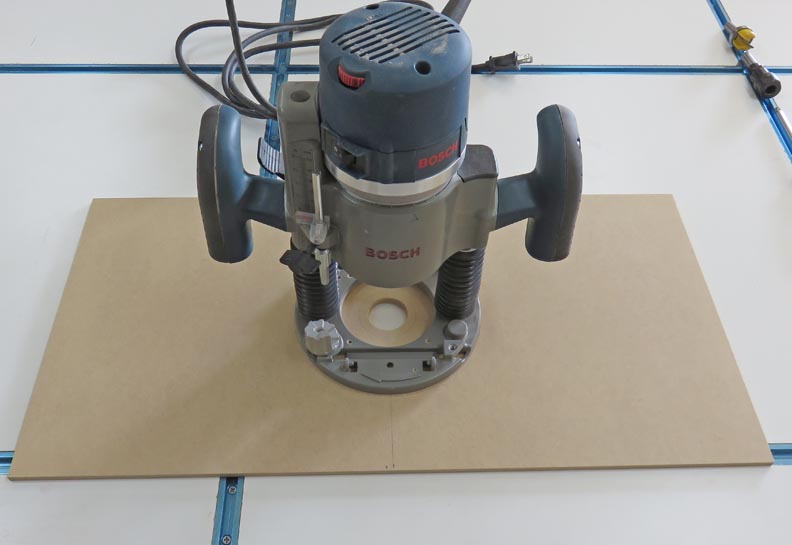
More Tooling
Now it's time to work on the floor of the bowl so I'm making more
tooling. The size of the MDF is 12" X 18" X 1/4" and
this piece will ride on the top of the bowl while
I'm cutting wood on the floor of the bowl.
|
|
 |
What I have here is a 1 1/4" diameter bowl bit with a 1/4" radius
on the bottom, held
in an extension so I can reach the bottom of the floor.
|
|
 |
|
1
2
3
4
5
6
7 |