|
Final Step Continued
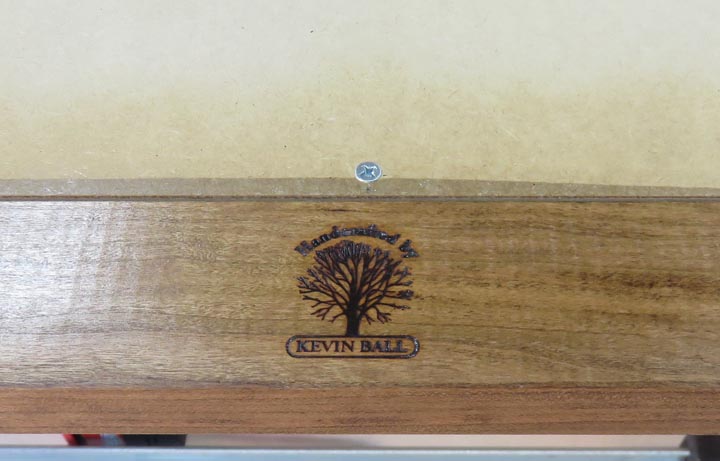
As you can see I've put my brand on this project.
|
|
 |
|
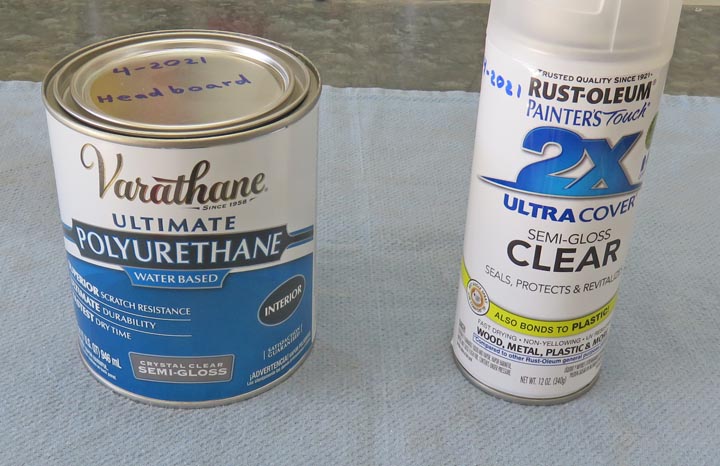
The following day I sprayed the front, but the weather
conditions were not in my favor. The wind was blowing a little too much
and I had a hard time covering with even coats. The next day I bought
this brush-on Polyurethane that worked really well. I kick myself for
not starting with it.
|
|
 |
|
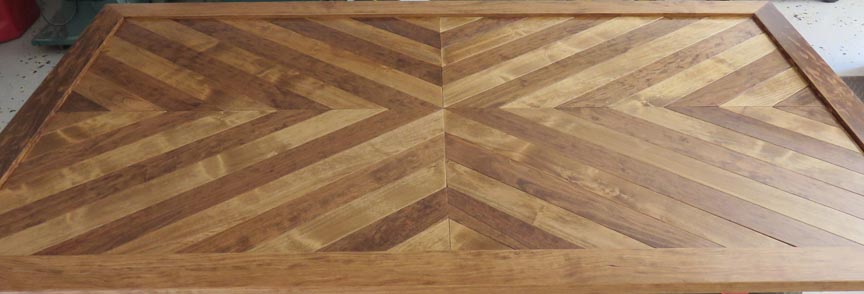
I lightly sanded with 400 paper before applying the
brush on clear. And I had a hard time getting rid of the streaks from the spray
can, but after three coats, this is what it looks like.
|
|
 |
|
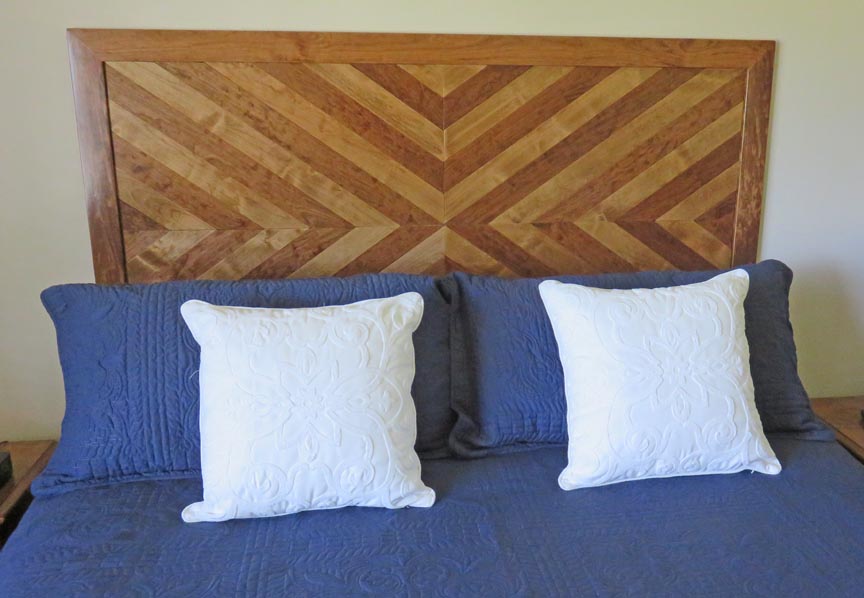
It's Finished Here it is all finished. I fastened it to the wall in
stead of the bed frame. This way I can move the bed and not worry about
the headboard being a problem while doing so.
|
|
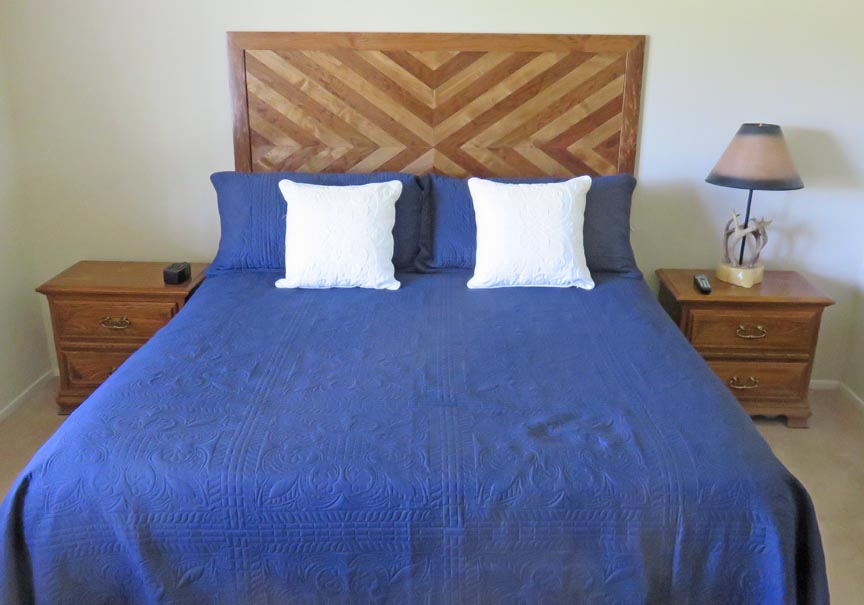 |
I'm pretty happy with and it should last many years.
|
|
 |
|
1
2
3
4
5 |