|
Grizzly G1023RLW - 10" 3 HP 240V Cabinet Table Saw with
Built-in Router Table Specs:
Motor: 3 HP, 240V, single-phase, 14A
Rip capacity: 32" right, 14" left of blade
Maximum depth of cut @ 90°: 3"
Maximum depth of cut @ 45°: 2-1/8"
Table size with extension: 48" W x 27" D
Distance from front of table to center of blade: 17"
Distance from front of table to blade at max. cut: 12"
Floor-to-table height: 34"
Arbor diameter: 5/8"
Arbor speed: 4200 RPM
Max. width of dado: 13/16"
Dust port size 4"
Overall dimensions: 66" W x 47" D x 40" H
Footprint: 20-1/2" x 20-1/2"
Approximate shipping weight: 550 lbs.
|
|
This is the first tool that I bought from Grizzly and I
hope it works like the reviews said it does. At this point I have just
removed the saw from the crate that it came in and now it's time to
clean all the rust preventative off the table.
|

|
|
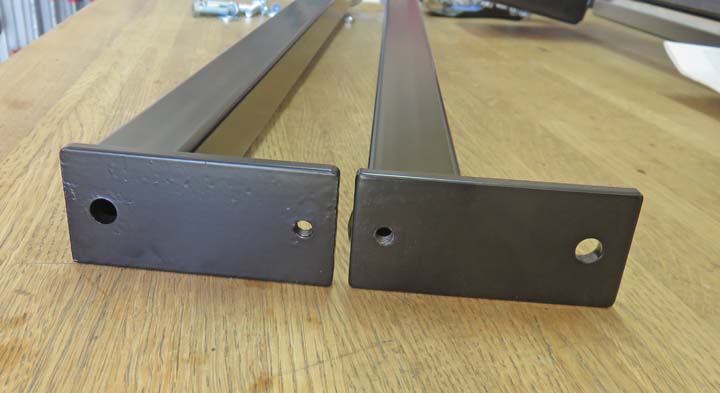
What you see here is a problem because these two
supports should look identical, but they're not. I made a call to
Grizzly and they shipped out a new one that same day.
|
|
|
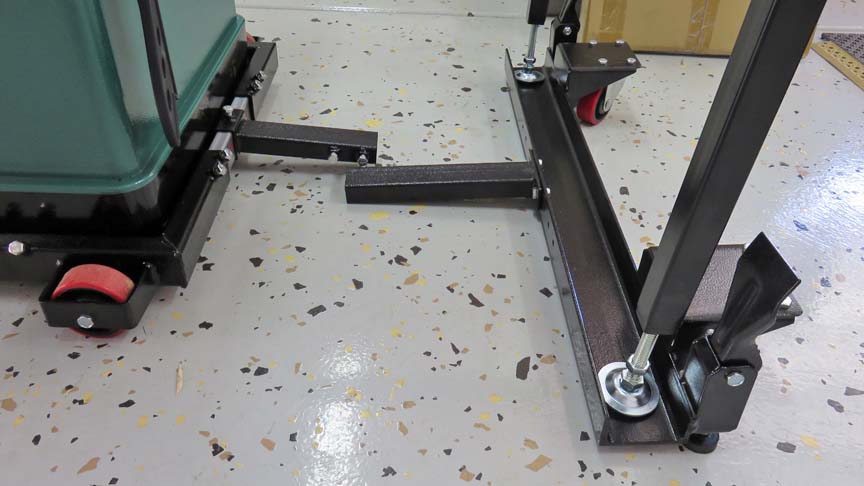
I'm putting the saw on a mobile base so I can roll it
around my garage. What you see here is the connecting supports are too
long so I'll need to cut one.
|
|
|
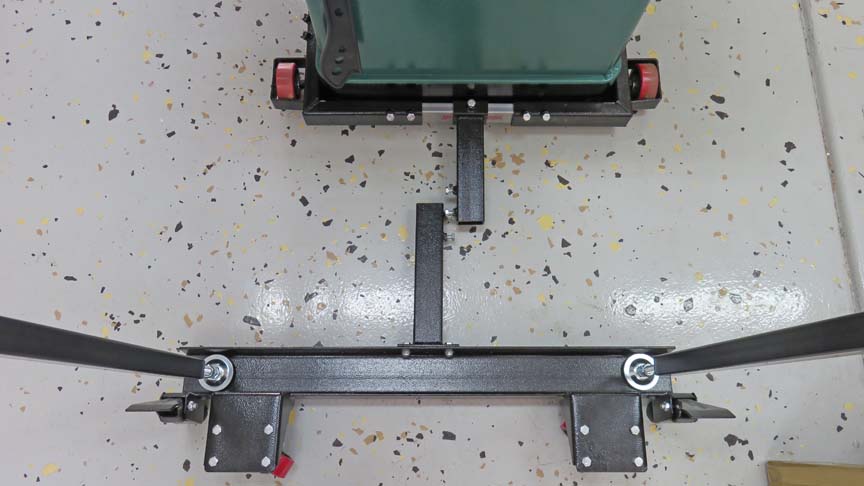
Here's another view of the supports. My Sawzall made
quick work of this.
|
|
|
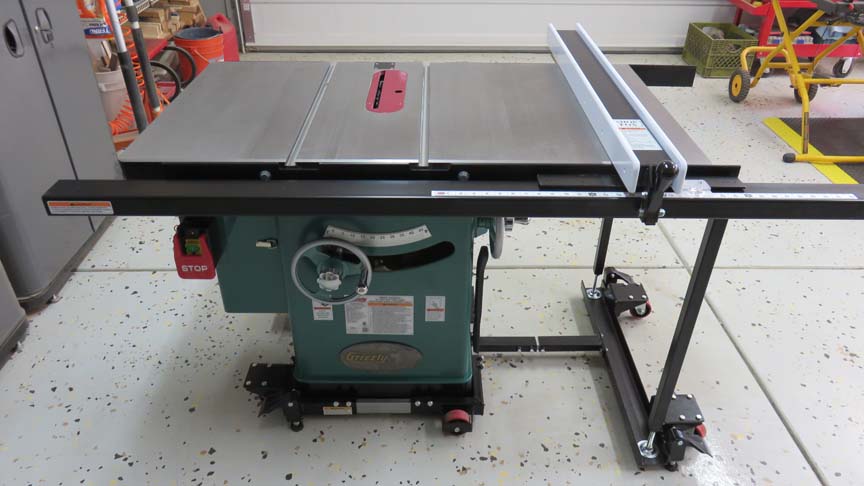
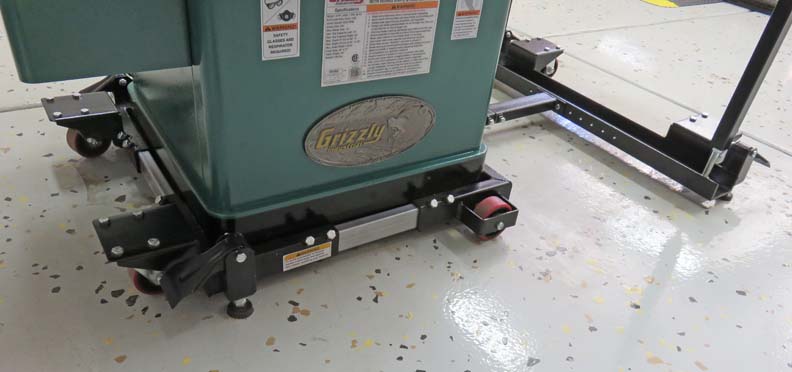
Here is what the saw looks like now that both wings
are installed along with the base working correctly.
|
|
|
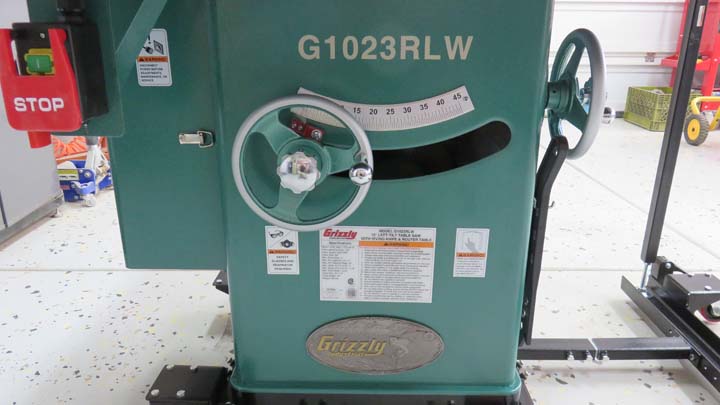
The handle in front raises and lowers the blade. The
handle on the right side sets the angle of the blade using that scale on
the front.
|
|
|
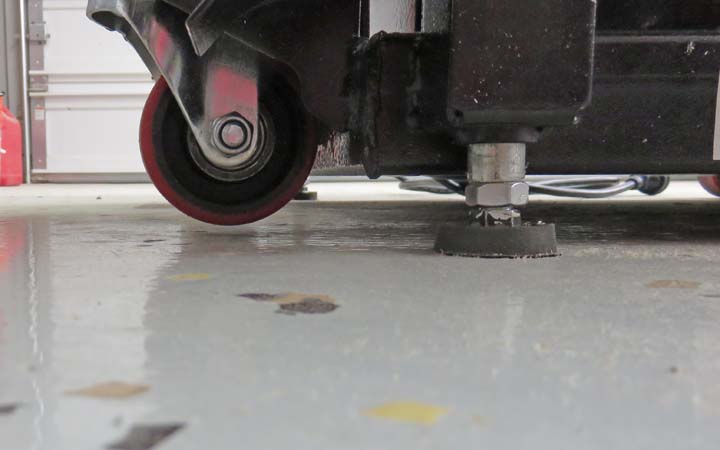
Once I get the saw in the position I need it, I step
of those small levers at each corner of the mobile base.
|
|
|
Once the saw is in the air, those rubber feet make
sure it stays put.
|
|
|
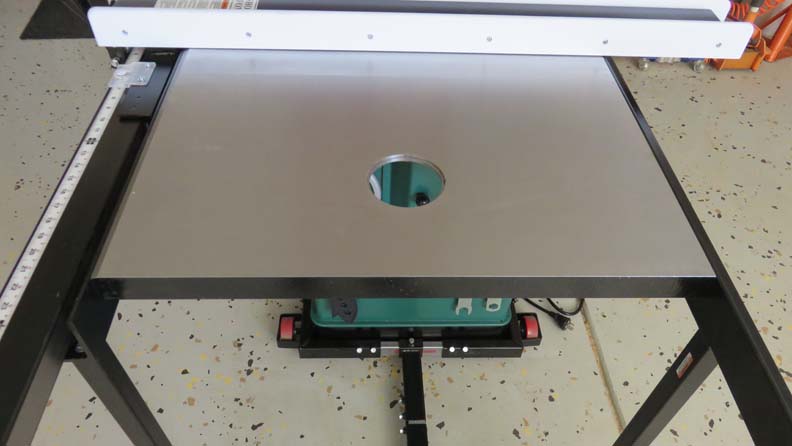
Here is the table for the router but I don't think
I'll mount mine here. However, I have uses this hole to clamp a few
things which worked good for that task.
|
|
|
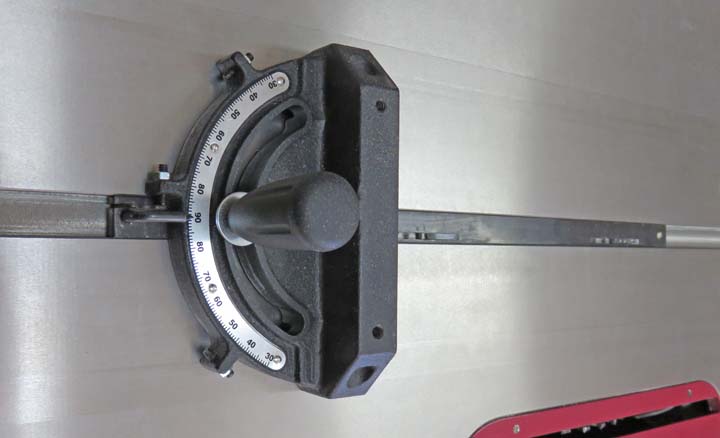
The saw also came with this miter gage. It's not a
very good one but it does work and it's adjustable.
|
|
|
1
2 |