|
This project will be for myself and will help me keep my
rubber bands organized. Let me explain: these rubber bands are for
exercising, or more precisely, for physical therapy. You see, I've had
problems with my back for several years and after I had back surgery in
2017, I felt much better at the time. But that only lasted for about one year and I
was hurting again.
Fast-forward to November of 2023 which is when I started
physical therapy (PT) for strengthening my core. This was setup by my
surgeon that told me there was nothing he could do for me, so he sent me
to PT for 10 sessions.
While I was at PT, the instructor had me working with
elastic bands, which are numbered. And the larger the number, the harder
it is to stretch it. After the 10 weeks of going to physical therapy, I acquired the
knowledge that I needed to exercise at home using these rubber bands
three times a week. And to keep these
exercising bands in some kind of order, I'll be making a rack to hold
them with.
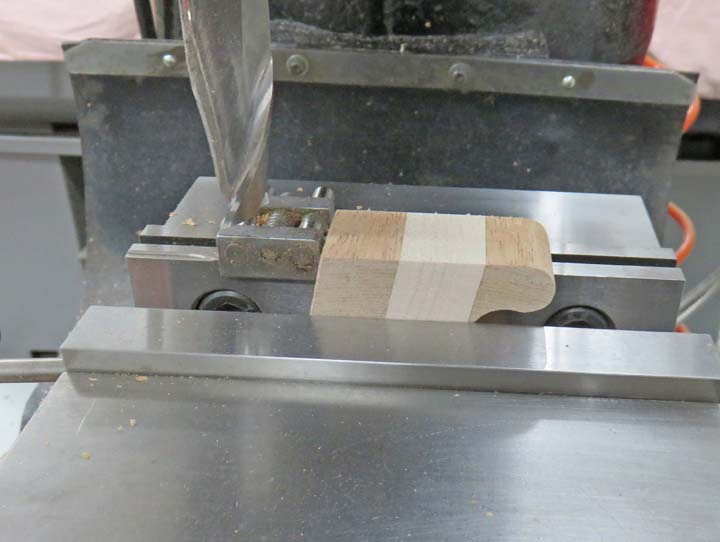
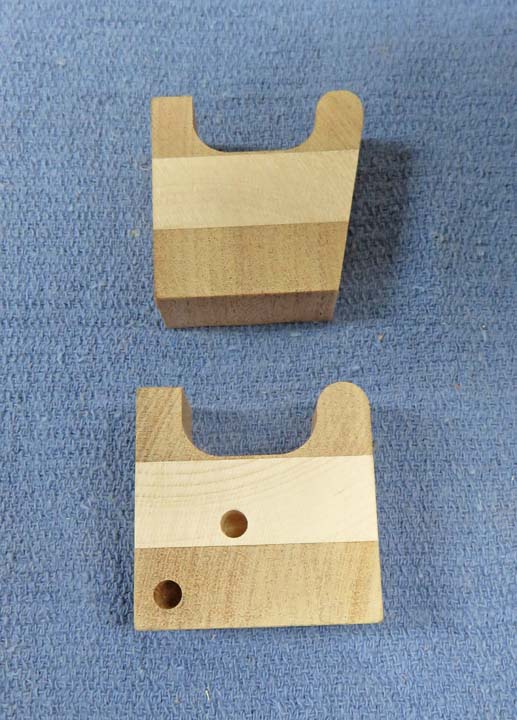
Working With Wood
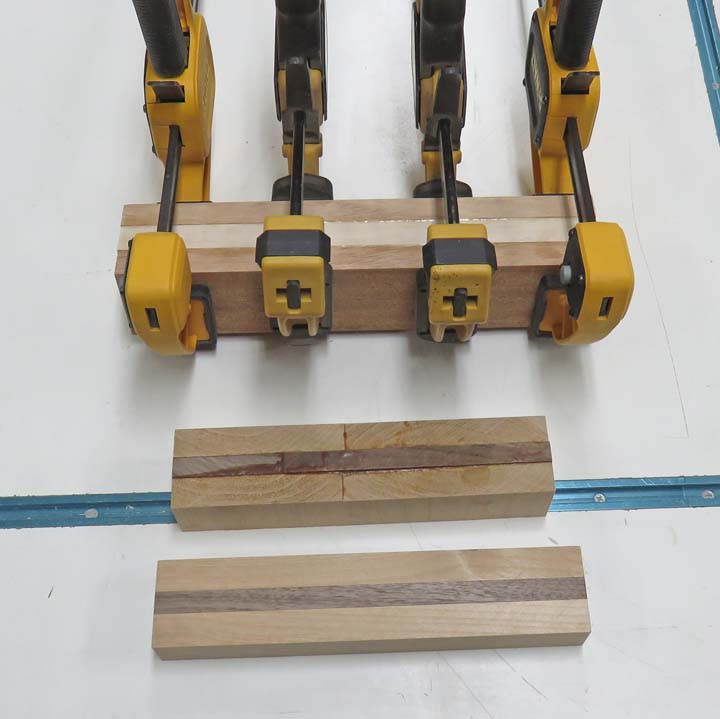
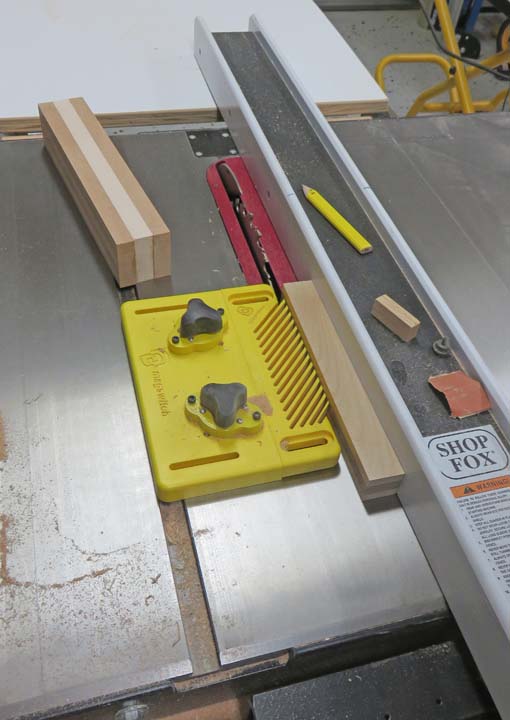
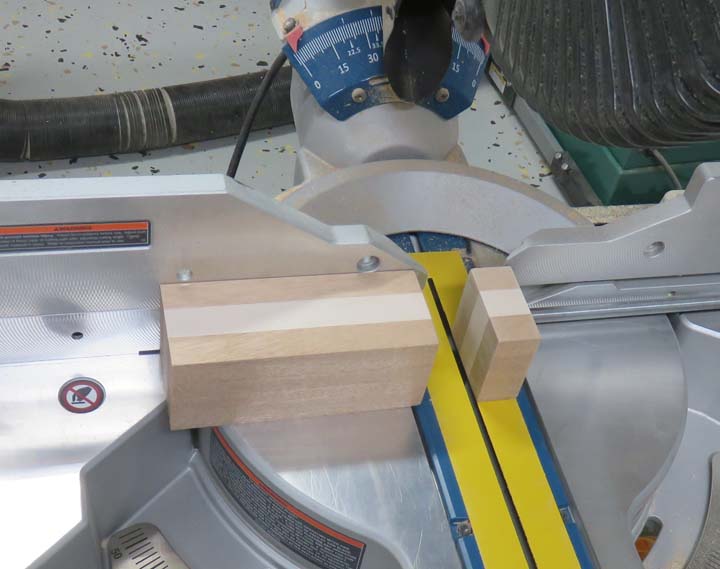
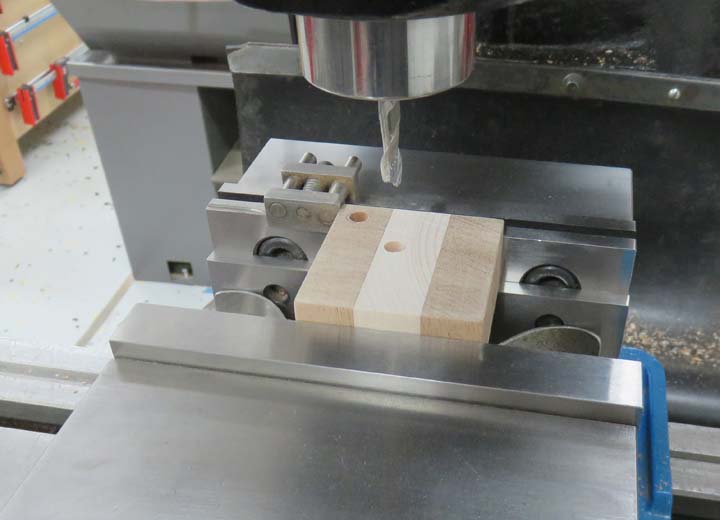
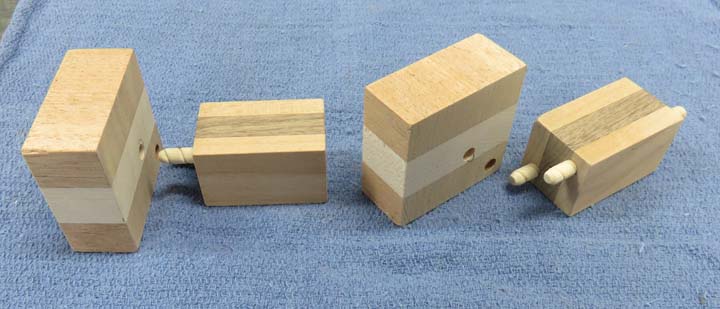
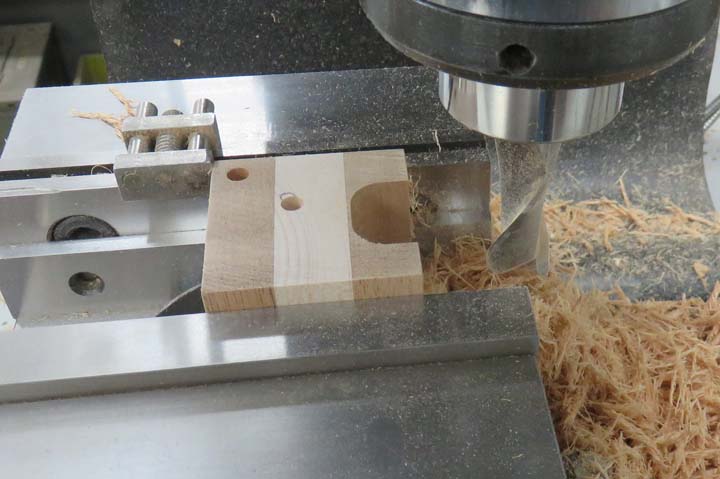
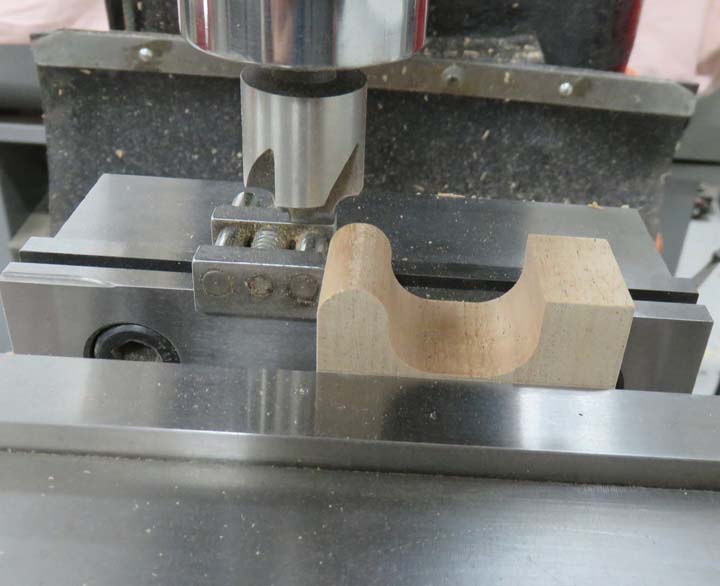
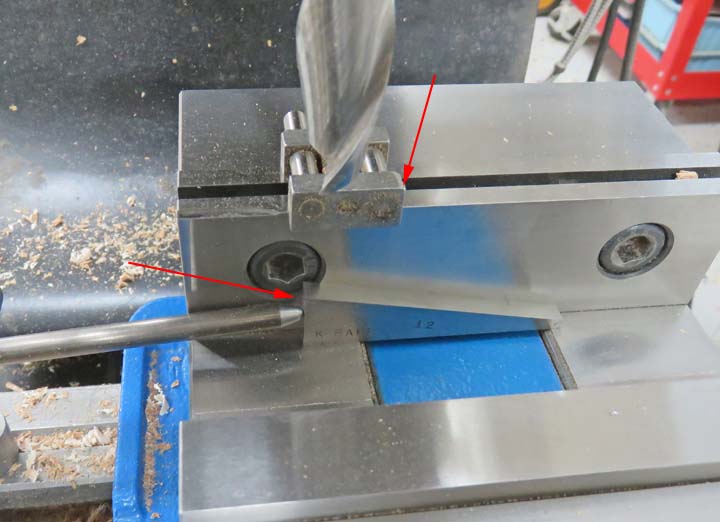
I'll be making this rack out of black walnut, alder and
maple, which should look nice together. One of the first things I did
was glue and clamp some pieces together.
|