|
More Sawdust
I drilled a 3/8" hole for my jigsaw blade.
|
|
 |
|
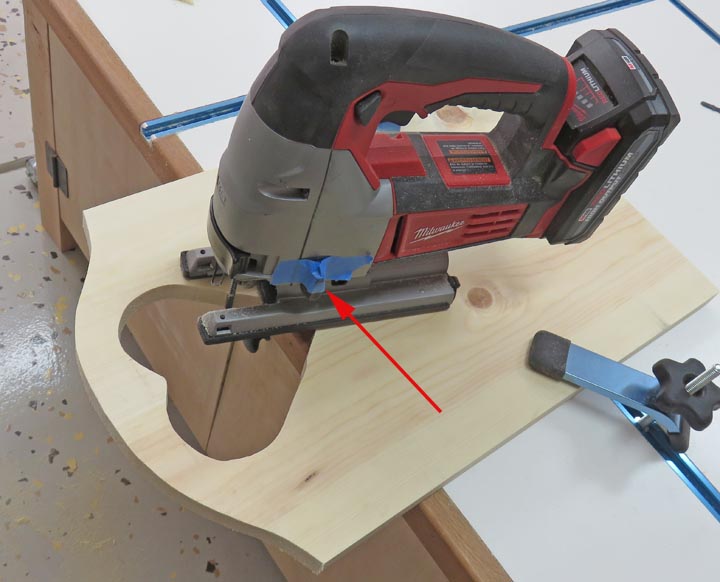
Then I used my cordless Milwaukee jigsaw to cut out the
shape. See the arrow, it's pointing to a five position orbital switch. For some
reason this switch moves while I'm using it so I fixed the problem with
some tape. Whatever works....
|
|
 |
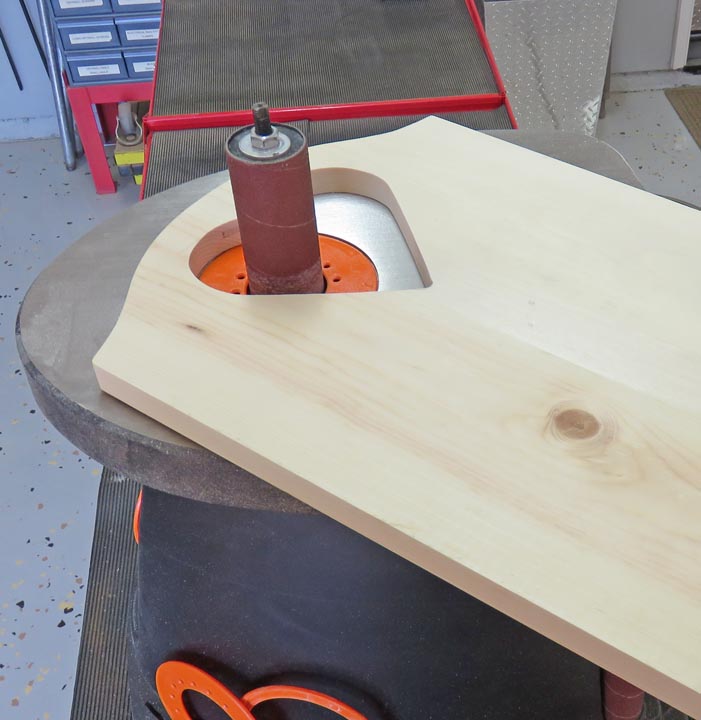
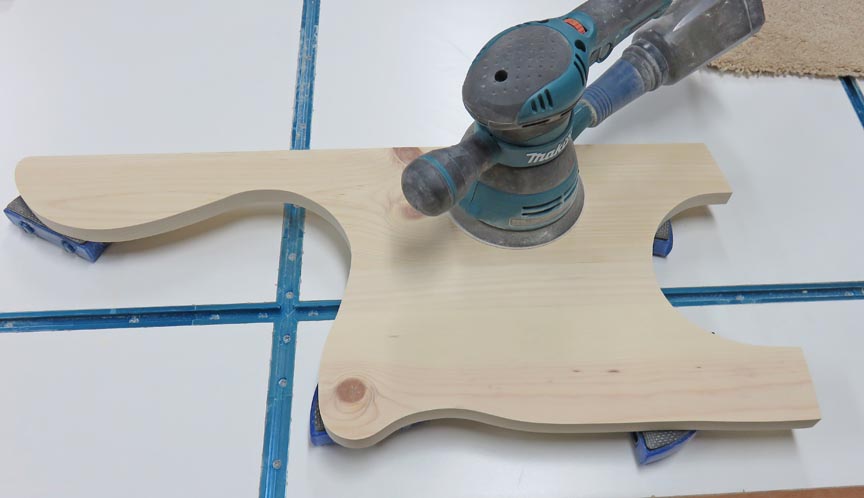
Here I'm cleaning up the saw cut with my oscillating drum sander. This
won't get into the smaller areas but it does a great job on everything
else.
|
|
 |
|
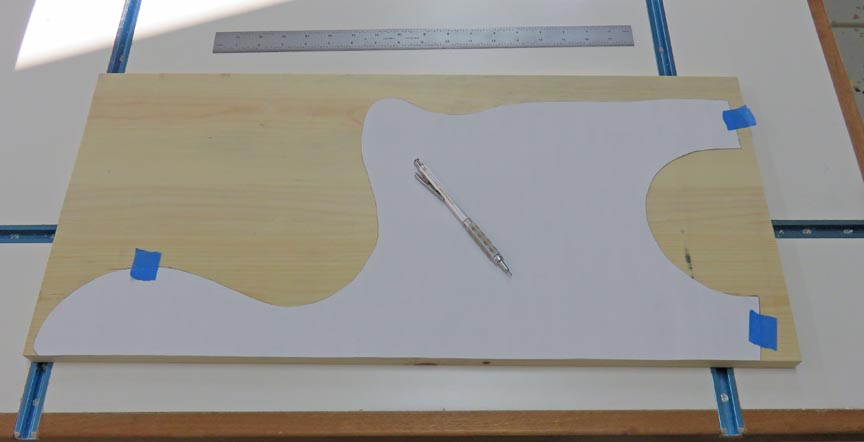
One More Pattern
I made a lot of patterns for this project and this one is for
the sides. Once I had a pencil line on my work pieces I cut them out with my jigsaw.
|
|
 |
|
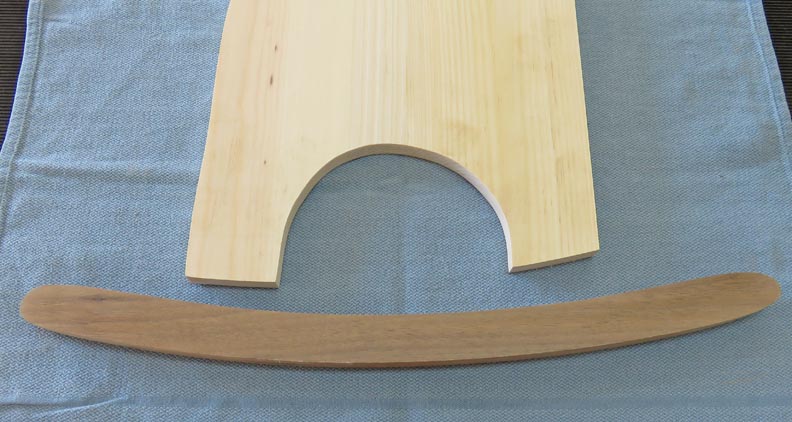
More Sawdust
Here I'm getting ready to fit these two parts together. I had to sand
here and there to get the fit just right.
|
|
 |
This sanding operation didn't take long because pine is pretty soft.
|
|
 |
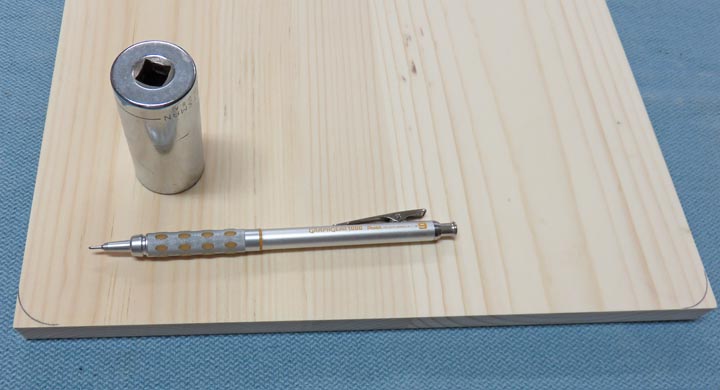
This is the seat and I'm adding a small radius at the front of it. I've
used sockets for this kind of thing many times.
|
|
 |
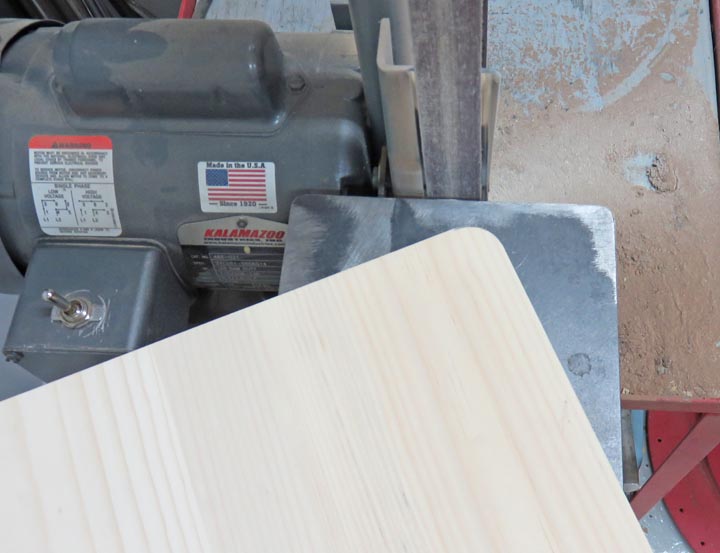
I used my belt sander and worked up the the line. Then I used a sanding
block with 150 grit paper to finish it with.
|
|
 |
With my side piece clamped down, I used a 3/16" roundover bit and put a
radius everywhere except the back (both sides).
|
|
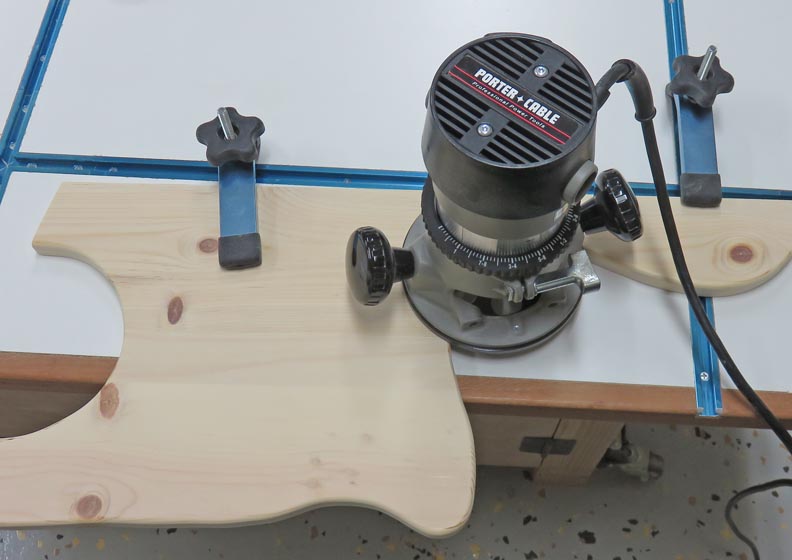 |
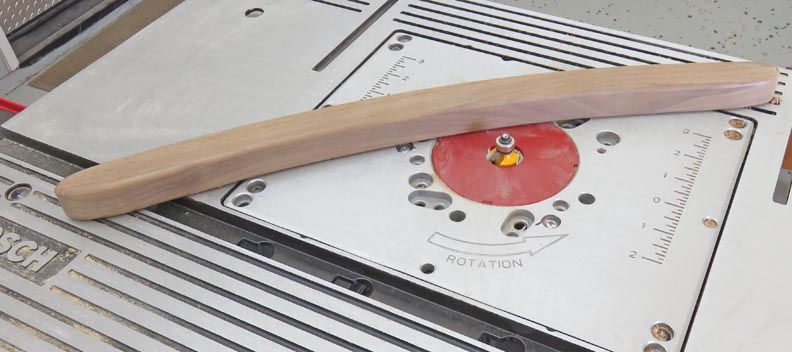
I used the same 3/16" bit but used my router table to soften all
the sides of the rockers.
|
|
 |
|
1
2
3
4 |