Once I had my lines drawn, I laid out for some screws.
|
|
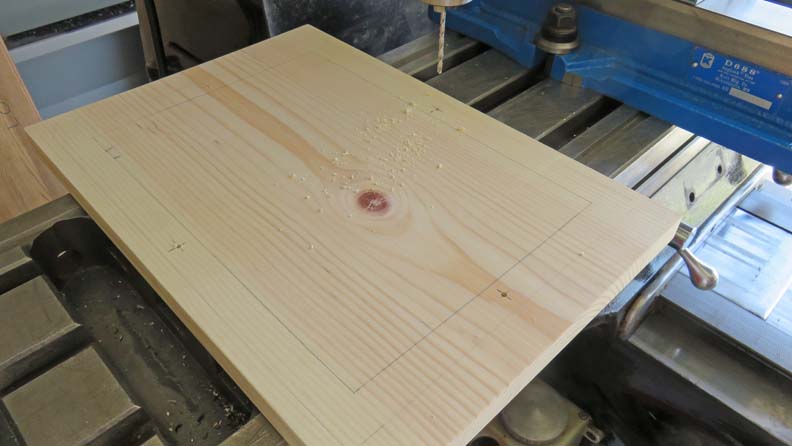 |
Here I'm countersinking the opposite side
(top surface) for some # 10 stainless steel screws.
|
|
 |
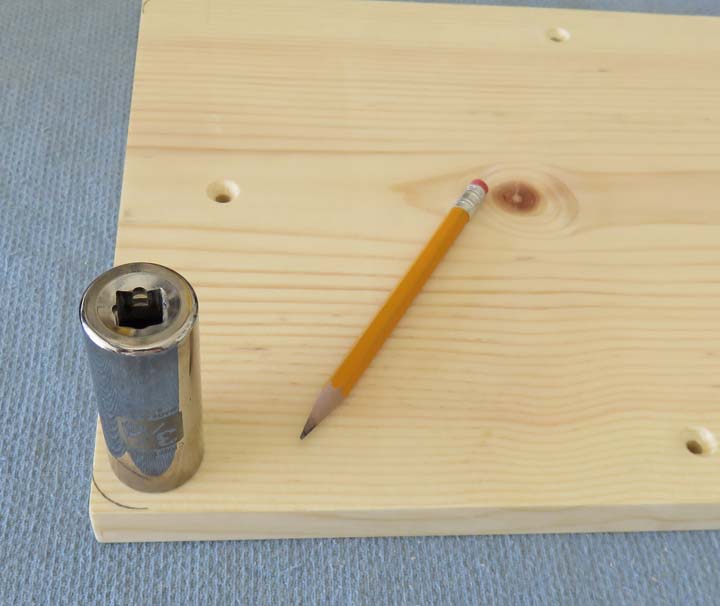
I didn't want the corners to be sharp so I'm laying out for a radius
here.
|
|
 |
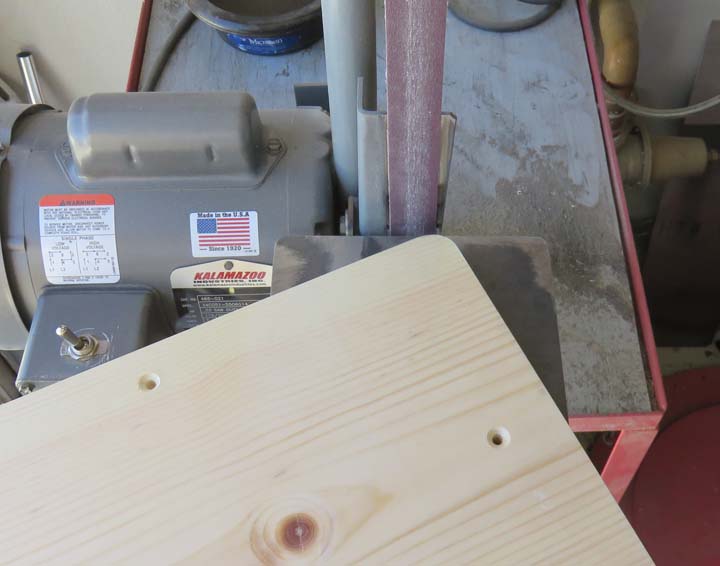
My belt sander made quick work of the corners. Just sand up to the line
and stop.
|
|
 |
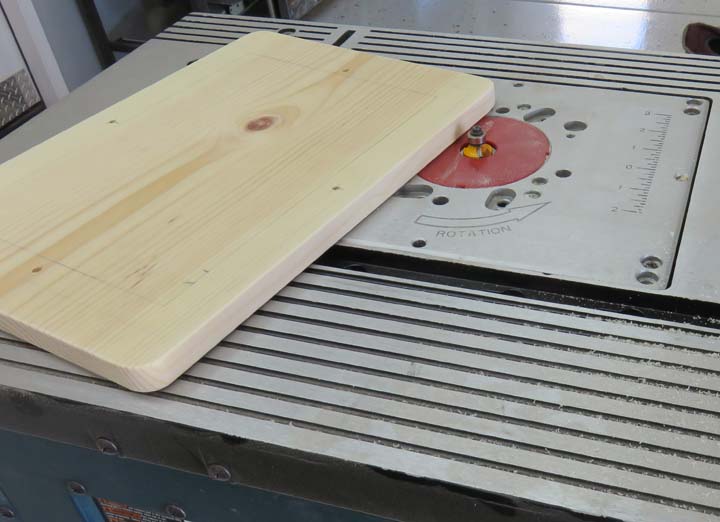
And I also put a 3/16 corner round on the top edge. This way it will be
easy on those little feet to stand on.
|
|
 |
|
Once I had the top reassembled I decided to add some
screws to the sides. The reason for this is because the miter joints
didn't match exactly and this will add some strength. I mean the last
thing I'd want to happen is have the stool fall apart while one of the
kids were on it.
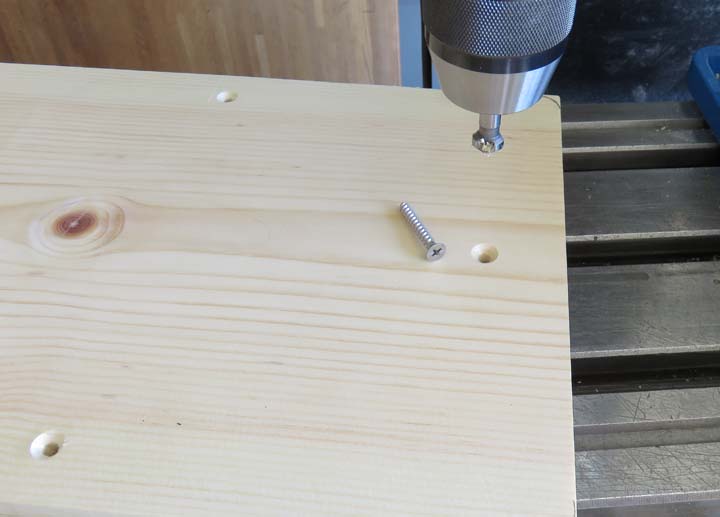
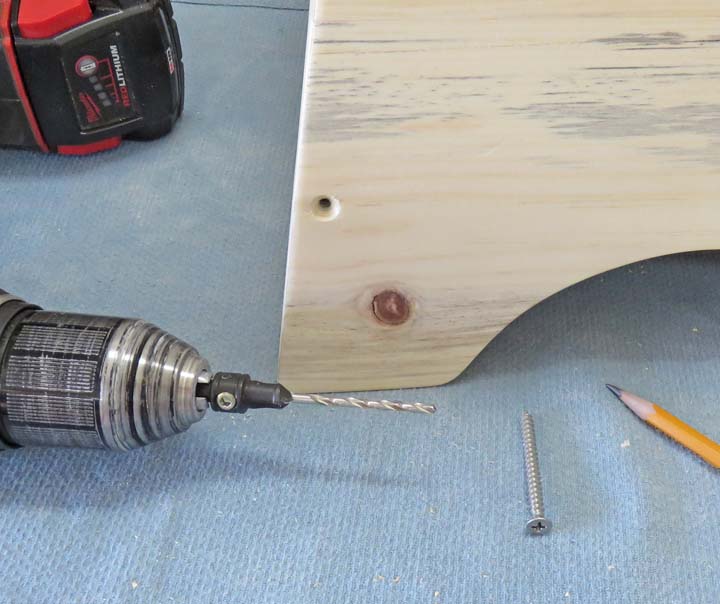
I'm using drill/countersink cutting tool which works
great. All you do it drill until the countersink is to the right depth
and you're done. You also have to set the depth of the drill according
to the screw length. I'm using #8 stainless screws that are 1 1/2" long.
|
|
 |
|
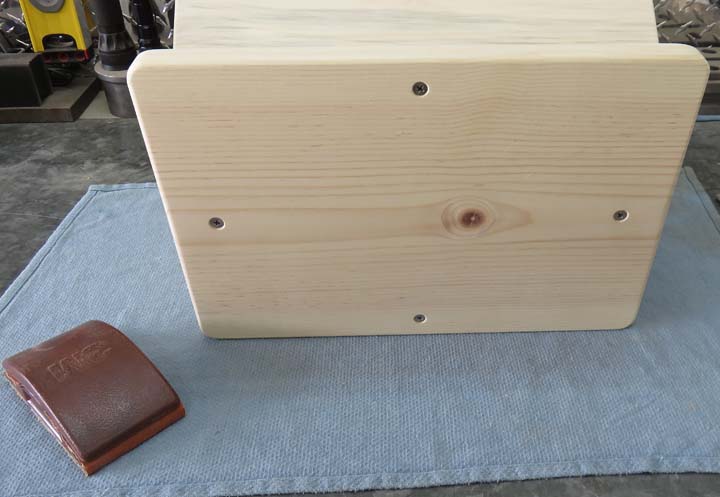
I used the same size and type of screws to hold the top
on. I could have hidden the screws from underneath but decided to take
this route. I also sanded all the surfaces with 180 grit sandpaper. And
now I'm ready to put a clear finish on it, but I have one more thing I
want to do.
|
|
 |
|
Paint
08-2020
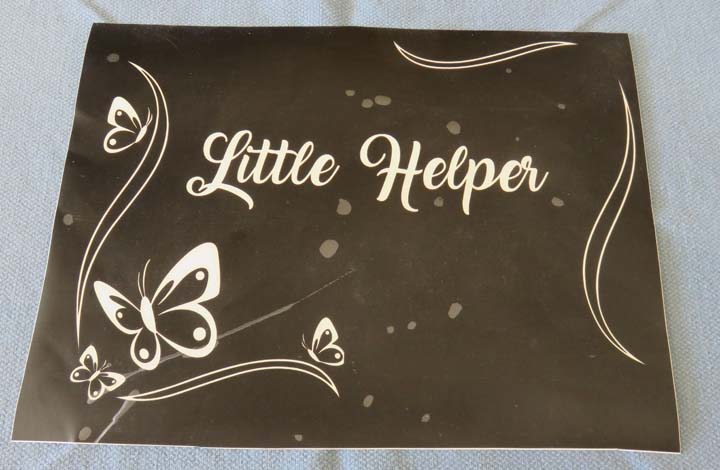
About three months have passed since I've worked on this
project (notice the date). I had my daughter Tracey, help me with this project
because she has a machine that cuts out templates. I gave her the
dimensions of the top surface, a direction to go in and she did the rest. In fact, she made
two different templates for me with this one being Audrey's.
|
|
 |
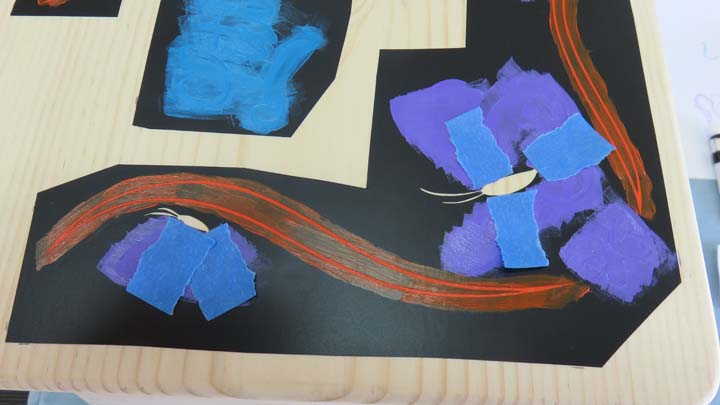
To make it easier for me to lay out, I cut the template into four
pieces. I know this looks a little weird because of the blue masking
tape, but the end result looks much better.
|
|
 |
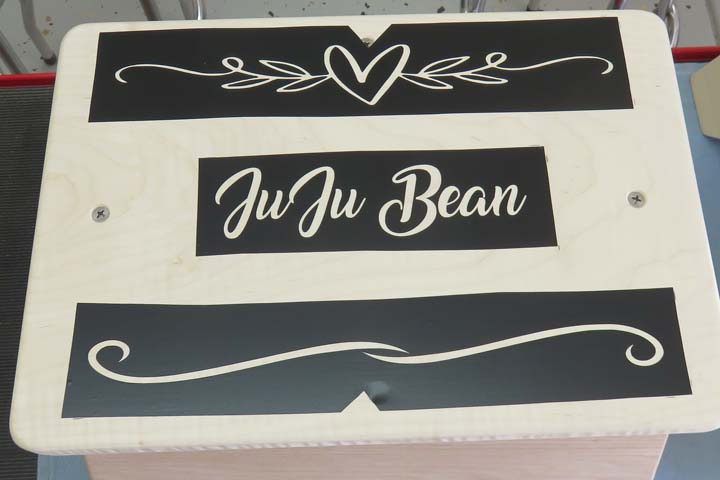
This is for Tony's little girl Guiliana, but her nick-name is Ju Ju
Bean. And as you can see I've cut this on into three pieces.
|
|
 |
|
1
2
3
4 |