|
My daughter and her husband wanted me to make
another item for their Escape Room. This project is called a Buzz Wire,
which I'd never heard of before until Matt explained it to me: a wire or
piece of bar stock that is fastened to a wall and someone has a wand with a
hoop on the end that needs to go from one end to the other without
touching the two together.
Then it hit me, this concept is the same as the old game
"Operation" that I played when I was a kid. If you're not familiar, look
it up. Anyways, this sounded like it would be fun to make so Matt came
over and we talked about what he wanted.
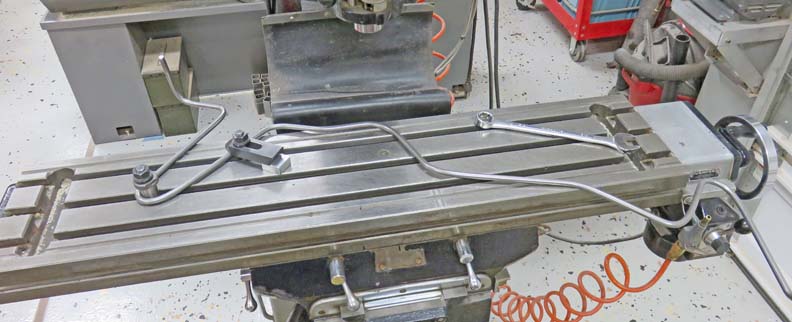
What you see below is mild
steel bar stock, which is 3/8" diameter and is over 6 feet long. We will be making
two of everything because Matt and Angela have been contracted to help
build at another location near by.
Working With Metal
|
|
 |
|
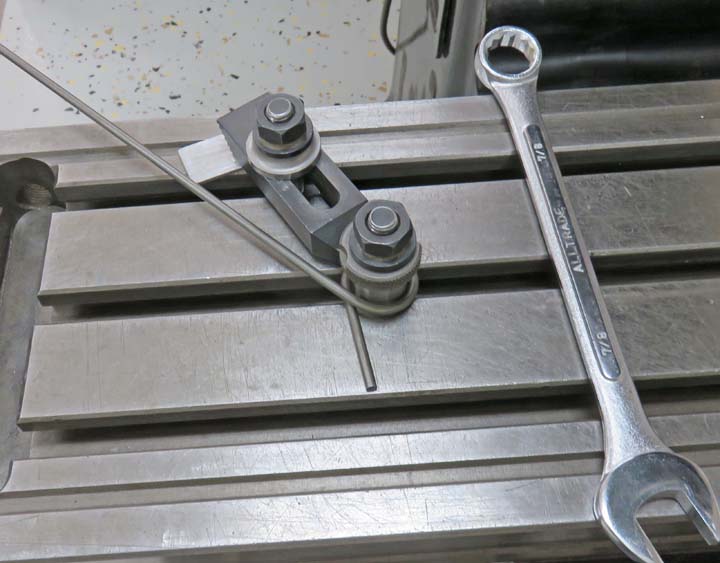
I used the table on my milling machine to do the bending
which worked out great. I clamped on one part of the work piece, then bent the bar stock
around a bushing that was also clamped to the table to whatever Matt
wanted.
|
|
 |
I know this must look weird and not finished but it's just
what Matt wanted. The vertical pieces at each end will be used to fasten
it to
the wall.
|
|
 |
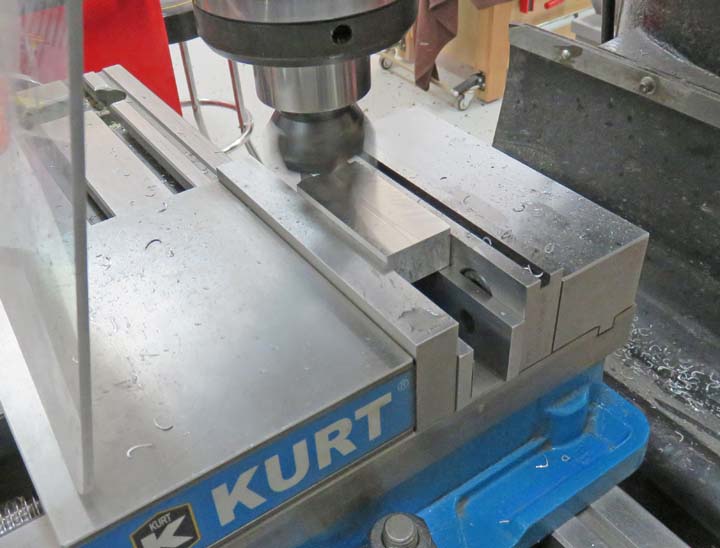
To keep the Buzz Wire attached to the wall, I'm going to make some
blocks out of 6061-T6 aluminum. The material size is 1 1/4" X 3/4" which
should work perfect for this.
|
|
 |
I squared each block but only did a minimum clean-up on each one.
|
|
 |
|
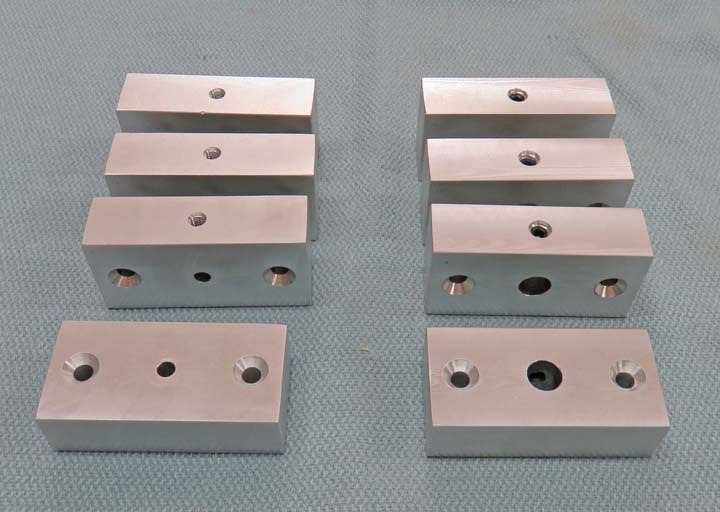
I'm making two sets here: one for Open Door Escape Games
and one set for the other room. The blocks on the right with the larger 3/8" hole
will fit the buzz wire and fasten to the wall. The set screw in the
middle will keep the buzz wire in place.
The blocks on the left will also be fastened to the wall but will hold some 3/16" bar stock. This 3/16 steel bar will be
used to start and end the game with (one at each end).
|
|
 |
|
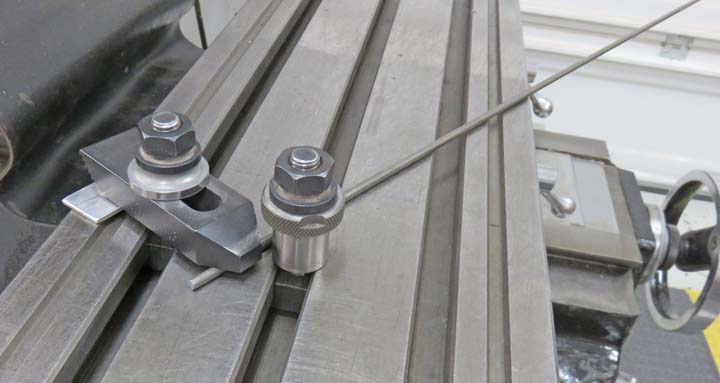
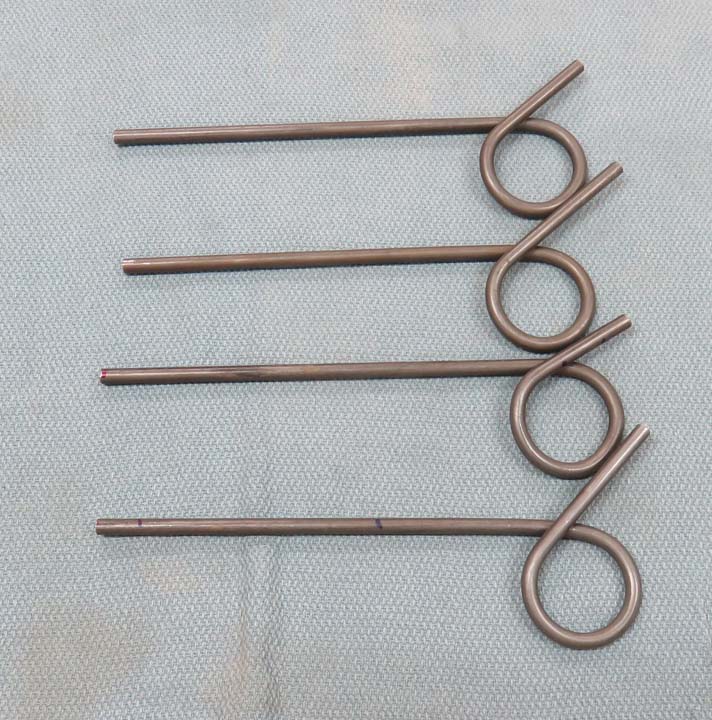
Here I'm bending the 3/16" steel bar around a bushing.
These are going to be the start and end pieces I talked about. Just like the
larger 3/8" diameter material, no heat is required, just bend it.
|
|
 |
Here I'm making a 1" circle and I'll leave a few inches of extra material
before cutting it.
|
|
 |
Here is what I have so far after bending. Now it's time to trim off the
shorter end.
|
|
 |
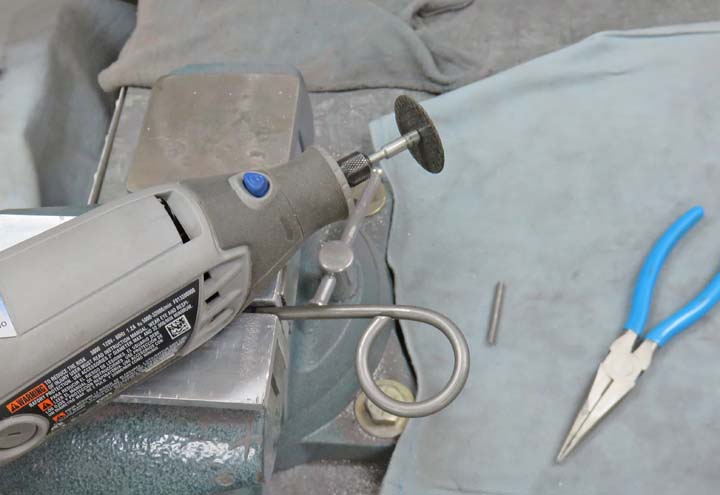
I used my Dremel to cut the material, which gave me a nice circle.
|
|
 |
|
1
2
3
4
5
6 |
