|
Working With Brass Continued
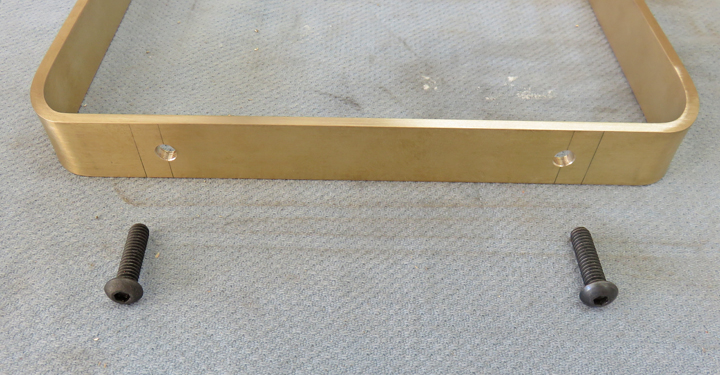
Next it was time to drill some holes to mount a mid-level piece. This
mid-level piece will be fastened to the U shaped piece but will also
allow me to mount a round handle as well.
|
|
 |
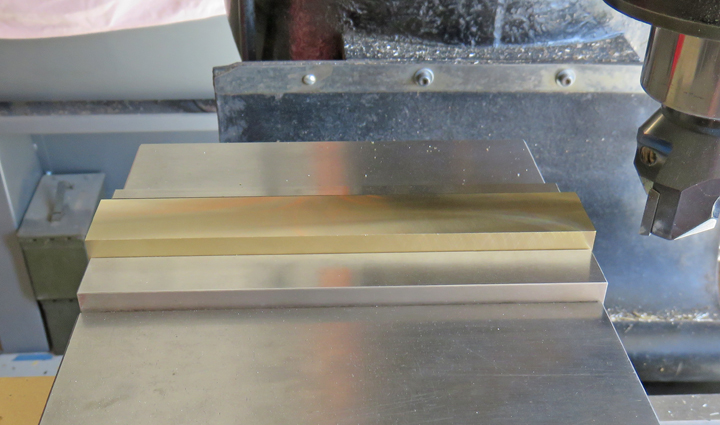
This piece of brass started out being 1" X
1" X 8" long but I cut it down to 6" in length. Here I'm cleaning up all
four sides and then I'll clean up the ends.
|
|
 |
I'm transferring the hole location to my mid-level piece below. Then I
drilled and tapped some 5/16-18 holes for my button head cap screws.
|
|
 |
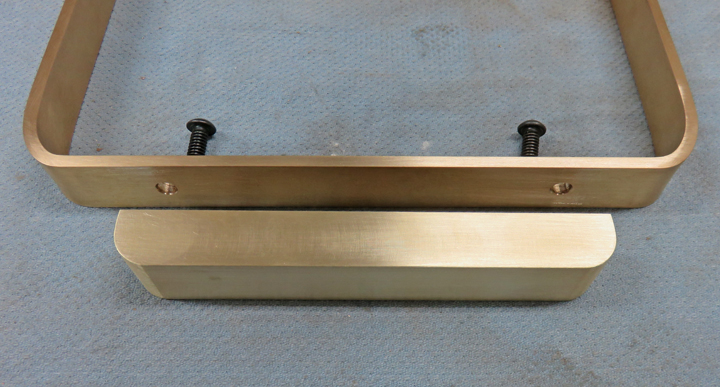
I didn't like the blocky look so I used a corner round tool with a 1/2
radius to soften the ends.
|
|
 |
|
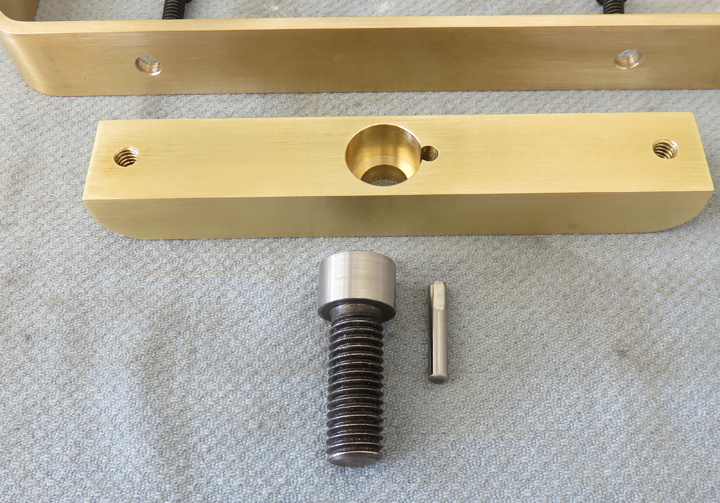
I'm getting ready to mount a round handle to the
mid-level piece and knowing what people might do while playing an escape
game, I made it much harder for someone to unscrew the actual handle.
That's a 1/2-13 socket head cap screw that I'll be using along with a
3/16" hardened steel dowel pin to the equation. This should prevent
anyone from being able to remove the round handle. All this will make
sense in a minute.
|
|
 |
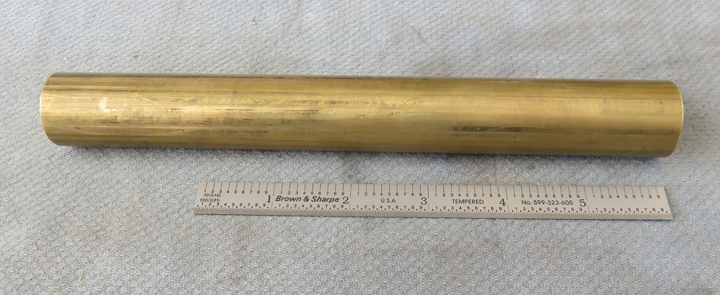
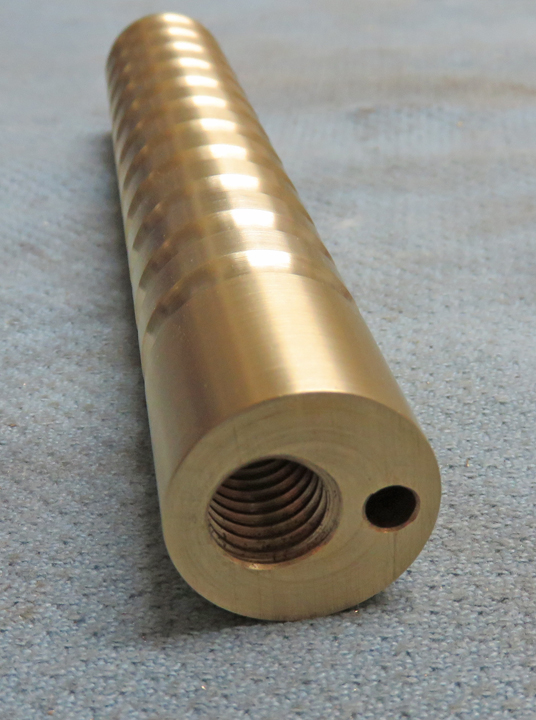
This brass bar is 1" diameter X 8" long. I'm going to cut it to 6" long
and machine it into a handle.
|
|
 |
I figured out exactly where I wanted the tapped hole to be in relation to the
dowel pin. Then I drilled and reamed the 3/16" dowel pin hole first and
then tapped the 1/2-13 threads.
|
|
 |
|
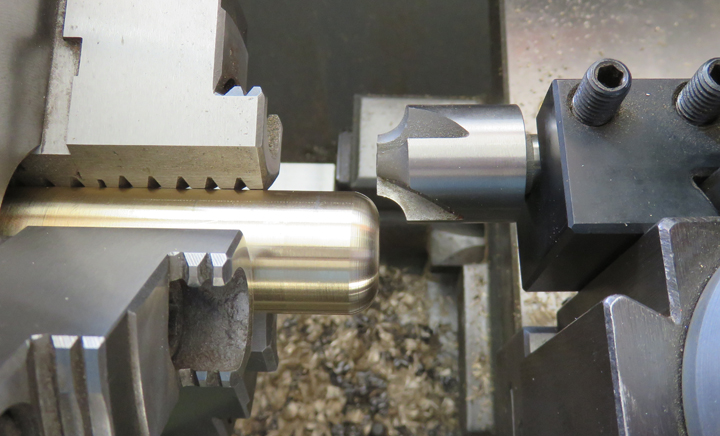
Next I cleaned up the diameter and also put a 1/4"
radius on one end. Now this is an unconventional way of putting a radius
on something in a lathe because this is a milling tool. But when you
don't have the correct concave radius lathe tool, you make do with what
you have. Whatever works you know!
|
|
 |
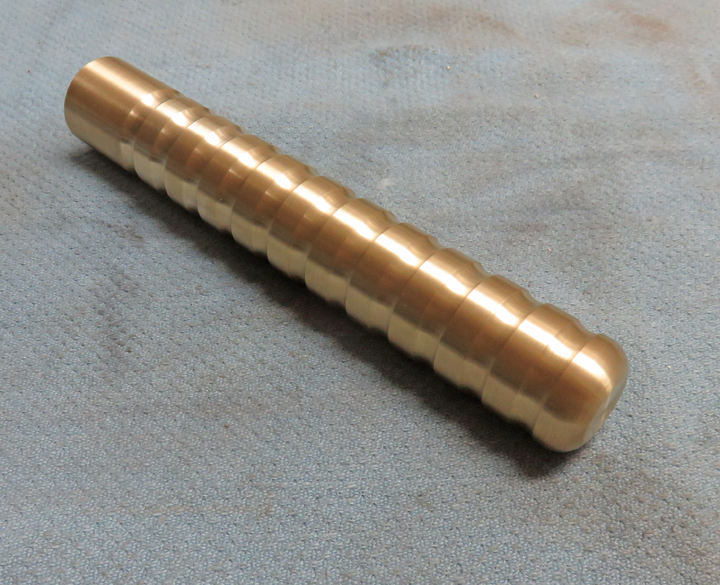
I put a series of grooves with a radius along the length of the handle.
This does two thing: first it's easy on the hands and second, it's easy
on the eyes.
|
|
 |
Here you can see how the bolt and dowel pin arrangement is, and how it
will prevent someone from unscrewing it.
|
|
|
|
1
2
3
4
5
6 |