|
Assembly
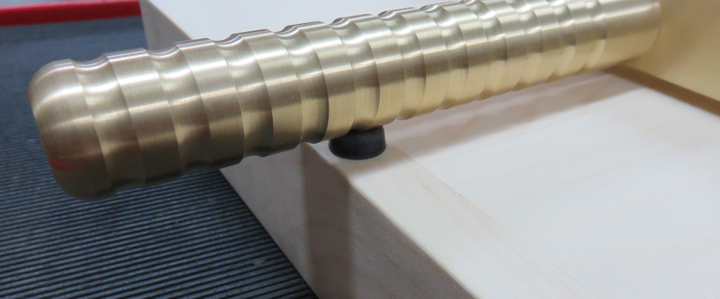
Once I had the brass pieces assembled I noticed that the
round handle was against the wooden box while it was in the lowered
position. I knew right then that the handle might put a dent or
maybe something worse might happen so I added a small rubber
pad to help cushion things. I guess time will tell if this works or not.
|
|
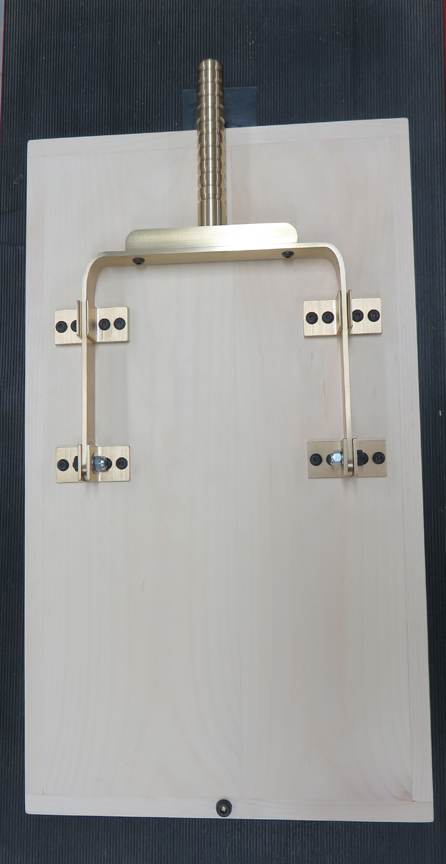
Once the switch is in the upper position the round handle doesn't touch
the box because I added the rectangular spacers under the upper contacts,
but you can't see them in this picture.
|
|
 |
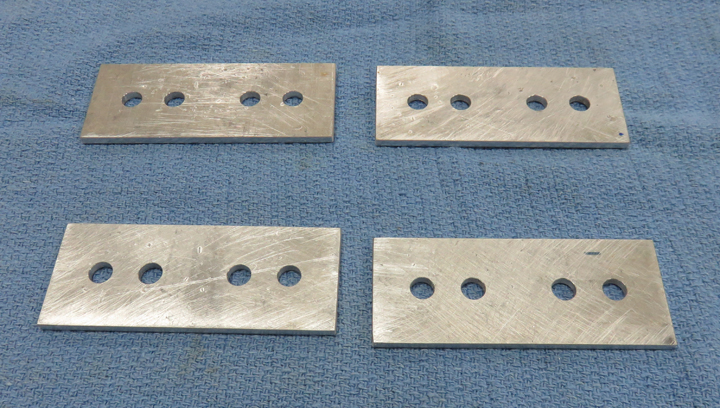
The pieces that I'm talking about above look just like these pieces and
they are both 1/8" thick. However, the pieces below I made out of
aluminum and will be used on the backside of the box.
|
|
 |
|
These aluminum pieces are taking the place of washers
that might eventually crush into the soft pine once the bolts are
tightened. So in place of washers, I made these plates to help
distribute the load. I'm also using lock-nuts on all the bolts to make
sure nothing comes loose during game play.
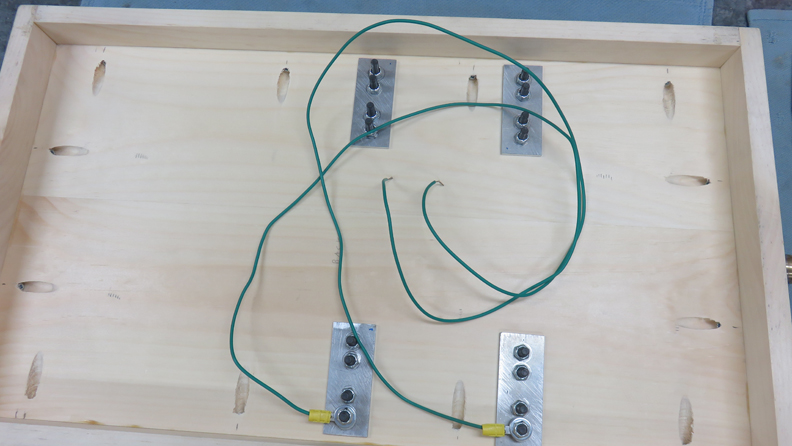
I've attached some wires to each side of the contacts
because remember, this will be a real working switch. Now it's time to take it all
apart and do some final details.
|
|
 |
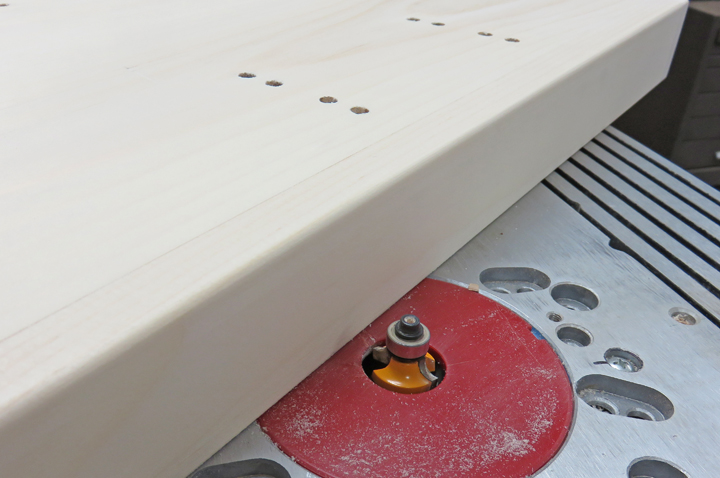
Here I used my router table and put a 3/16" radius on the outside edges
of the box.
|
|
 |
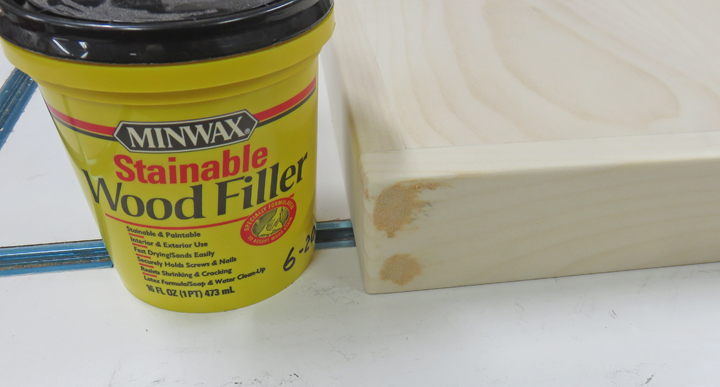
Next I filled all the small nail holes with wood filler. The next day I
sanded everything smooth.
|
|
 |
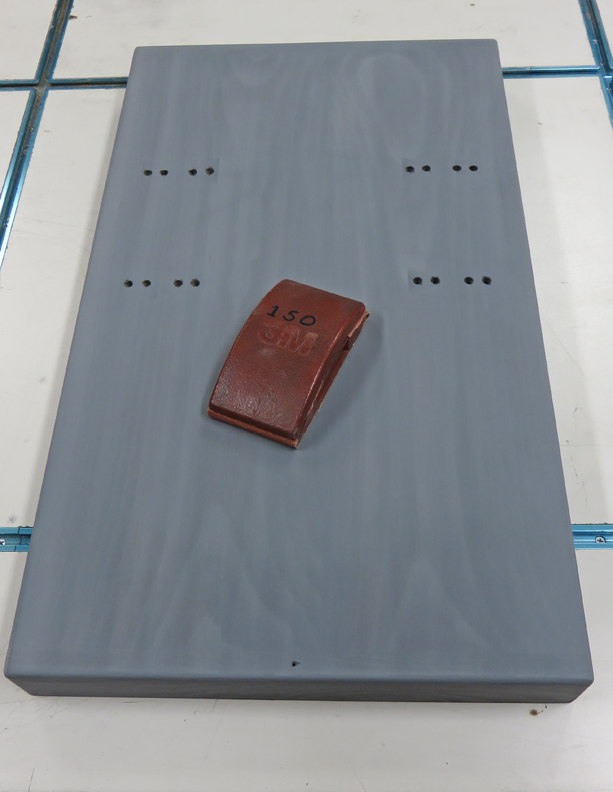
I used a spray primer and once it was dry, I sanded everything
lightly with 150 paper to remove all the dust and small high spots.
|
|
 |
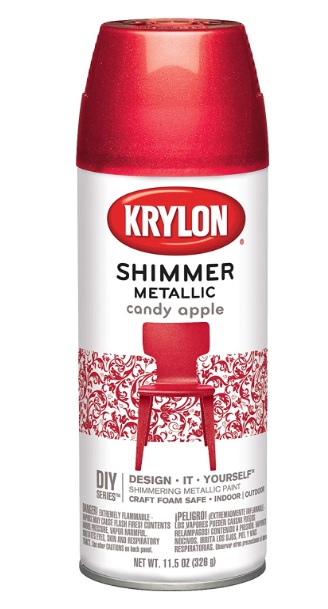
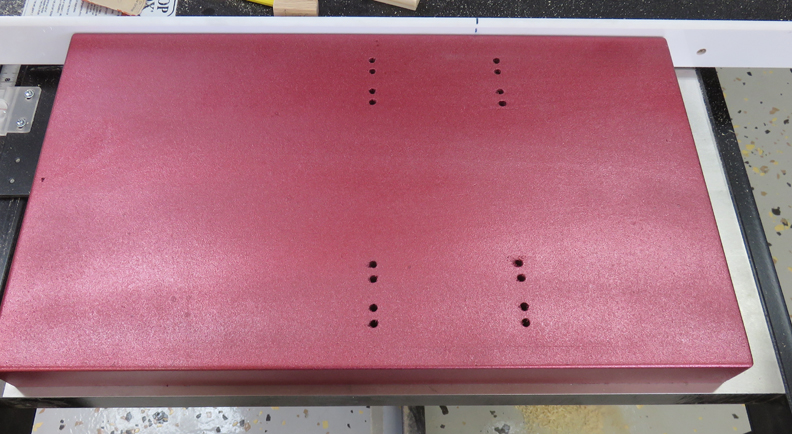
My daughter picked out and bought this candy apple metallic spray paint
which she thought would look good. I thought the same thing, until I
started using it that is.
|
|
 |
|
This spray paint was by far the worst that I've ever
used. I could not get the paint to exit the nozzle for more than one or
two seconds before it would clog. And most of the time it would clog as
soon as I pressed the nozzle down. I tried everything I could think of
to help clean the nozzle, lacquer thinner, small pins, small drills,
larger drills (I had nothing to lose here) but nothing worked.
|
|
 |
|
As you can see the surface looks terrible, so I sanded
it all off and used a different color red that I thought would look
nice. But Angela didn't care for this new color and they decided to sand
that off as well and use a totally different color. But once you see the
finished pictures, then you'll see why. If I only knew I could have
prevented all this headache.
|
|
 |
|
1
2
3
4
5
6 |