|
Working With Wood Continued
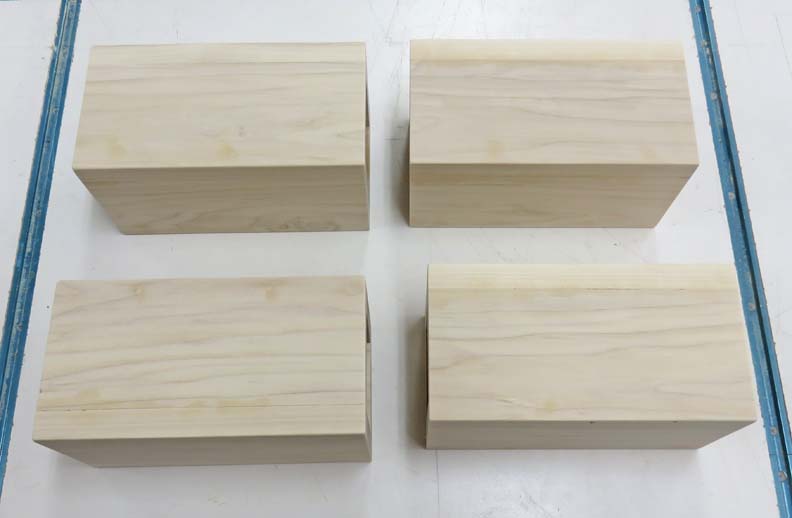
I trimmed each leg one more time to make sure each one was square and
to the right length, which is 8.0" exactly.
|
|
 |
|
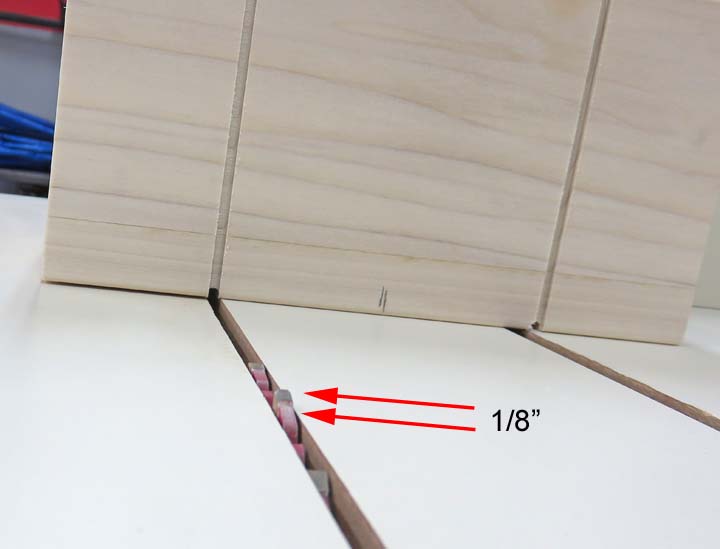
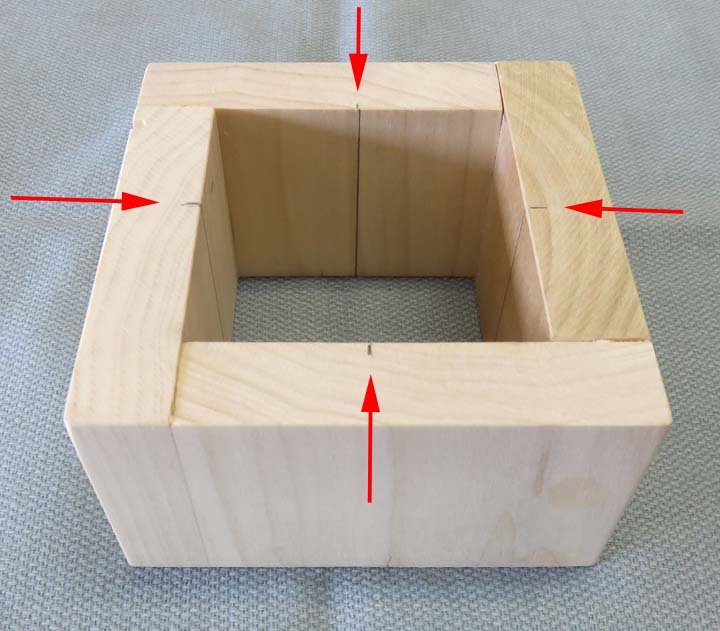
Next I set my table saw blade height to 1/8" and cut all
four surfaces exactly 2.0" from each end. Then I moved my work stop and
cut the center of each one the same way.
|
|
 |
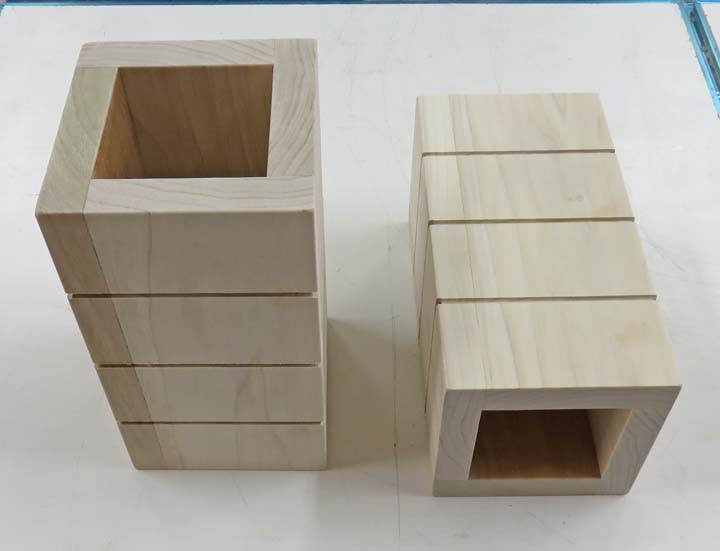
This is what the legs look like now. Can you guess why I
cut them like this? Hang in there and you'll see.
|
|
 |
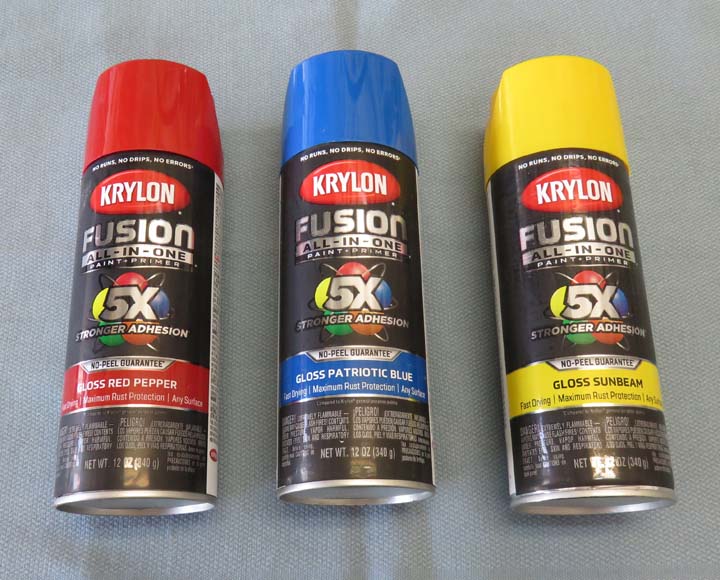
These look like Lego colors to me.
|
|
 |
I shot the red on the sides and everything went great. Now it's time to
layout for the legs while I let the paint dry.
|
|
 |
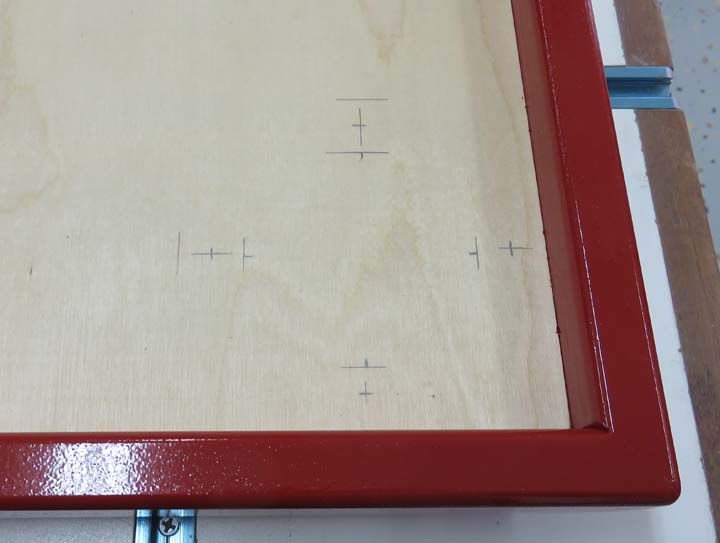
This is the leftover piece from the legs. I decided to use it for laying
out the legs by marking each side with a centerline.
|
|
 |
I then placed my layout block in the each corner and transferred my
lines that represent the screw locations for each leg.
|
|
 |
|
Next I drilled and countersunk for each screw location.
Then I placed each leg in their corresponding corners and transferred
each hole location using my transfer punch. This process went fast and
then I drilled each leg for some screws.
|
|
 |
|
Here I'm painting two of the legs with some blue paint.
My plan is to paint each 2.0" section a different color and in a
different sequence. I had to bring in my painted pieces here-and-there
because the weather wasn't cooperating. One minute is was nice then next
minute it was drizzling. This went on for three or four days while I was
painting.
|
|
 |
|
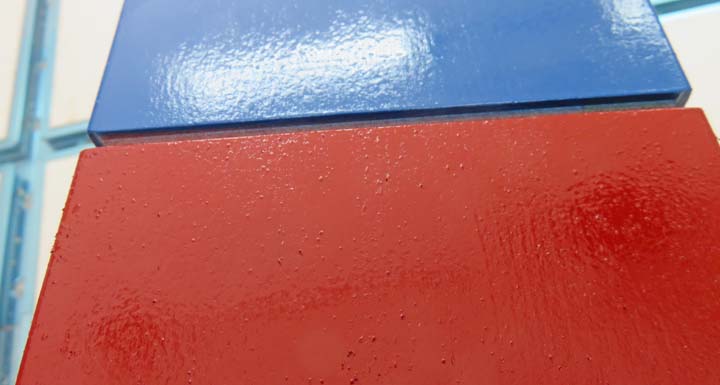
The next day I masked over the blue and changed colors.
Well, things didn't' go well because if you look close you can see there
are a bunch of raised spots in the red paint. Those spots are very small
bugs that I noticed after spraying my second coat. I could hardly
believe this was happening but there it is. However, the blue looks
great but again that was the day before. Now I'll need to fix this.
|
|
 |
|
1
2
3
4
5 |