|
Main Rotor Nut Clock Continued
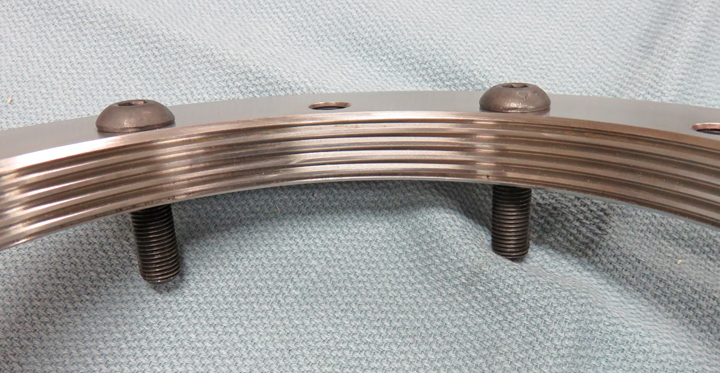
Here's a better view of the seated bolts,
which looks much better. Now it's time to make some provisions for some
hanging hardware.
|
|
 |
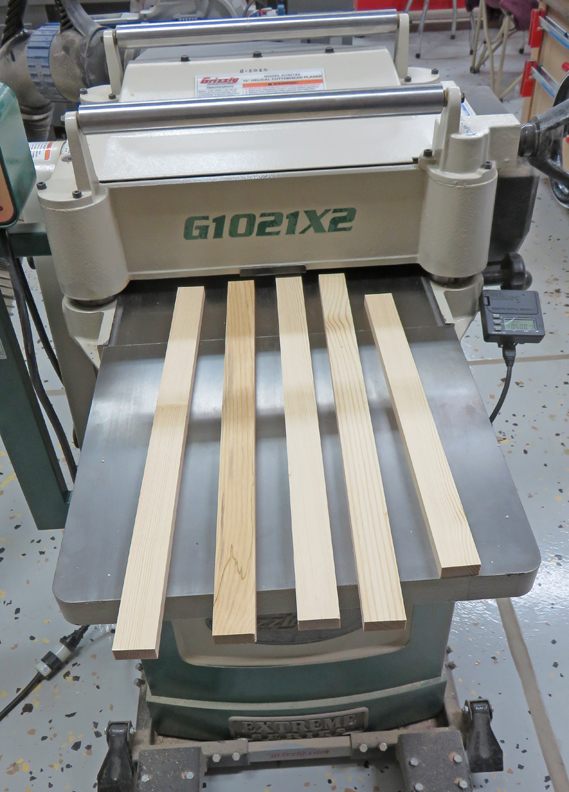
I ripped some pine to 1 1/2" wide and then I ran them all through my
planer.
|
|
 |
Next I cut them all to 5" long.
|
|
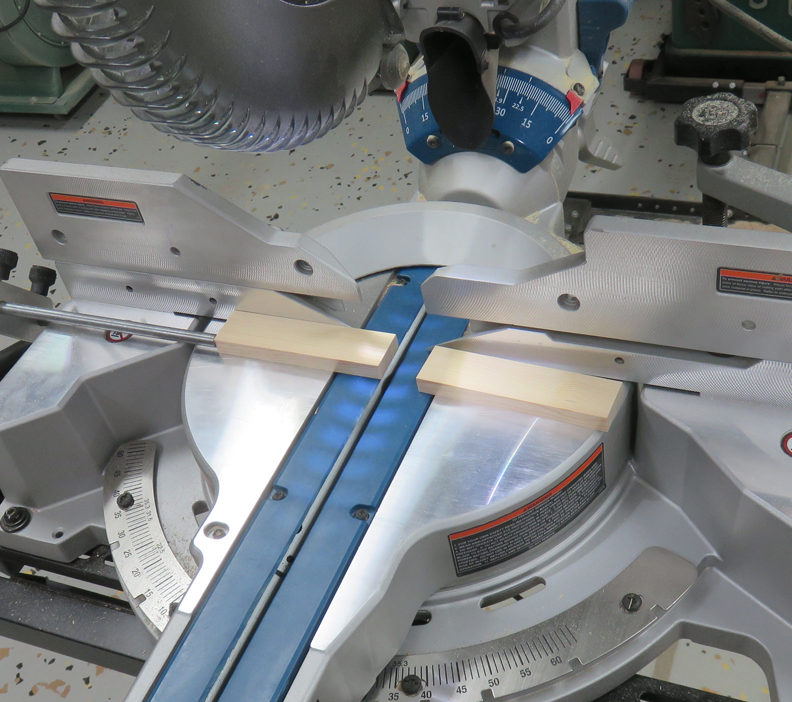 |
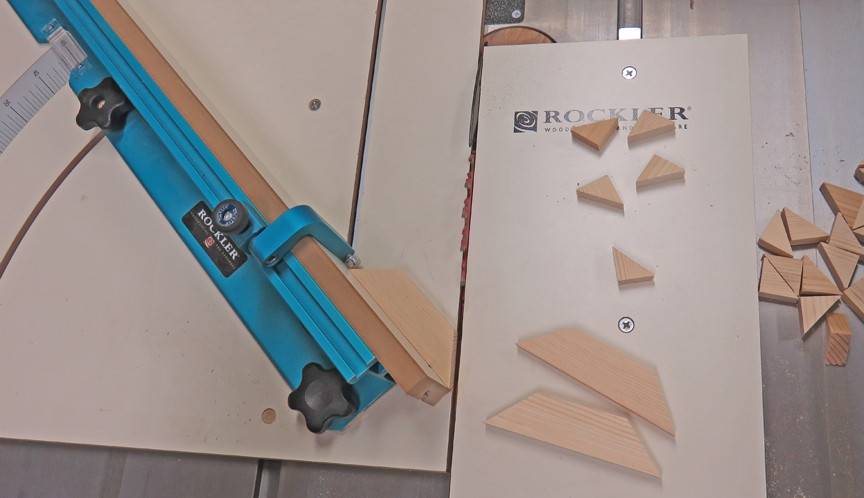
I used my cross-cut sled to put a 45 degree angle on each piece. This
works out better here than my miter saw because of the fine adjustment I
talked about earlier.
|
|
 |
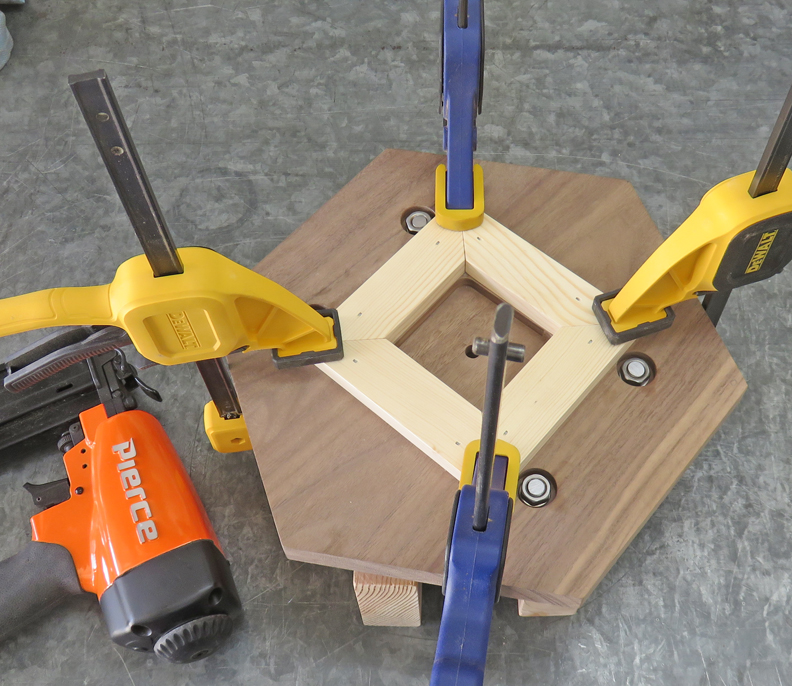
The next step was to attach each piece to the back. I clamped each one
in place and then used my pneumatic nailer to fasten them in place.
|
|
 |
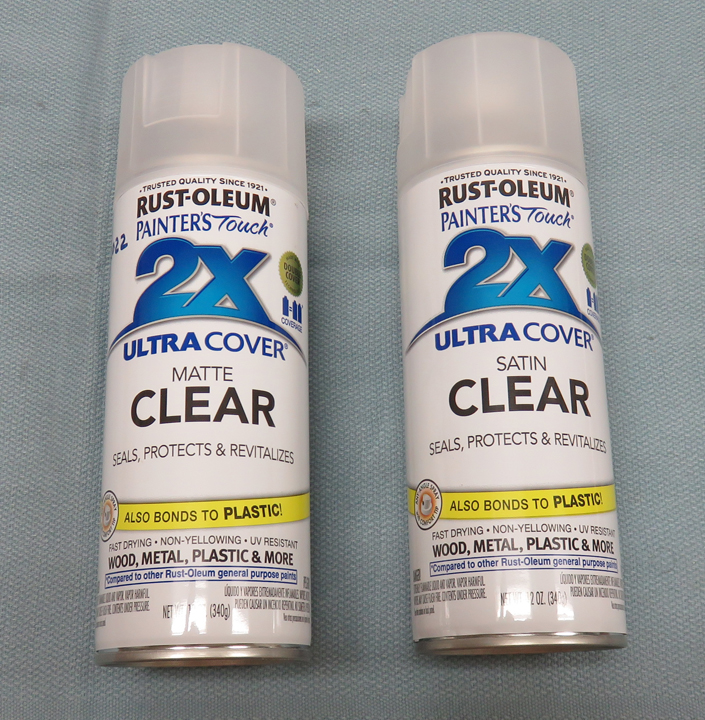
I happen to have both of these on my shelf so I used the matte finish on
the rotor nut and the satin on the wood. The reason I sprayed the metal
pieces is so they won't oxidize.
|
|
 |
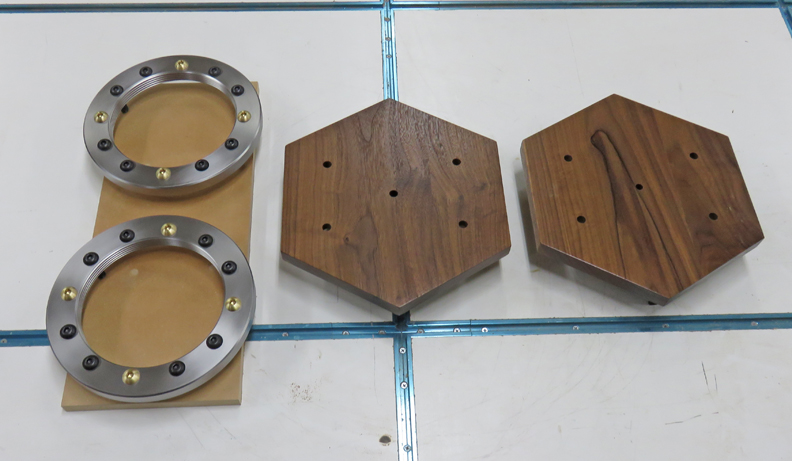
Just out of the paint booth (side of my yard) and almost ready for assembly.
|
|
 |
|
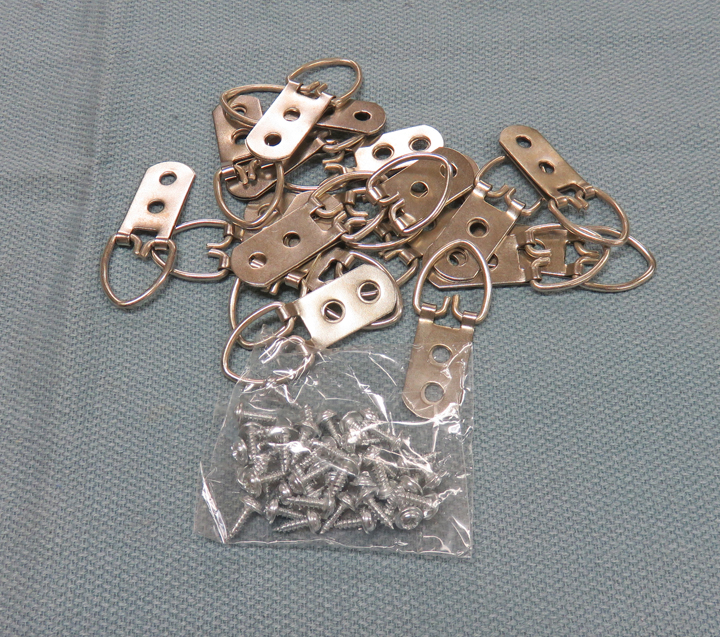
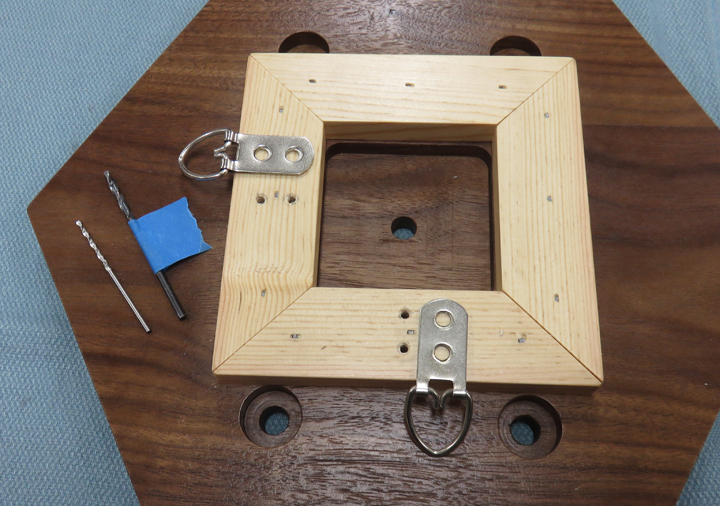
I bought a bag full of some picture hanging hardware
but I won't be using those short screws. These pieces are made out of
stainless steel and they have two holes to mount them with. I could've bought
some with only one mounting hole but these clocks are heavy, hence the
reason for the two holes.
|
|
 |
I made provisions for two mounting locations because someone might like
the flats on the top & bottom, or they might like the points at the top
& bottom. This way they have choices.
|
|
 |
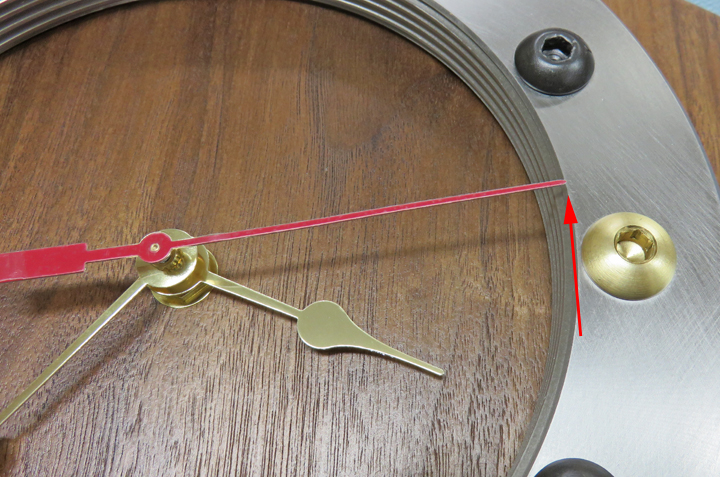
The second hand was a little too long but I knew that when I bought
them. No big deal because the hands are easy to trim.
|
|
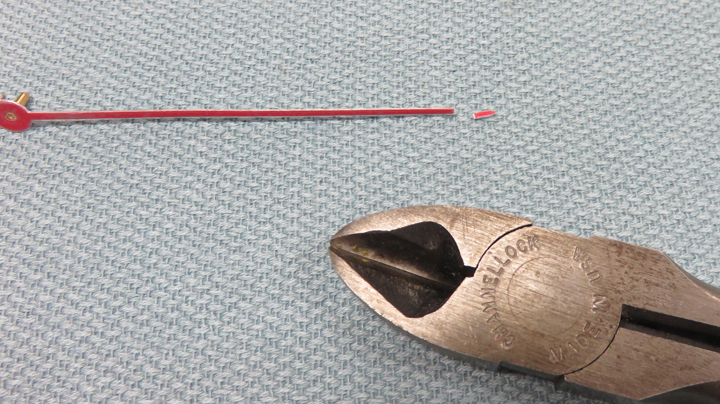
I quick snip with some wire cutters and I'm good to go.
|
 |
|
1
2
3
4
5 |