|
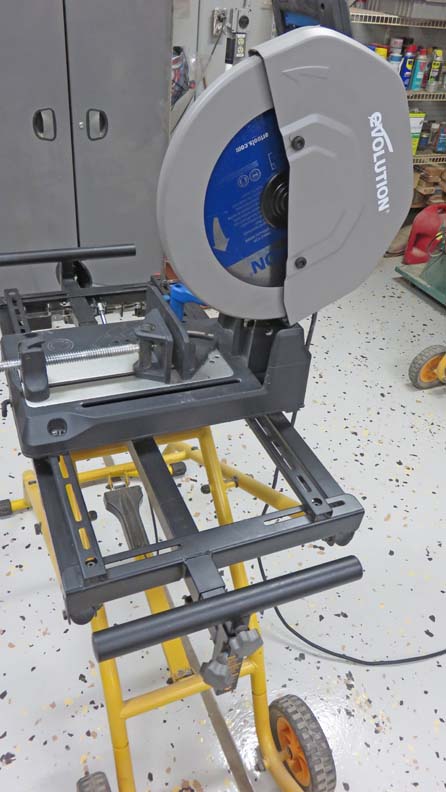
I've been using my metal cutting saw for over two
years now and it's been working great. However, when it's time to cut a
few pieces of the same length it can be a challenge to make each part
the same size. This is why I
made a saw stop for my wood cutting
saw so I could make repeated cuts of the same length. So this
project will be a "Saw Stop" for my metal cutting saw that is long
overdue.
I'm going to put the saw stop on the right side only,
unlike the wood saw that can be used on either side. Why only the one
side? I just felt this saw was designed to be used this way, compared to the
wood cutting miter saw that has an equal size deck. And with an equal size working
area it's easy to use from either side.
|
|
 |
|
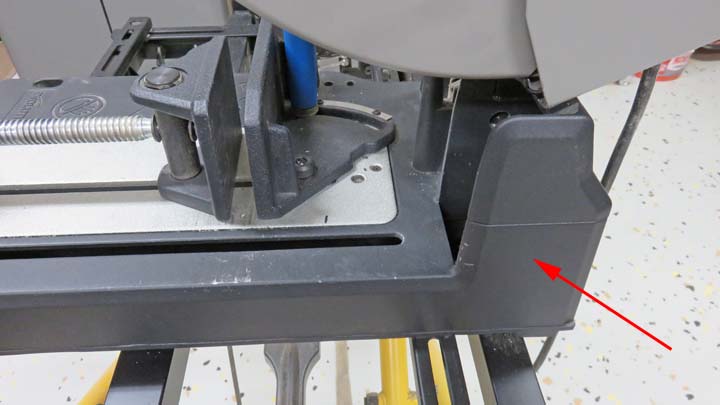
The black material used on this saw is cast aluminum.
What I'm going to do is attach my work stop to the rear of the frame
(arrow)
using two screws and it will be adjustable.
|
|
 |
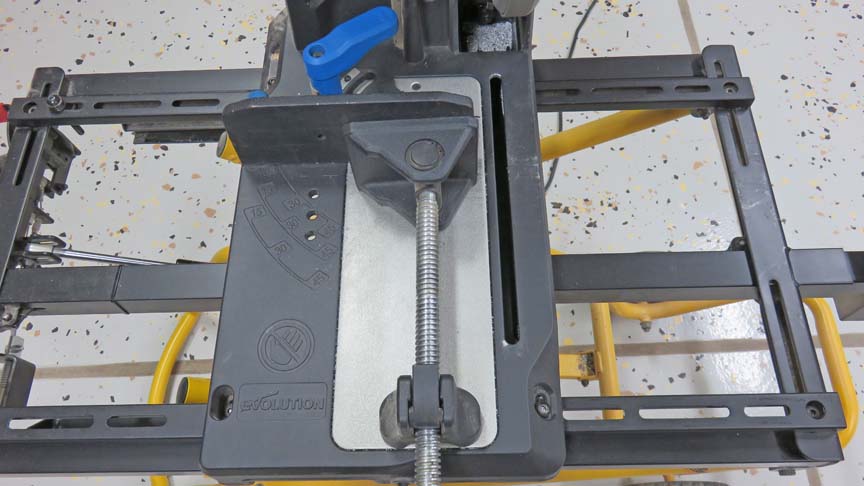
The reason I'm making it adjustable is because the solid jaw can be
moved forward or backward. This way the stop can be used at either
location. Anyways, lets jump into this project and start working with
metal.
|
|
 |
|
Working With Metal
I'm going to use aluminum and steel for this project.
What you see below is 3/8" diameter mild steel round bar. This will be
used for the adjustment rods.
|
|
 |
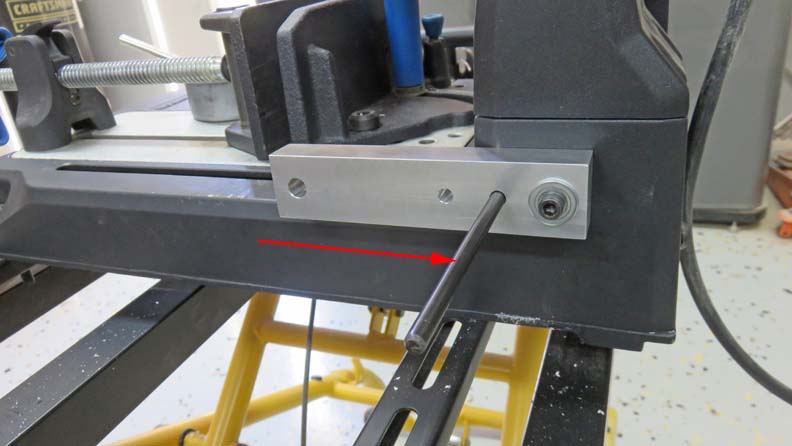
This aluminum piece will attach to the saws frame using two 5/16-18
screws. What I'm doing here is using a transfer punch (arrow) to help give me
the locations of the threaded holes that I'll need to drill.
|
|
 |
I used a center punch and then a smaller drill to make sure the location
of the holes were in the right spot. Then I came back and used my tap
drill which followed my smaller hole.
|
|
 |
|
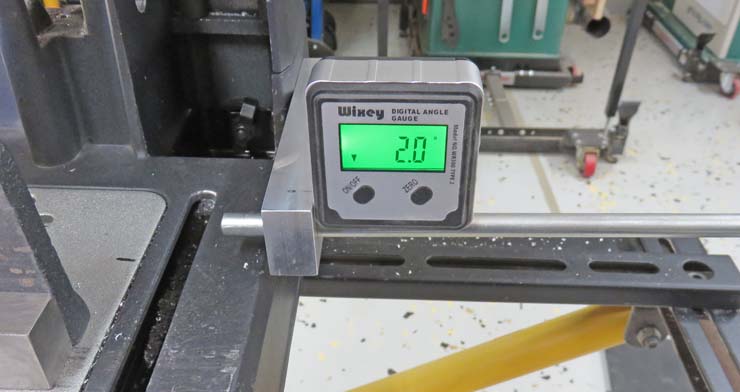
Once my aluminum piece was bolted to the saw, I needed
to find out what angle was used when the frame was made. To give you a
little history about how they make things out of cast aluminum, it's
basically the same process as when making a plastic injection mold.
Both need to have what's called 'draft angle' so the parts being made can be
released from the mold easily.
In this case, my digital angle finder told me it was two
degrees so this is what I'll need to incorporate into my aluminum piece.
If I don't put this angle on piece, then my work stop would sit at this small
angle and depending on where the stop was at, it might miss locating my
work piece all together.
|
|
 |
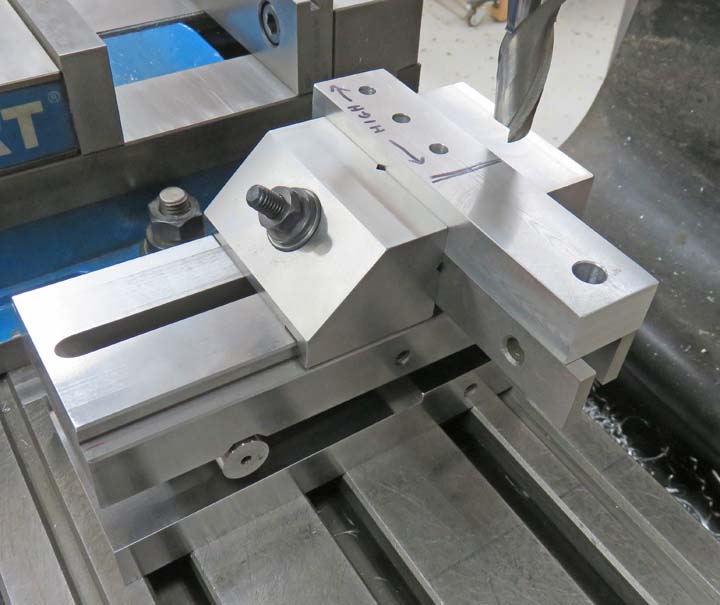
I used my sign vise set at two degrees to hold me work piece which made
this step very easy. I cut across my work piece up the the line and
called it good.
|
|
 |
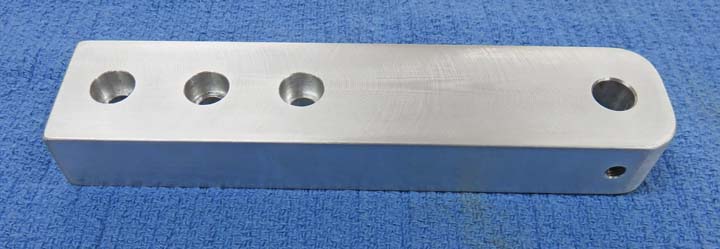
This part of the work stop slides along the 3/8" round bar and can be
rotated out of the way when it's not being used.
|
|
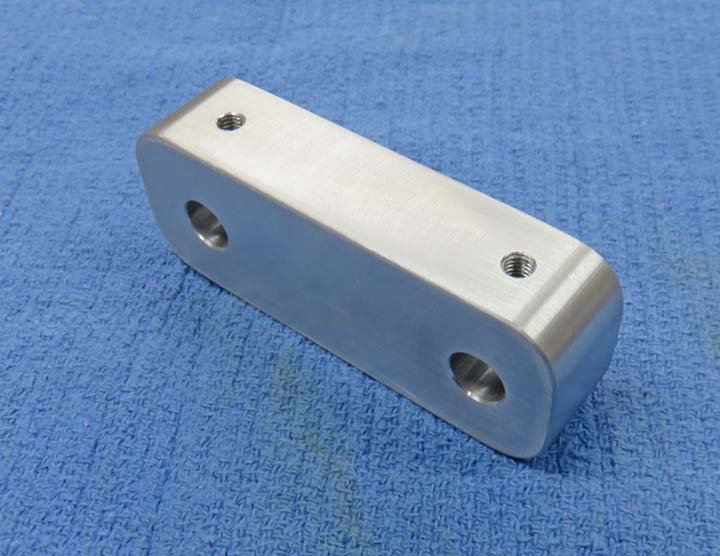 |
Here is a close-up of the part that will be fastened to the frame. I'll
be using two of the three mounting holes, depending on where the solid
jaw is located.
|
|
 |
|
1
2 |