|
Working With Metal Continued
What I'm doing here is shortening 18 bolts by about
3/16". Normally I'd just use my belt sander but this amount of material
was easier to do here and it went much faster too. However, when I was
through here, I did use my belt sander to deburr the ends.
|
|
 |
Before and after machining. The size of
the square is .275", which is an odd size but it looks right
against the 1/2" metal.
|
|
 |
|
Now that the bolts are done, it's time to work on the
washers. I'm machining the outside diameter (OD) of all the washers to
remove the galvanized coating. This is necessary because later I'll be
using gun bluing on the bolts and washers and I'll need raw metal to
work with. The washers are in the center and are shinny.
|
|
 |
|
Once I had all the OD's machined, I needed to remove the plating from
the flat surfaces. Here I'm using a magnet to hold the washer and then
some 150 grip paper to scrape away the plating. This went pretty good
but I wouldn't want to do a bunch this way.
|
|
 |
|
I made this fixture out of a bolt to deburr the OD of
the washers. The washer goes on the top piece, then the aluminum spacer
is next, the washer I need to deburr, another aluminum spacer, and last
is a washer and nut to hold everything nice and tight.
|
|
 |
Once everything is clamped down, I used a small file to deburr each
side of the washer. This went pretty fast despite the fact I could only
work on one washer at a time. No big deal, I only had 18 of them.
|
|
 |
|
Working With Chemicals
Now that all the metal pieces have been machined, it's time to use
some gun bluing to make them all black in color.
|
|
 |
|
The first step is the cleaner. The dish on the right has
the cleaner in it and the larger dish has water. I used tweezers to hold
each bolt while I swished it around in the cleaner. Then I dropped each
one into the water, and then onto the towel to dry them.
Once they were all clean and dry, I put the gun bluing
in the smaller dish and repeated the process. For the gun bluing, I counted to 30 and then
placed them in the water to neutralize the chemicals.
|
|
 |
A few minutes later this is what I had. This was easy to do and didn't
take that long.
|
|
 |
|
I used the swab from above to apply the gun bluing to
this larger piece. Then I rinsed it outside using the hose. I did one
side at a time which is exactly how I did the wedding present. And last
I lightly went over the entire surface with some very fine steel wool
before using some oil to protect the surface.
|
|
 |
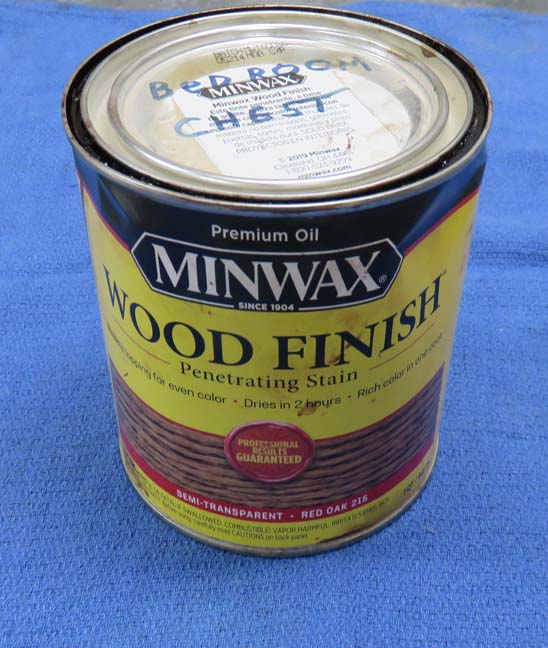
I used this same color stain for the wedding present so I'll be using it
again here.
|
 |
|
1
2
3
4
5
6 |