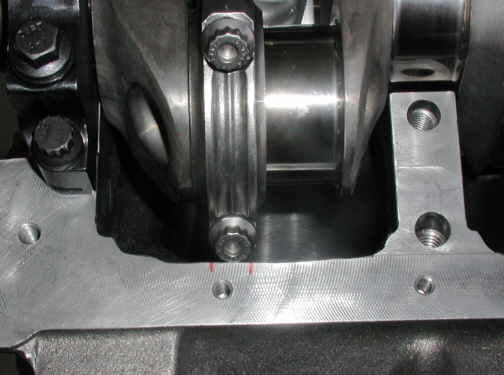
Here you can see where I marked the
block next to the rod bolt so I would know where to grind. There's a lot
of material that has to come out to make clearance for that long stroke.
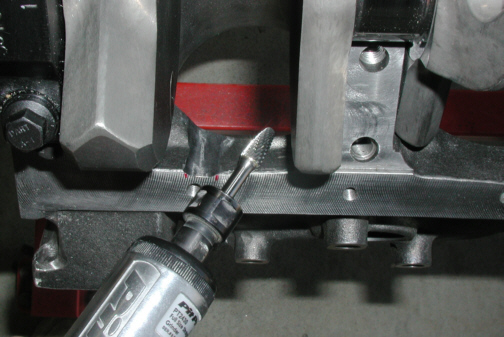
Now all we do is rotate the crank a little to make room for the grinder,
put a rag on the rod and crank and then grind and check.
|
|
|
On the last page we talked about how
thick the oil pan rails were and here is why that's a good thing. To
have the larger stroke crankshaft work, a minimum of .060" between
the rod bolt and block is the rule so that's what I made them.
|
|
|
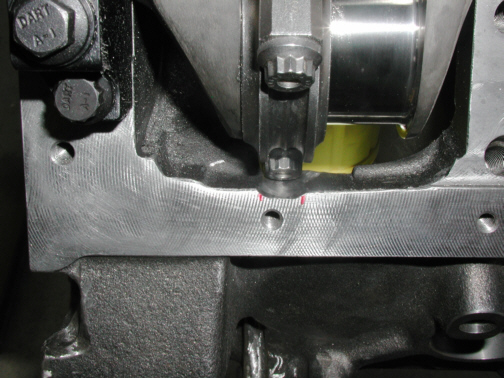
This isn't the best shot but you can
see that the bolt clears the block now. That new slot is about
.100" deep (close to an 1/8"). This had to be done on every
rod and also keeping track of them 1 through 8 in there respective
bores. As I bolted them up, I marked them with a Dremel on the rod and
rod cap. By using a small mounted wheel, it made the marking job easy
and permanent.
|
|
|
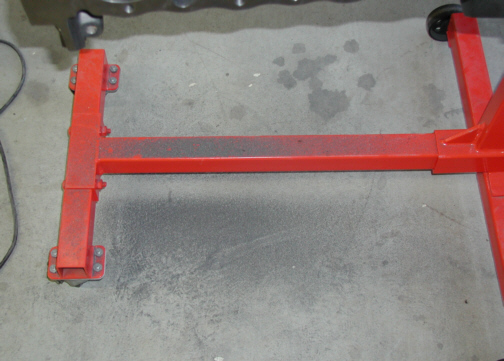
This is what the ground looked like
after I got done with all the grinding. What a mess. Now that were finished grinding, let's take a look
at more of the parts that go into it!
|
|
|
|
1
2 3 4
5 6
7 8
9 10
11 12
13 14
15 16
17 18
19 20
21 22
23 24
25
26 27
28 29 |
|
30
31 32
33 34
35 36
37 38 39
40 41
42 43
44 45
46 47
48 49
50 51
52 53
54 55
|
|
56 57
58 59
60 61
62 63 |