|
It's Finished Continued
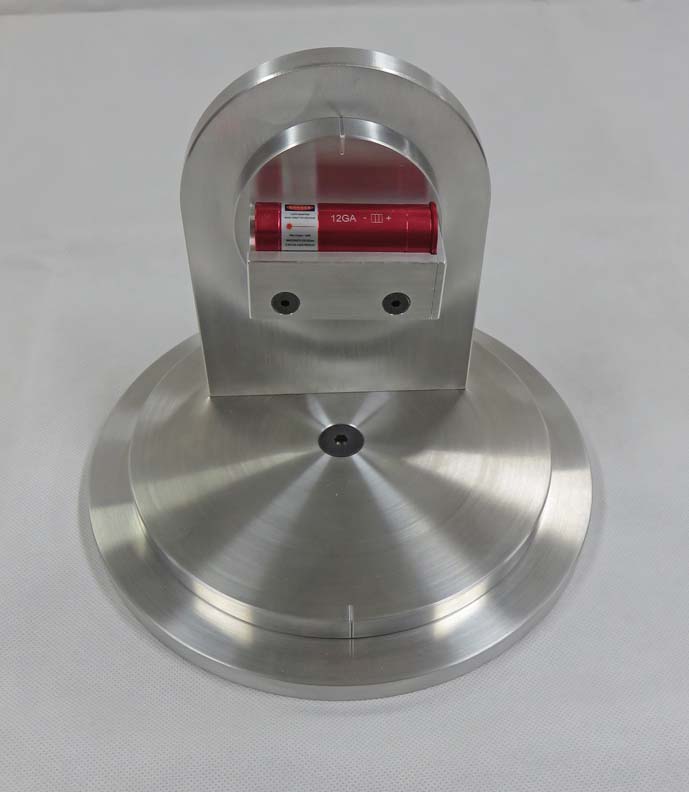
That laser pointer fits very well in that pocket.
|
|
 |
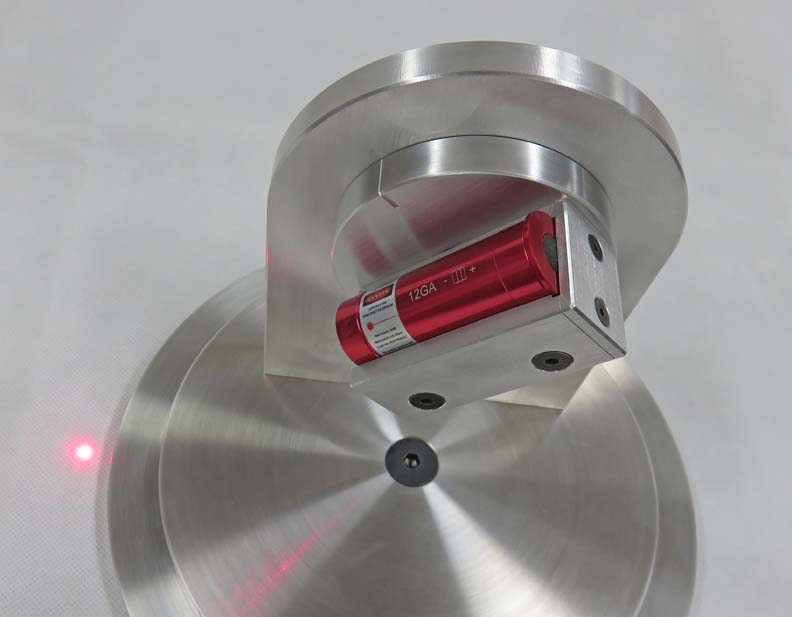
This is the extreme downward position when
it's against the stop.
|
|
 |
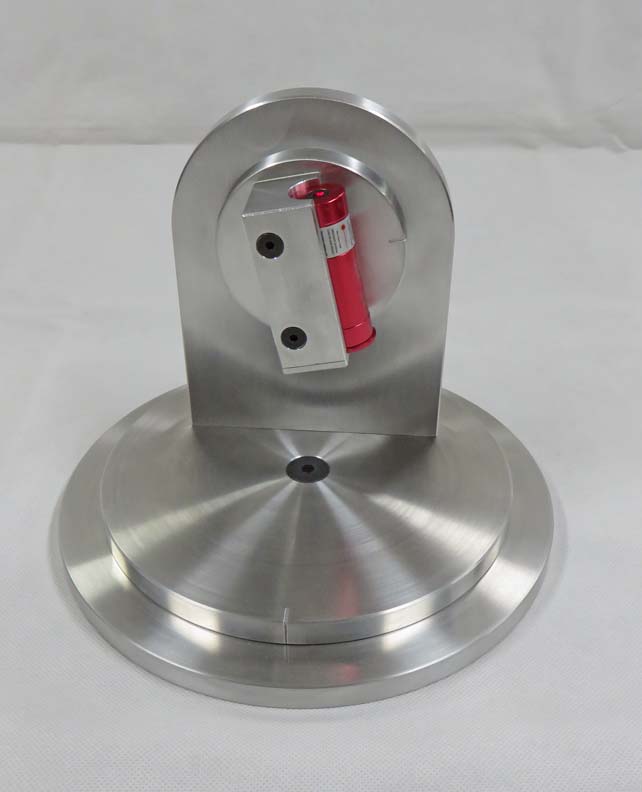
And this is the extreme upward position against the other stop. With
this much range, I'm sure Angela and Matt will have no problem finding
the right positions.
|
|
 |
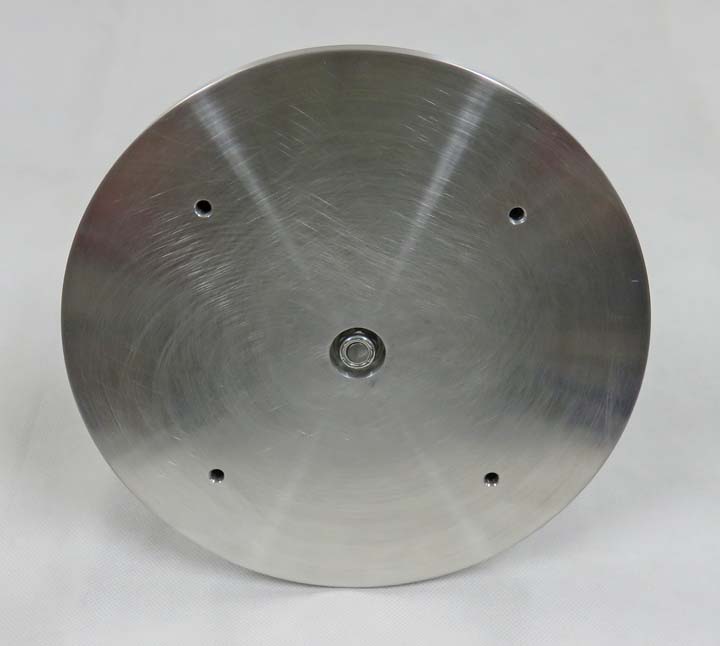
The base and the four 1/4-20 threaded holes to mount it with. This way
the fixture should stay safe and accurate.
|
|
 |
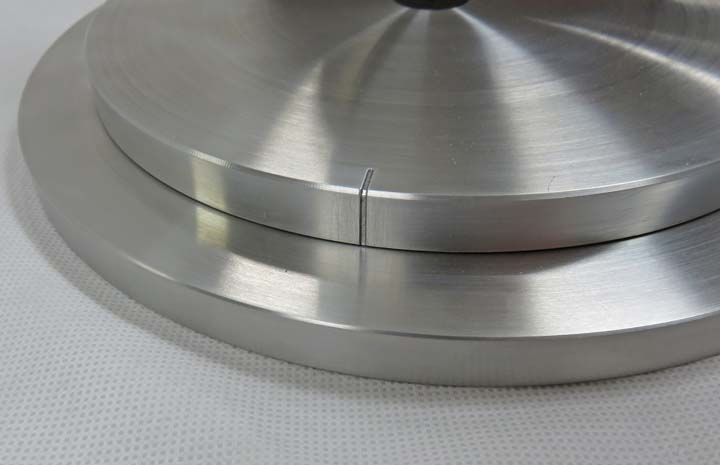
Just a close-up of the timing mark. This was a really fun project and it
was a pleasure working with metal again. I hope the people using the
Escape Room likes it as well.
|
|
 |
|
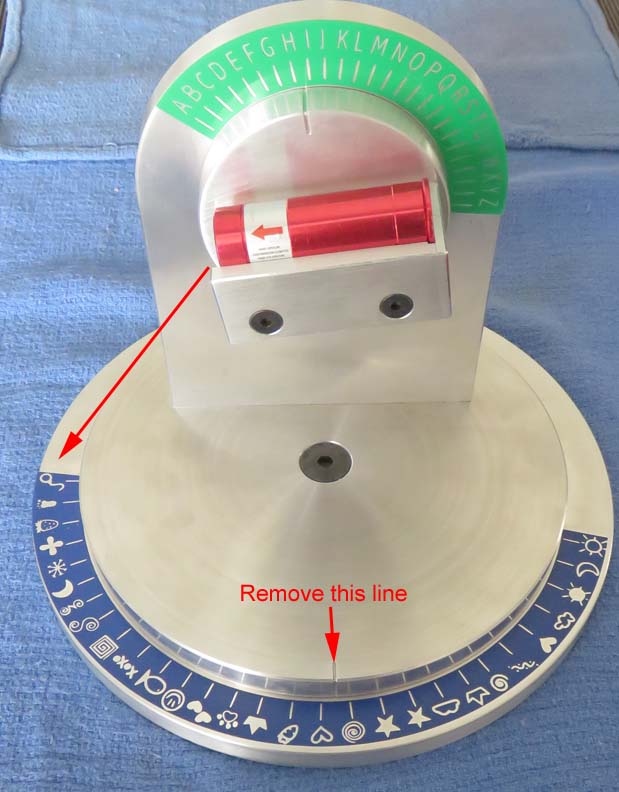
We Have Some Changes
Here is what the laser pointer looks like with the vinyl
stickers on it. However, Angela didn't like the placement of the bottom
pointer that I machined in it. And after listening to her complaint, I
agree, it should be inline with the laser pointer.
|
|
 |
What I'll need to do is remove this old line and then re-machine a new
one 90 degrees from that one (left arrow). But being real, the old line
would've worked, it just wasn't ideal for their application.
|
|
 |
|
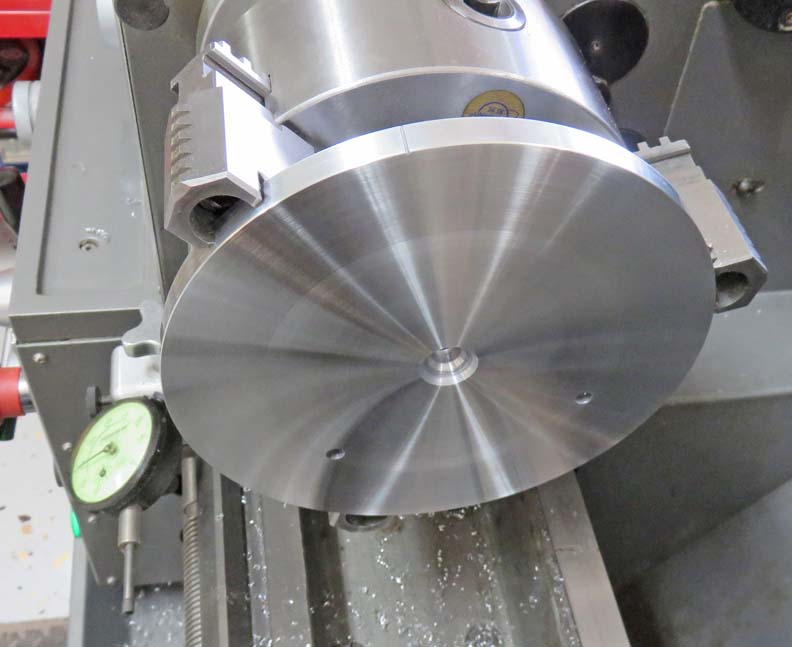
I took the laser pointer apart and then placed the part
in my lathe. I had to remove .015" from the face and then line was gone.
Once that was done, I changed setups and turned the outside diameter
until the outer line disappeared.
|
|
 |
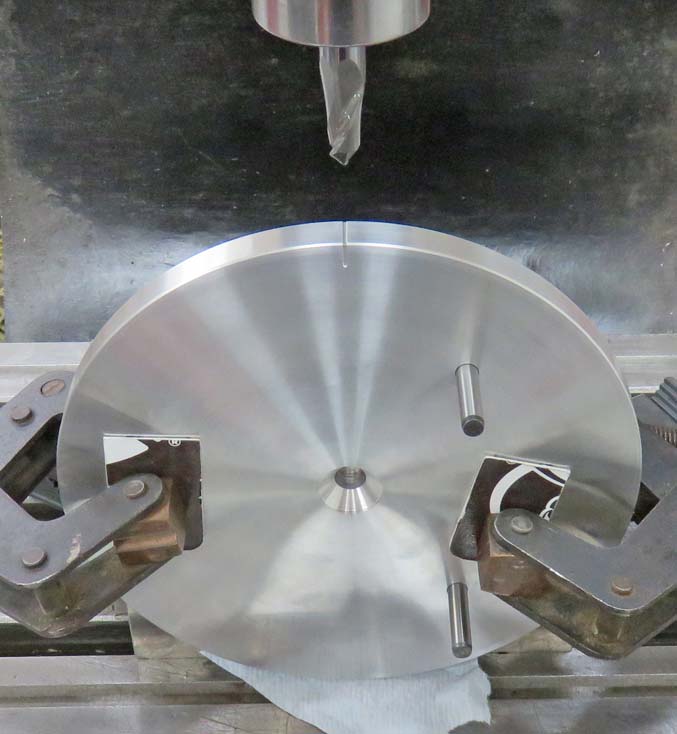
Next I used my milling machine to machine the new line 90 degrees from
the old one. If you remember, this requires three setups, outside
diameter (below), face and chamfer.
|
|
 |
|
1
2
3
4
5
6 |