|
My daughter's business at
Open Door Escape Games wanted
me to
build another game prop. Now this is something I like doing and it helps
keep me busy. This time I won't be working with wood, but I will be
using metal. Now this is right up my alley because for the most part,
metal working is a science, however, working with wood is mostly an art. Why?
Mostly because wood is dynamic.
Working With Aluminum
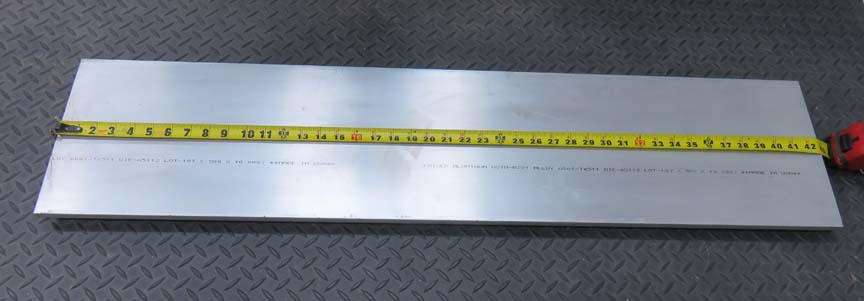
I'll be making a laser pointer fixture that will have a
base that rotates along with a second axis that will move as well. And
nesting in this fixture will be the laser pointer. The material that I'll
be using is 6061-T6 aluminum plate that is 1/2" thick. I'll be cutting my
pieces from the plate below, which will consist of five pieces.
|
|
 |
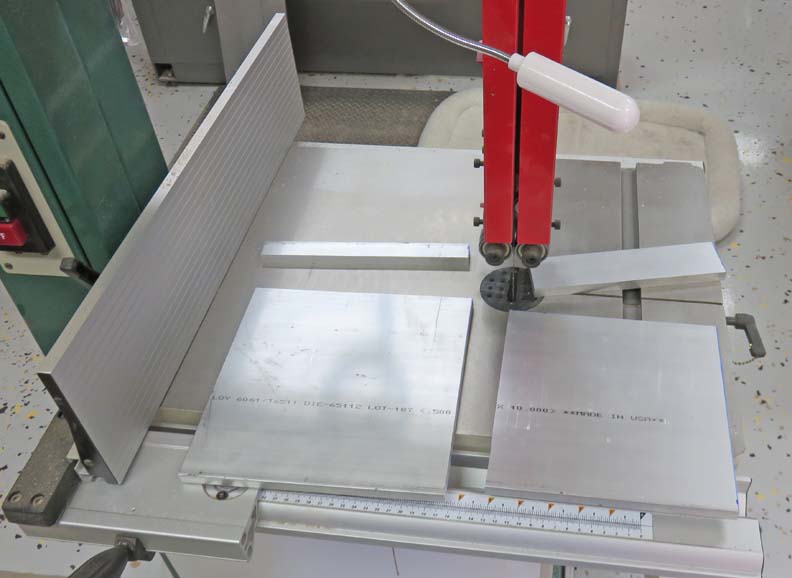
I used my bandsaw to cut out the pieces which
worked great. The sizes are: 9" and 8" square.
|
|
 |
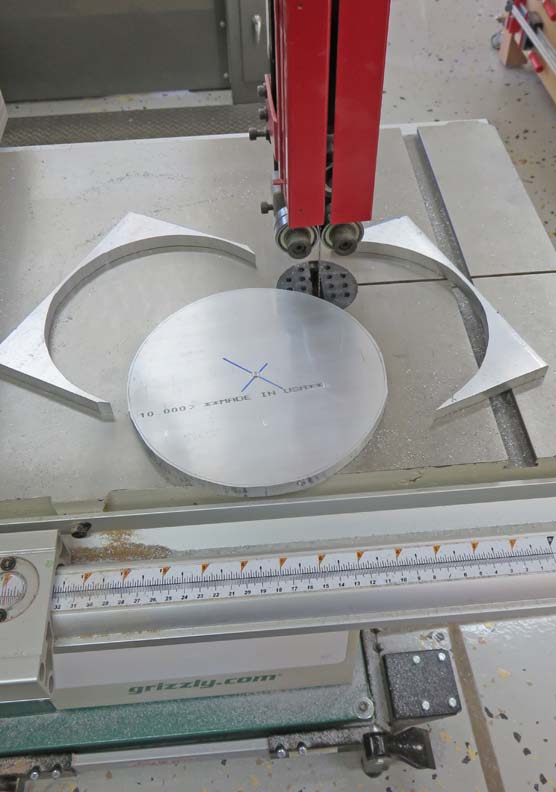
I found the center and then drew a circle that was 8 1/2" diameter for one
piece and 7" diameter for the other, then cut them both out.
|
|
 |
|
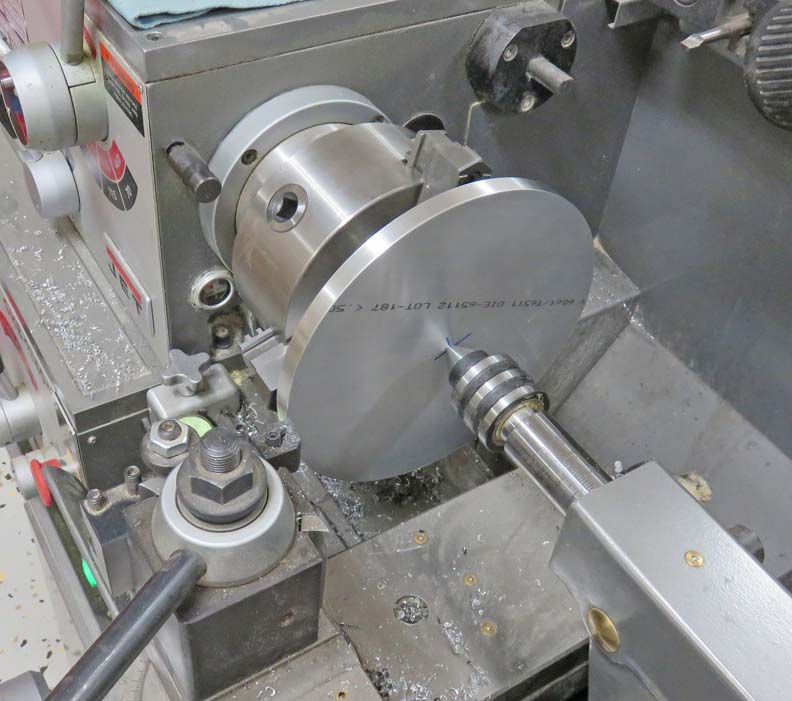
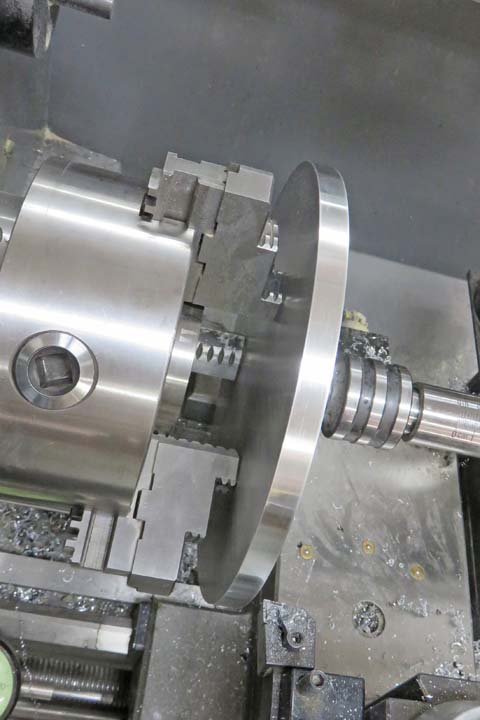
Next I used a center drill in the center and then
mounted it on my lathe. What I'm doing is using my "live
center" on one side and forcing it against my lathe chuck. Once I have
the desired pressure on my work piece, I tightened my tail stock.
|
|
 |
|
Here is the other side so you can see my work piece
against the chuck jaws. This method works very well to turn the outside
diameter of things. However, it's not recommended to take heavy cuts
because your work piece might stop spinning, which is when things could go
very wrong in a hurry. So light cuts are key here.
|
|
 |
|
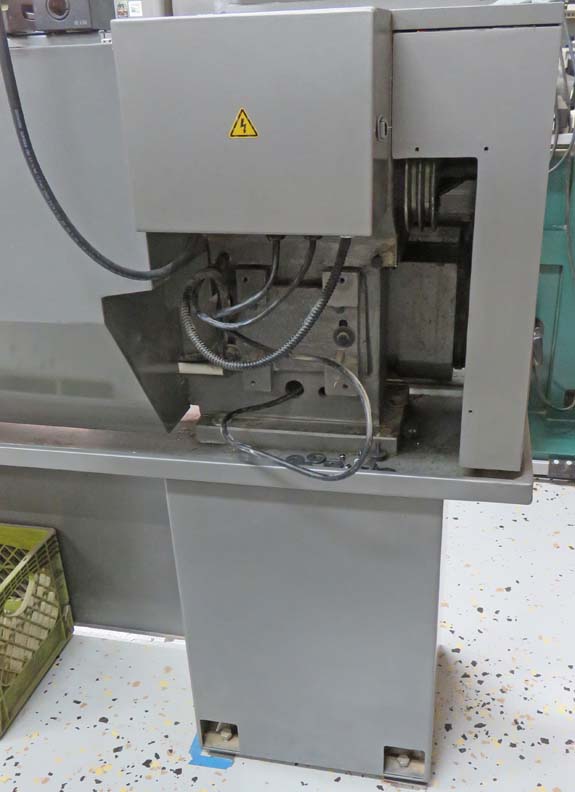
Problems!!
That empty spot that you see below that electrical box
should have a motor in there. About an hour into my project and all of a
sudden, my lathe
just stopped working. And after checking a few things out I couldn't
find the problem so I ended up calling a repair guy. He came out and determined the
motor was the problem, so he removed it. Turns out it had a
loose wire inside of it and it was shorting out. But it was a easy fix
because all it needed was the wire to be tightened back down (if I knew
that I could have saved myself a bunch of money). About five days later
he came back and installed it and I was good to go again.
|
|
 |
|
Working With Metal Again
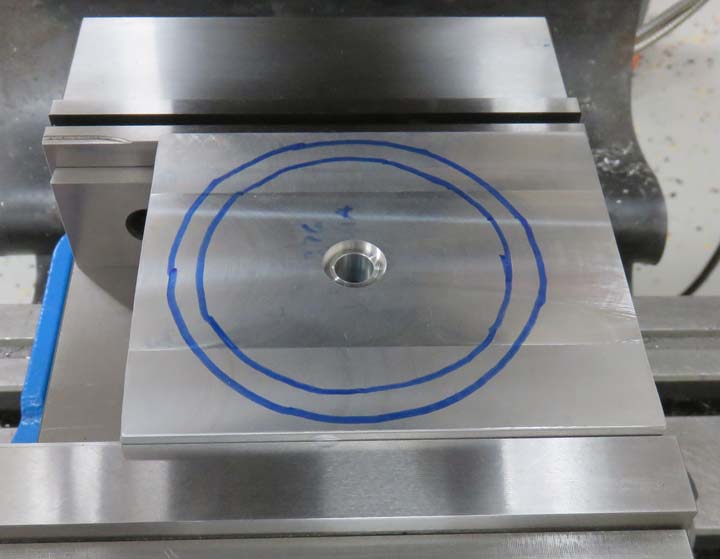
To keep busy while the motor was being fixed, I started working on some
of the other pieces. Here I'm using my milling machine to machine both
surfaces flat.
|
|
 |
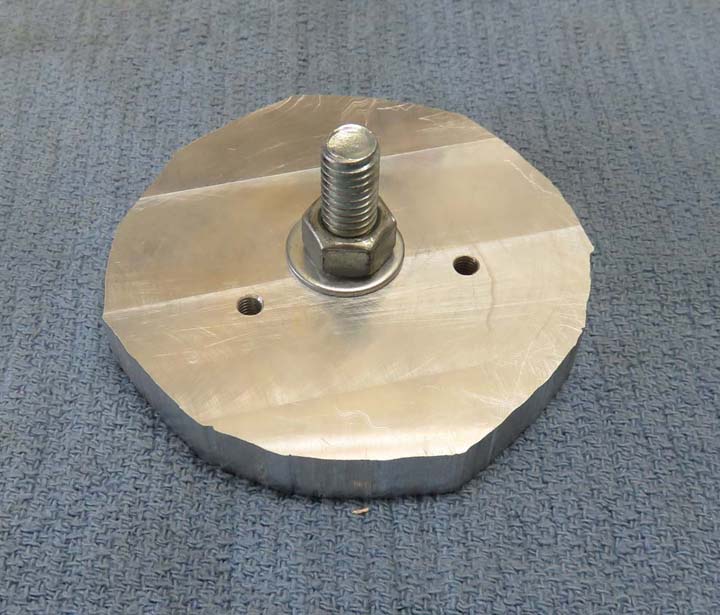
Then I put a 3/8" diameter hole through along with a 3/4" counterbore
that was about .250" deep. The counterbore will be for a 3/8" lock nut
(a thin one).
|
|
 |
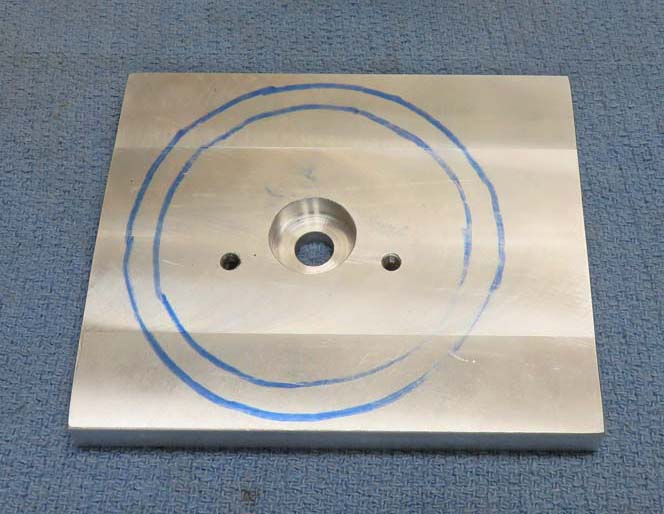
I added two clearance holes for some #10 screws, which will help hold
another piece for laser pointer. That smaller circle is 3.0" diameter and I'll be
cutting that out next.
|
|
 |
After a few minutes at the bandsaw, I used a 3/8" diameter bolt and nut
that I tightened .
|
|
 |
|
1
2
3
4
5
6 |
