|
I'm going to build some shelves for our spare bedroom
that will hold some projects that my wife made. These projects that she
made are courtesy of the Lego Company, which she spent many hours
building. Lego sets are really fun to build and look great when
finished.
I've been wanting to make some shelves for awhile and now seems to be the perfect time.
These shelves will not have
visible brackets because they will be 'floating shelves'. If you're not
familiar, floating shelves look like they are floating because the
hardware is mostly hidden behind the thickness of the shelf itself. And
speaking of the shelf thickness, a one inch thick board is the minimum
that you'll want to work with if you're doing something like this.
Working With Wood
The material that I'll be using for this project is
poplar, and each shelf size will be 36" X 10 3/4" X 1" thick.
|
|
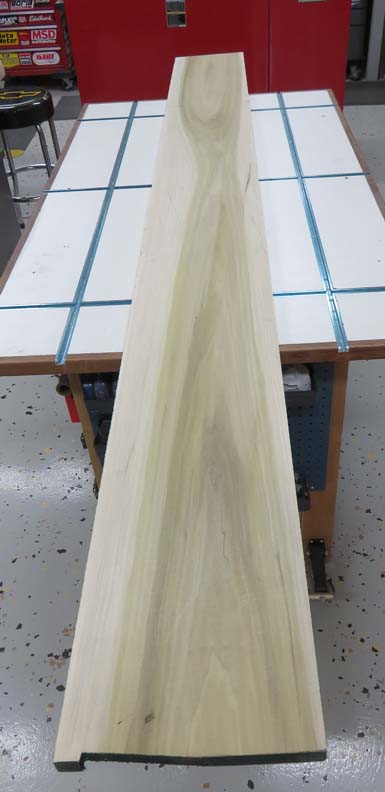 |
Here I'm cutting my shelves slightly oversize.
|
|
 |
|
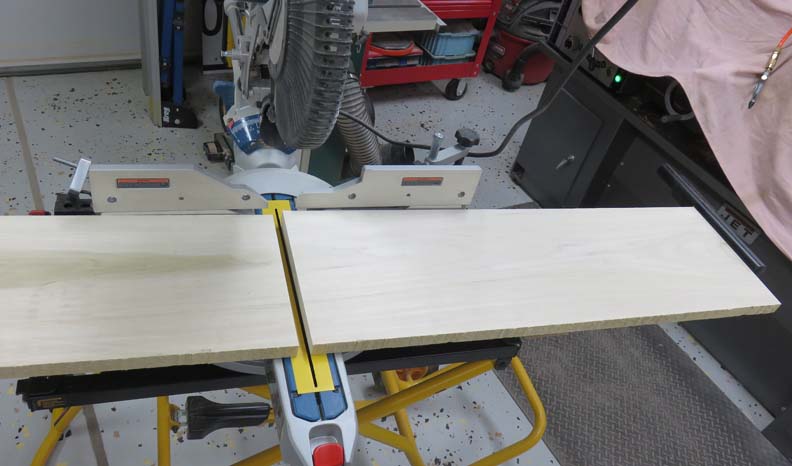
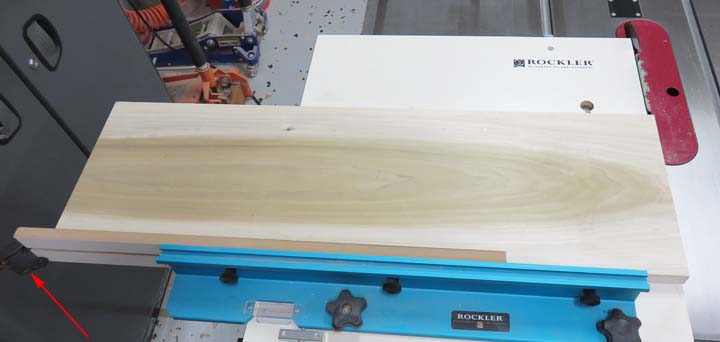
Here is where I'll be cutting them to length. Yes, I
could've done this operation on my miter saw, but this method is more
precise. If you look close, you'll see a black clamp at the end of my
crosscut sled (right side). I'll be using this clamp as my work stop.
|
|
 |
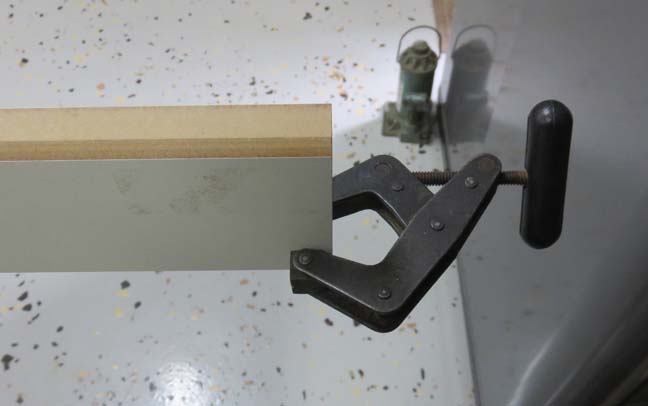
Here is a close-up of my clamp. My shelf will rest against the jaw of
this clamp.
|
|
 |
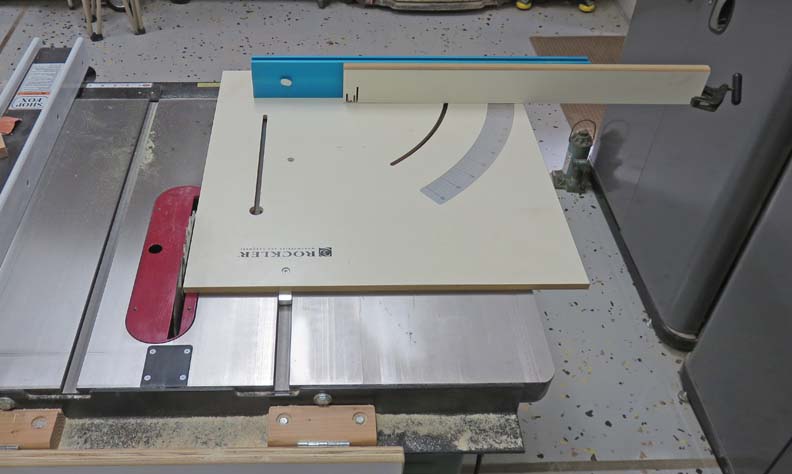
This work-stop worked out great (arrow) and made quick work of this
operation.
|
|
 |
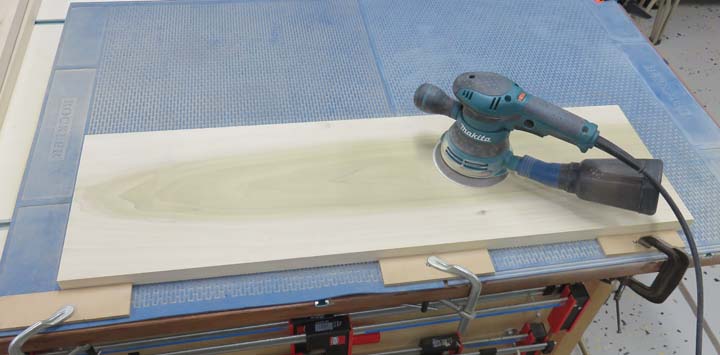
Next I sanded both sides with 150 grit paper.
|
|
 |
|
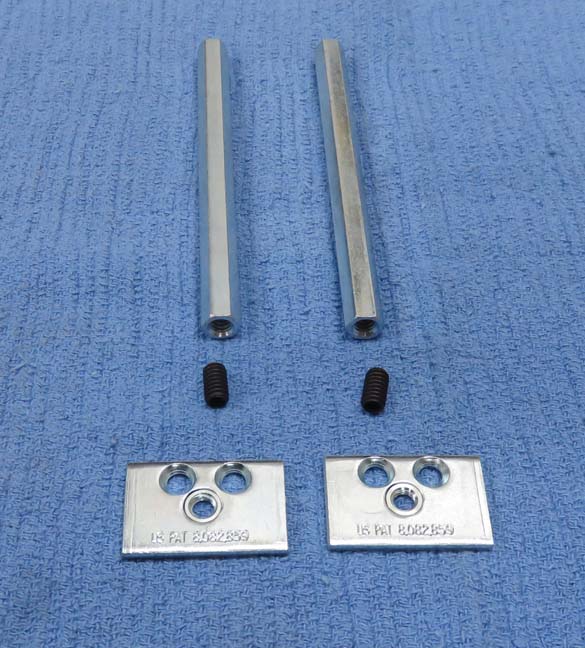
Shelf Hardware
I bought the shelf hardware not knowing exactly how it
was made and after looking at it, I should have made all this myself.
The long pieces are hex stock and measures 7/16 across the high spots,
which goes into the shelves when you're finished. One end of the hex
pieces has a 1/4-20 thread and the other end is solid.
The set screws thread into the hex pieces and the center
hole in brackets below. The other two holes in the brackets are for
screws that go into wall studs. Pretty simple really.
|
|
 |
|
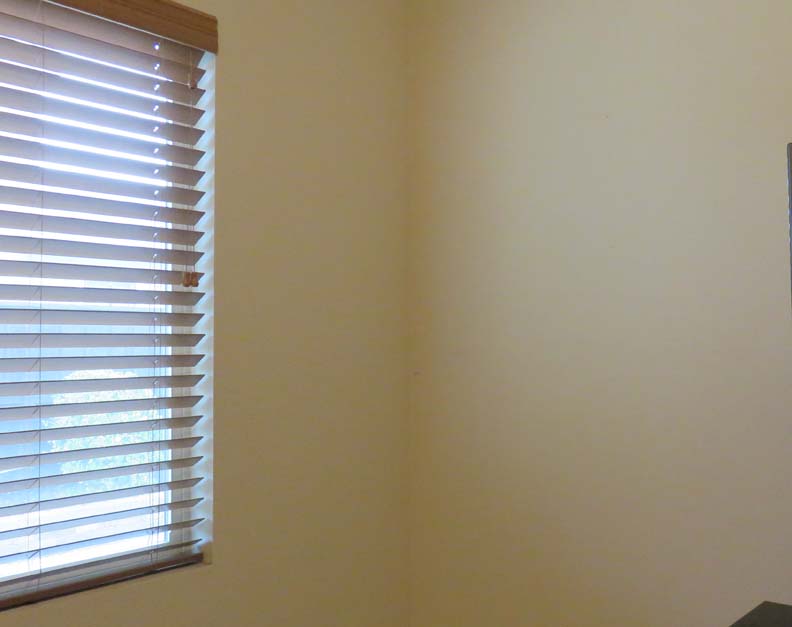
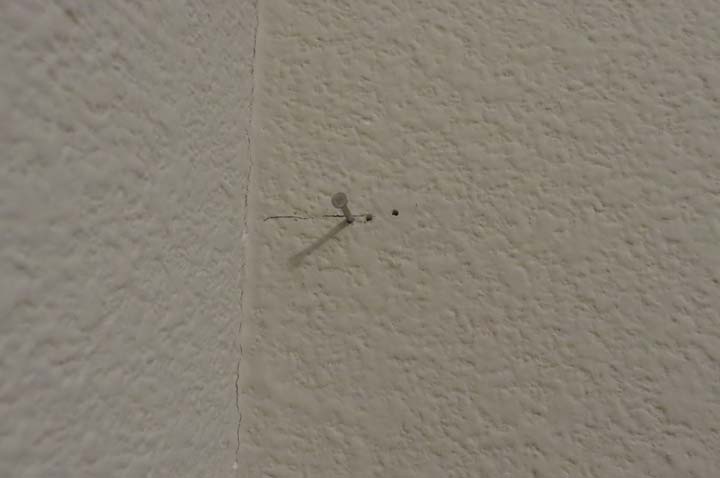
Here is the corner of the room where the shelves will go
and I
have two studs to work with. The one next to the wall has only one inch
to work with because some of it is being used up by drywall. The other
one is about 24" to the right.
|
|
 |
|
The nail is right at the edge of the stud. The other two
holes are where I started with no stud behind them. This means I won't be
able to use the mounting hardware that I bought at this location. This means I'll have
to make my own brackets.
|
|
 |
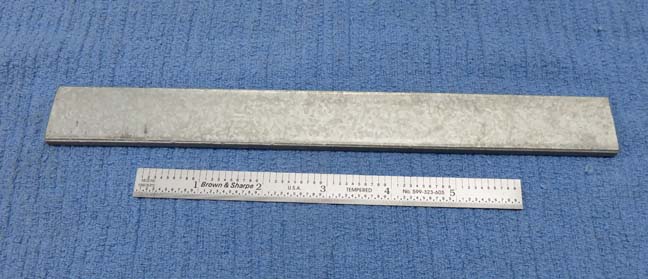
I found some steel that I can use to make three brackets with.
|
|
 |
|
1
2
3 |