|
Working With Wood Again Continued
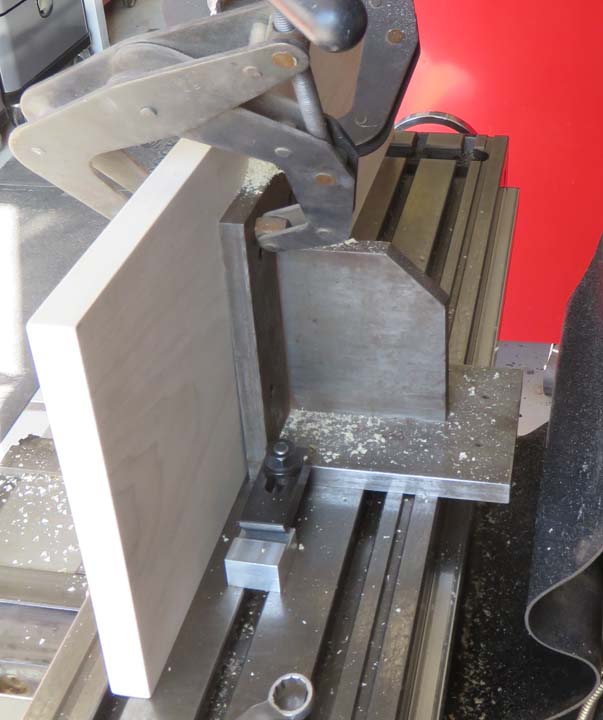
Here is what the angle plate looks like and how I'm using my clamps.
It's a simple setup but it worked great.
|
|
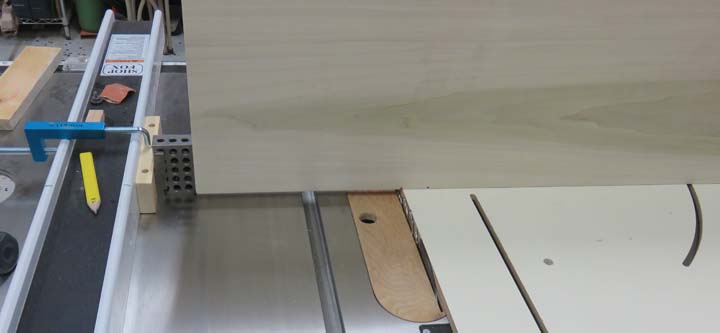
Next I needed to make a recess for the mounting hardware on the back of
each shelf. I'm using the 2" side of my 1 X 2 X 3 block for one end of
my work stop.
|
|
|
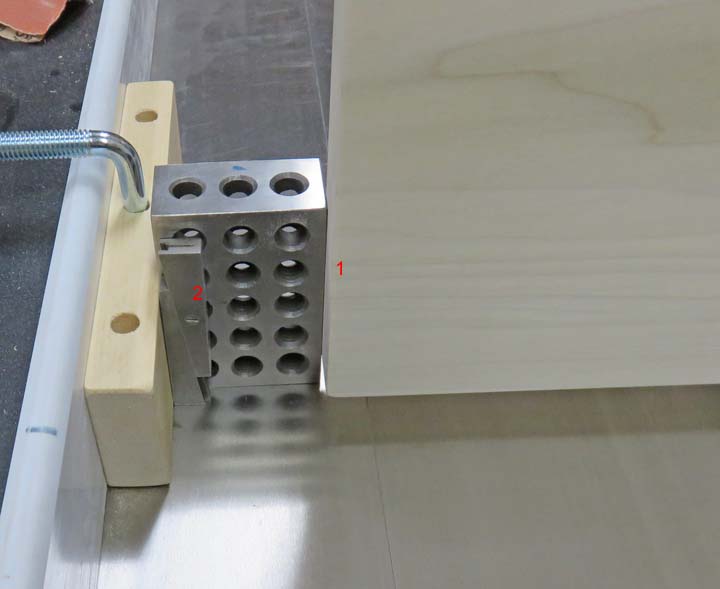
I located the end of the shelf against the block (#1),
then moved forward and made a cut. Then I moved the shelf against the
adjustable parallel (#2) and made another cut. This gave the overall
slot width for my mounting hardware. After those were established, I
then moved my shelf over the amount of my blade width and cut again. I
did this until I had all the waste removed. You might call this a poor
mans 'dado blade'.
|
|
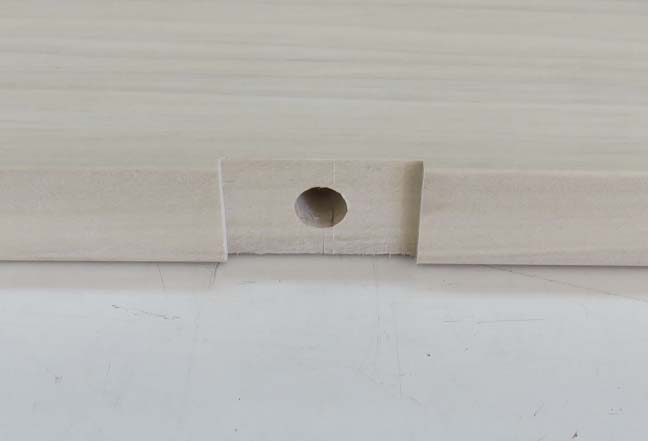
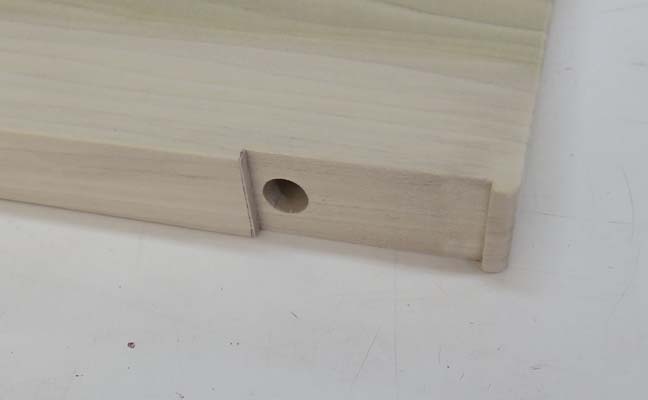
Here is what it looks like after cutting. The slot is .150" deep and
fits the mounting hardware exactly.
|
|
Here is the other end. I know it looks odd, but this is what I needed
which worked out great because it keeps the hole away from the end where
strength is compromised.
|
|
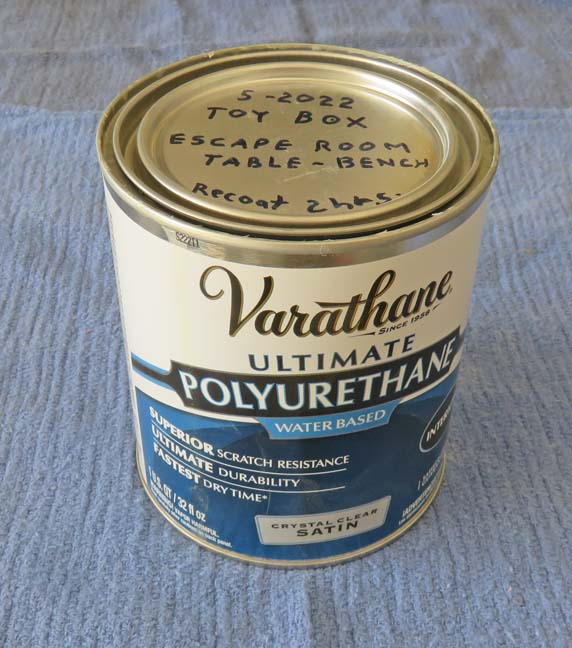
I had this polyurethane leftover from a few other projects so I used it.
This has a satin sheen which really doesn't matter for this project, just as long as the
shelves have some protection.
|
|
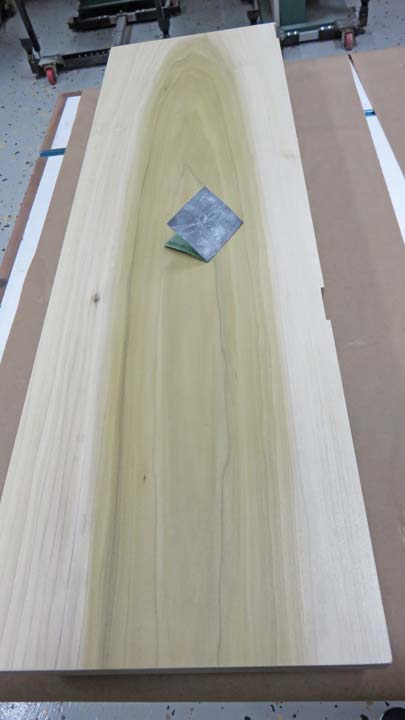
I used a brush to apply the finish with. However, this product is
water-thin and takes effort to apply it correctly.
|
|
I sanded with some 400 grit paper the next day to remove any dirt and
dust. This only takes a few minutes but it makes a big difference.
|
|
|
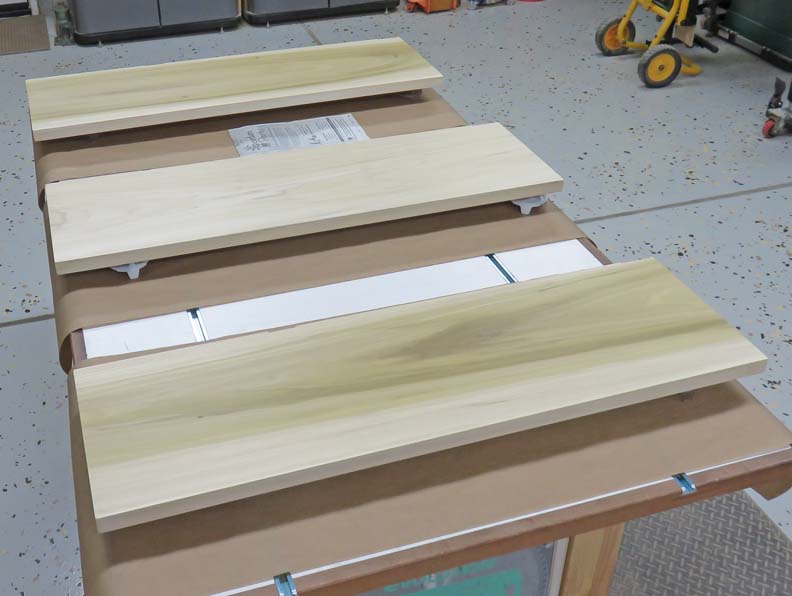
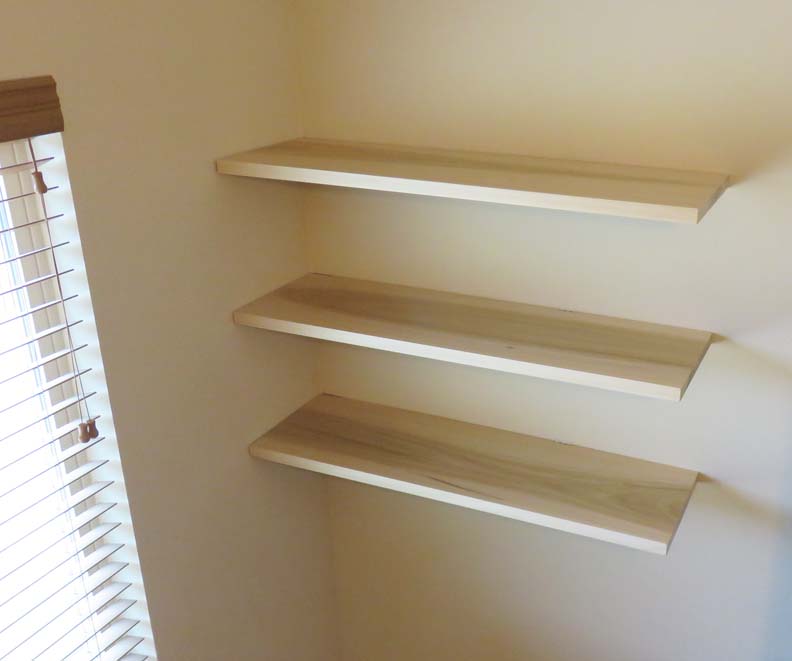
It's Finished
Here are all three shelves installed and finished. They are 12" apart
which should give ample room for things to rest on.
|
|
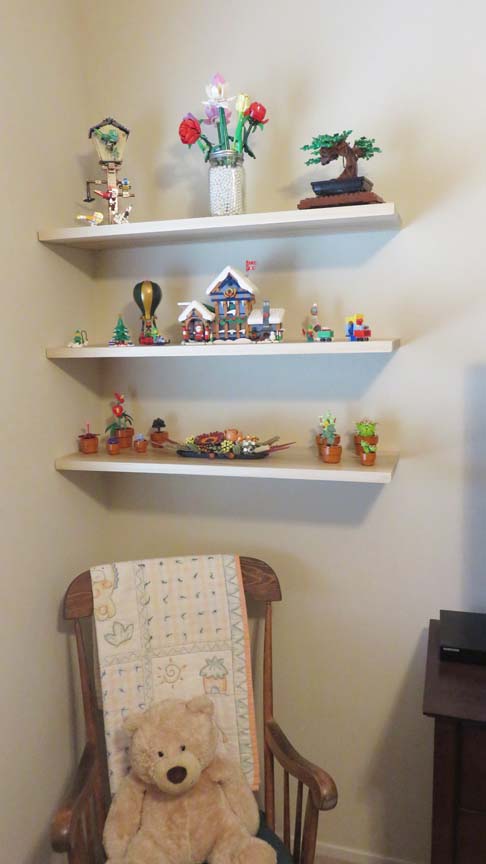
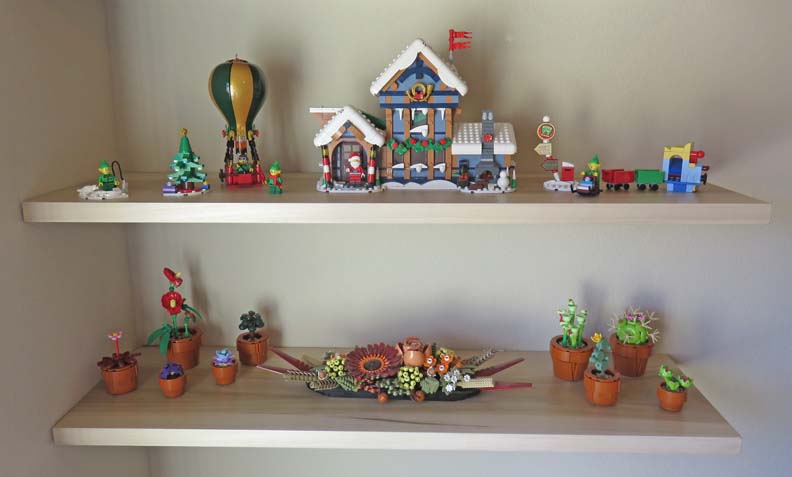
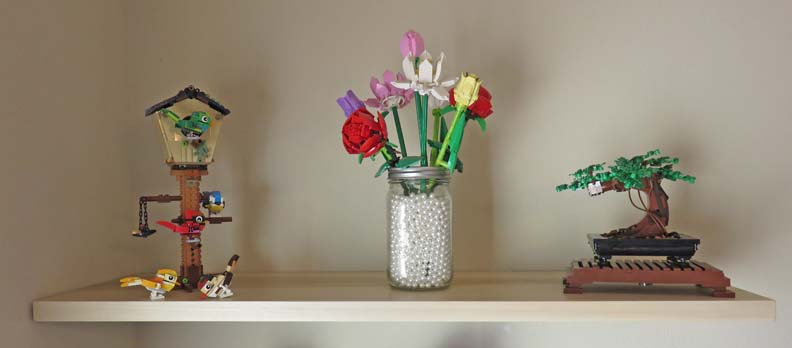
And here are some of the Lego projects that my wife made.
|
|
She plans on placing some of them throughout the house depending on the
season.
|
|
This was a fun project and I might do something like this in another
room soon.
|
 |
|
1
2
3 |