|
Shelf Hardware
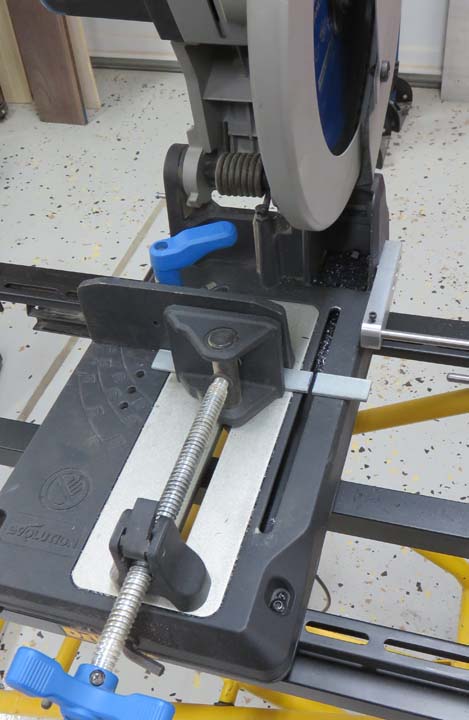
I'm using my metal cutting miter saw to cut my three pieces with.
|
|
 |
|
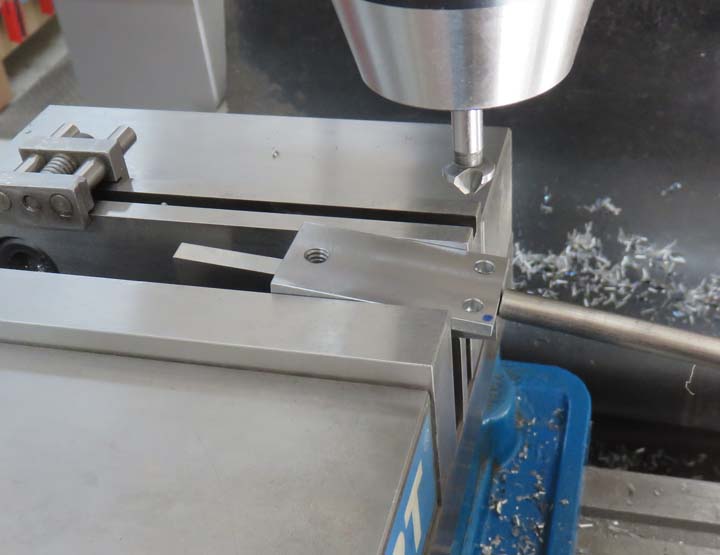
I machined all six sides of my work pieces and then put
a 1/4-20 threaded hole in each one. The opposite end is where I'm
putting the mounting holes for the studs. Now if I put these
screw holes at 90 degrees to the top surface, it would be really hard to
tighten the screws because they are right next to the wall. So I'm
putting them at a 12 degree angle to make it easier to mount them. Plus
with the screws going in at an angle, they will go into the thicker part
of the stud with every turn, keeping them away from the edge of the
stud.
|
|
 |
|
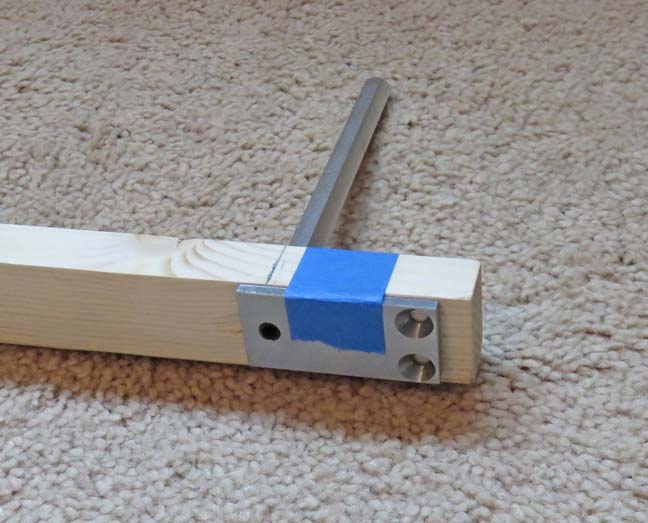
I made a story stick and put a 7/16" hole at the location
of each hole that will be drilled in the shelf. Using this method
ensures that I have the same distance between each hole without using a
tape measure.
|
|
 |
I put a pencil line at the center of each 7/16" hole.
|
|
 |
I used some tape to hold the large bracket that I made to keep it in the
proper orientation while doing my layout.
|
|
 |
With the story stick against the wall and in line with the marks I made
with my level, I can put a mark on the wall at each center line that is
on the stick. This will be where my mounting brackets will go.
|
|
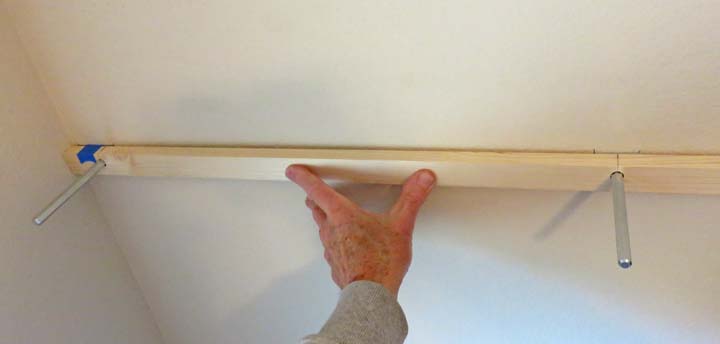 |
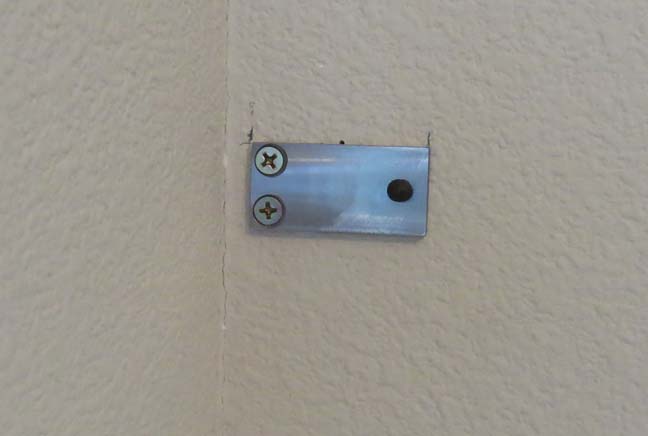
This worked out really well and I had no problems screwing in these
screws that were in the corner.
|
|
 |
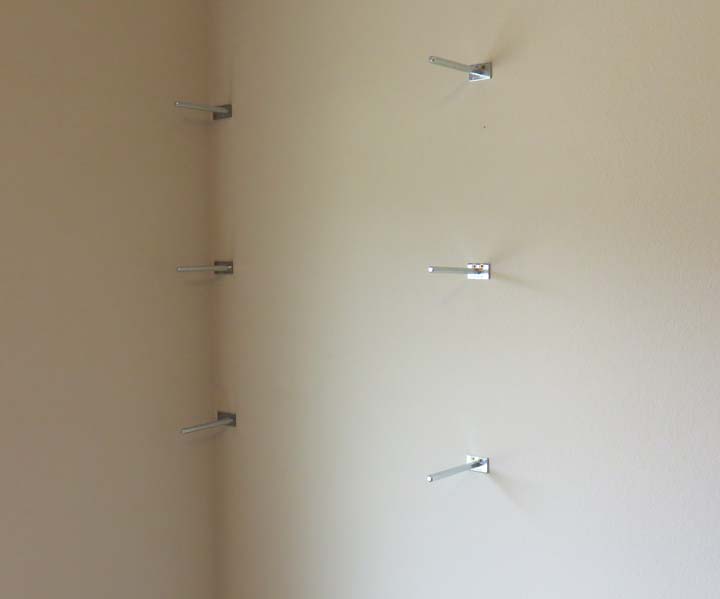
All the mounting brackets are in place and are nice and level. Now it's
time to put some holes in the shelves.
|
|
 |
|
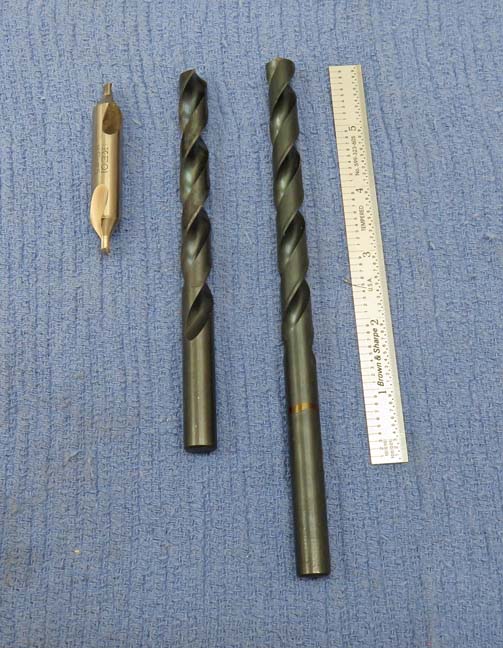
Working With Wood Again Working from left to right: first I used a center drill
to make sure the location of my hole doesn't follow the grain of the
wood and is right where I want it to be. Next I used the shorter 7/16" drill and went as deep as I could.
Last I used the extended length 7/16" drill and went 5 1/2" deep. This
method insures the hole is in the right location and as straight as
possible.
|
|
 |
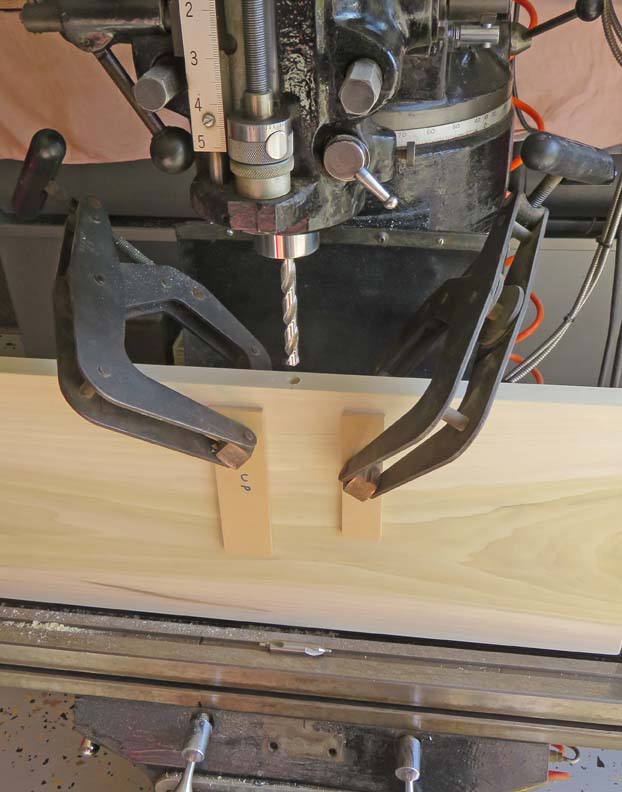
The shelf is clamped to an angle plate which worked out nicely for this
operation because it keeps the board square to the spindle.
|
|
 |
|
1
2
3 |