|
Working With Steel
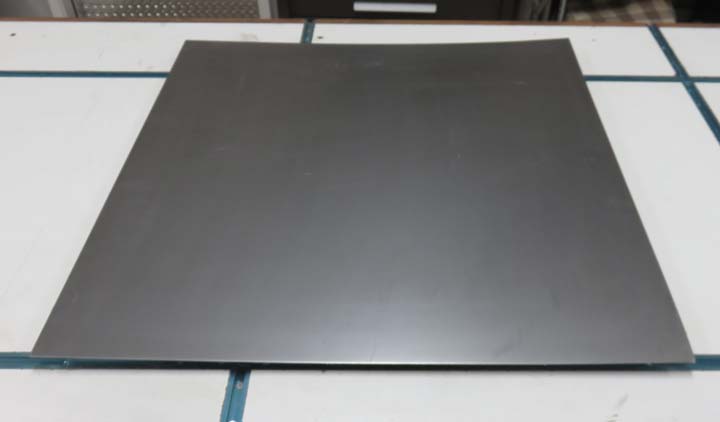
This is mild steel sheet that measures 24" X 24" X .093" thick. Now
it's time to cut this sheet to the size I need.
|
|
 |
|
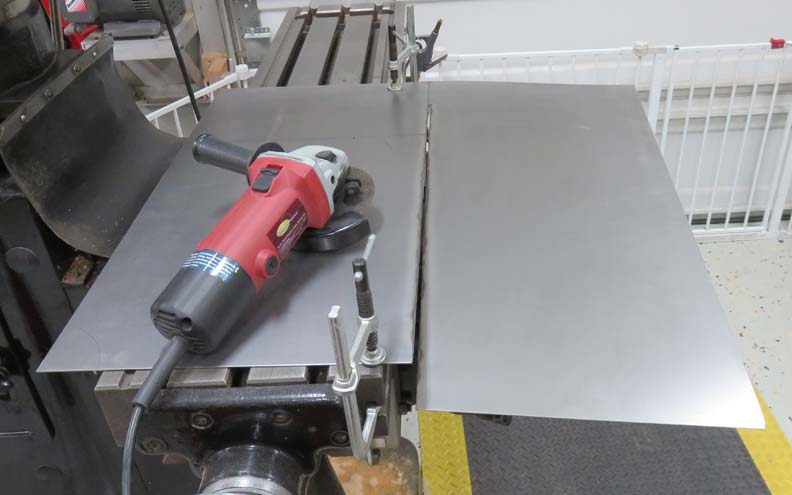
I used my angle grinder with a cut-off
wheel to slice through my work piece. I also used my milling machine table to
clamp my material to. It seems like I'm always using my milling machine
for something...even when it's turned off.
|
|
 |
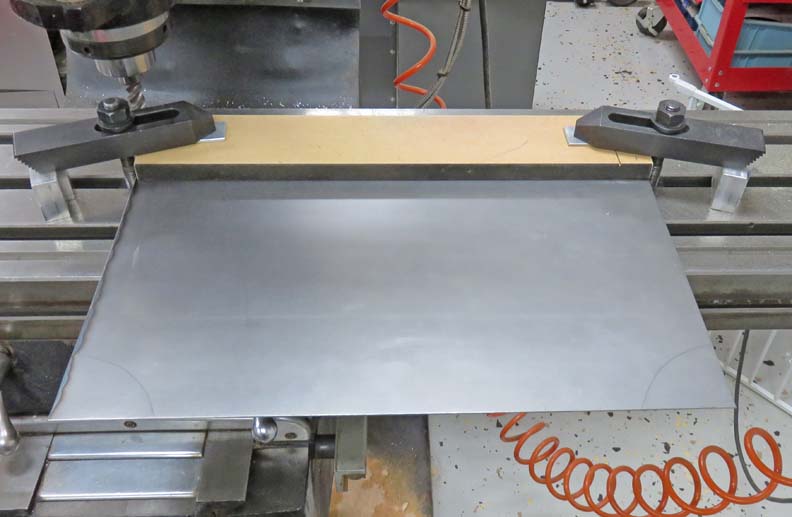
Next I clamped my mild steel between some scrap wood to machine it. I
did this for all four sides. The final size is 16.5" by 12".
|
|
 |
|
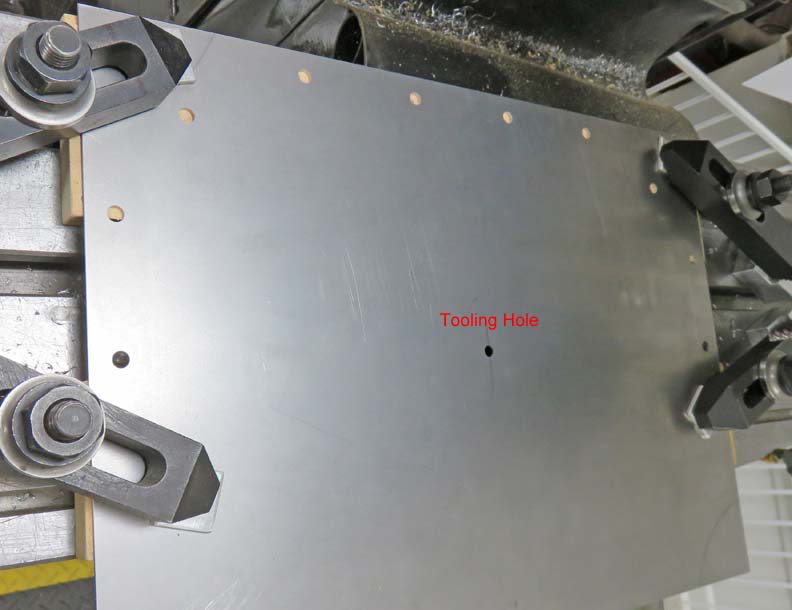
Here I'm drilling some 1/4" diameter bolt holes to hold
the steel onto the wood. My milling machine didn't have enough travel in
the Y axis to
do the entire hole pattern in one shot so I drilled a "tooling hole" in
the center of my work piece. The tooling hole is my X, Y zero for all my
bolt holes, which enabled me to drill all the holes that
you see below, then remove my work piece, turn it 180 degrees, indicate
my tooling hole once again and repeat the bolt hole pattern on the other
side.
|
|
 |
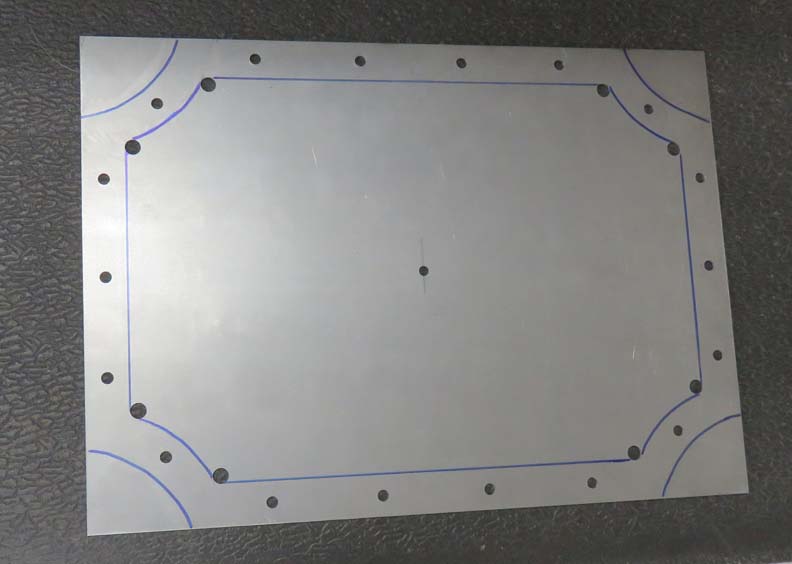
And there we go, all of my bolt holes are in. The eight larger holes
that you see are 3/8" diameter, which are at the tangent points of each
corner for the inside periphery. If this doesn't make sense yet, it will
soon.
|
|
 |
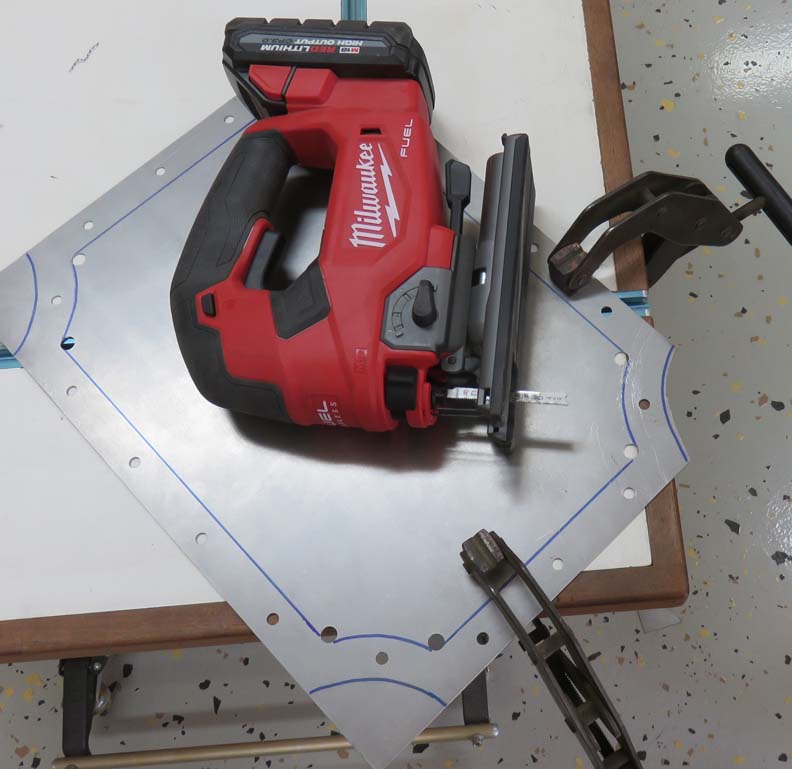
I used my jig saw to rough out the four corners before machining them.
|
|
 |
|
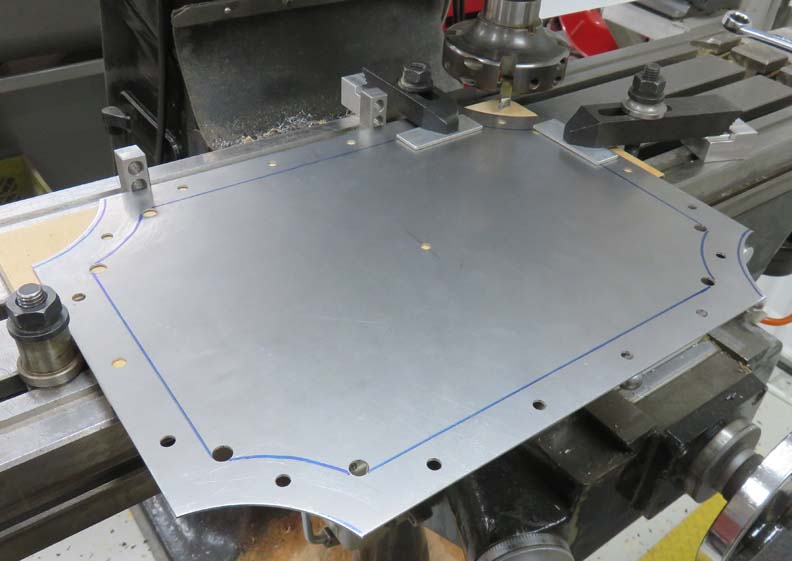
I set my milling cutter to a 3.00 radius and cut
each corner. This was all done with one setup because I could turn my
work piece 180 degrees for the opposite side, and then flip my work
piece over to do the other two corners.
|
|
 |
|
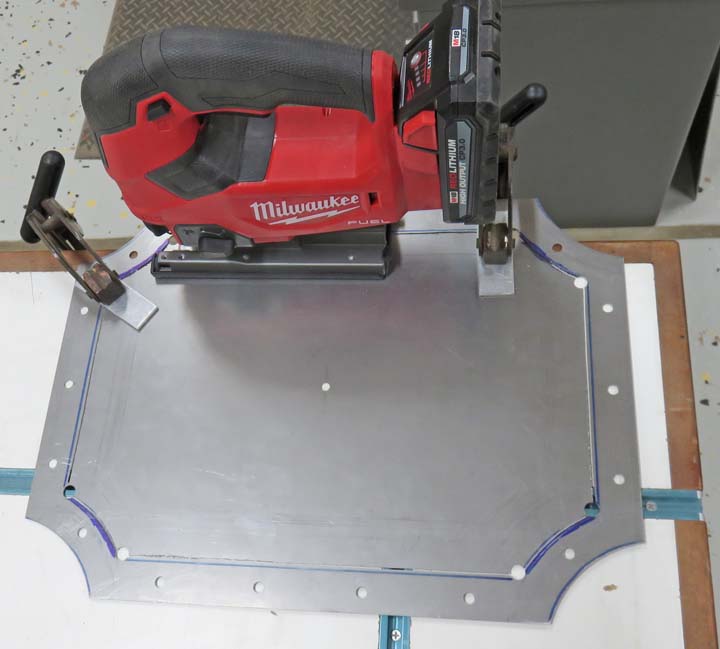
Once I had the outside corners finished, it was time to
use my jig saw again to rough out the inside. I had to make sure the
area that I was cutting was right next to the edge of my work bench
so it didn't vibrate or grab my work piece. This meant cutting a small
amount, remove my clamps, move my work piece a small amount and then
re-clamp again. This took a few minutes to do
but it worked out just fine.
|
|
 |
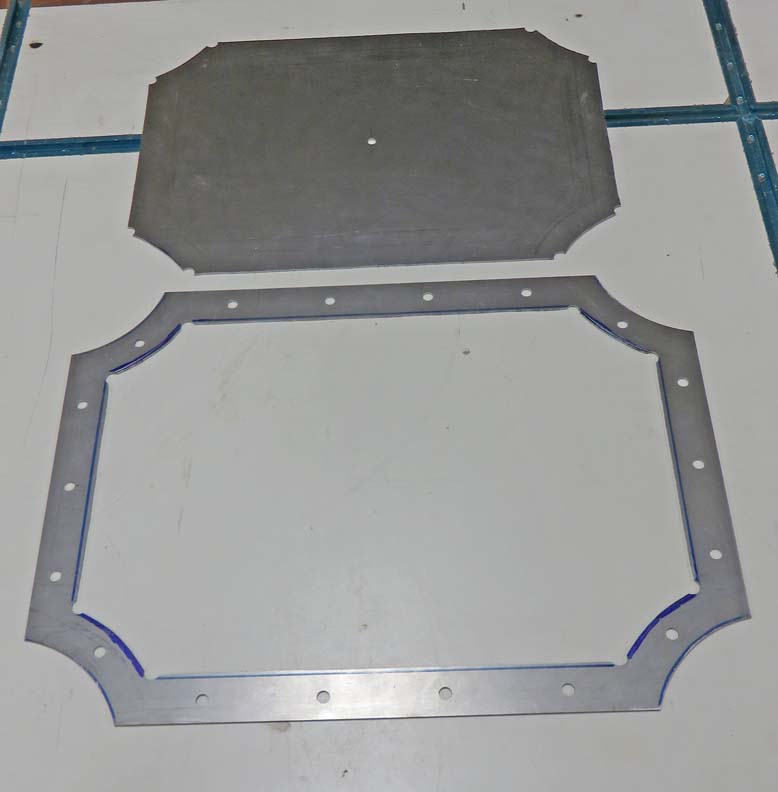
Now you can see my eight holes that I did earlier, which represent my corners.
|
|
 |
|
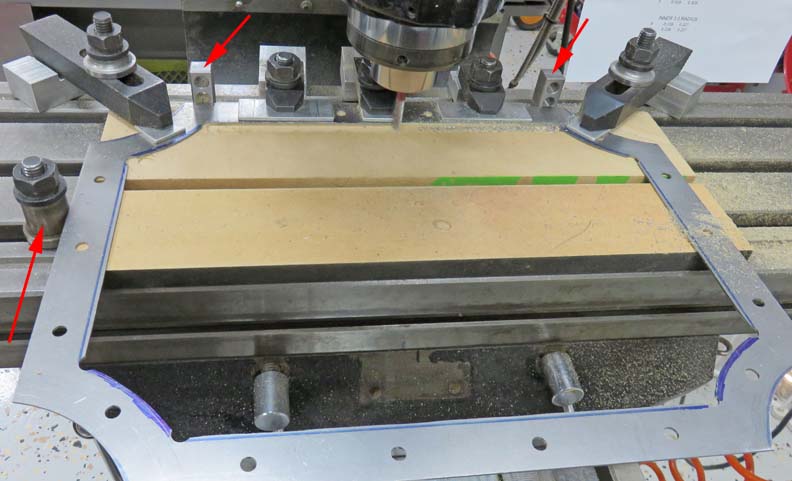
The three arrows are pointing to my work stops, which made for
a nice setup. Once I had the numbers that I needed, I could flip my work
piece over and do the
opposite side very easily. Then I worked on my short sides last and used
this same setup as before but with different numbers in the X axis.
|
|
 |
|
1
2
3
4
5
6
7
8 |