|
Working With Steel Continued
Machining the inside radius would not be easy on a conventional
milling machine like mine, so I had to use a different method.
|
|
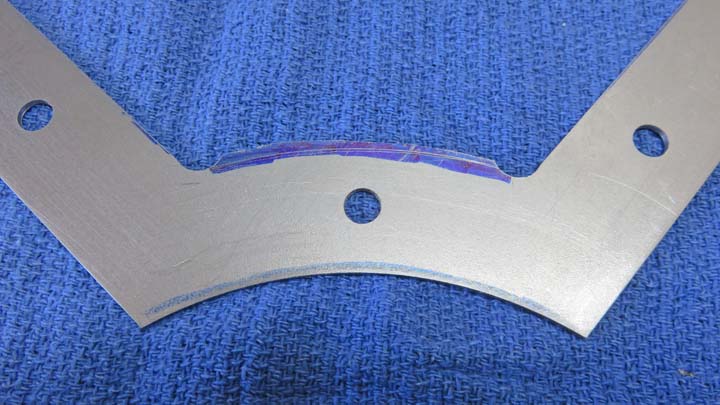 |
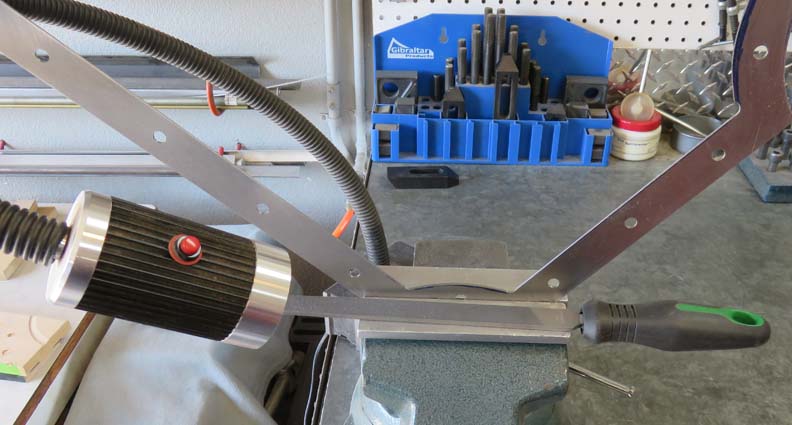
With only four corners to work on, I used
a file to produce the radius that I needed and worked to my layout line. This didn't take long because
my material is thin.
|
|
 |
|
Working With Wood Again
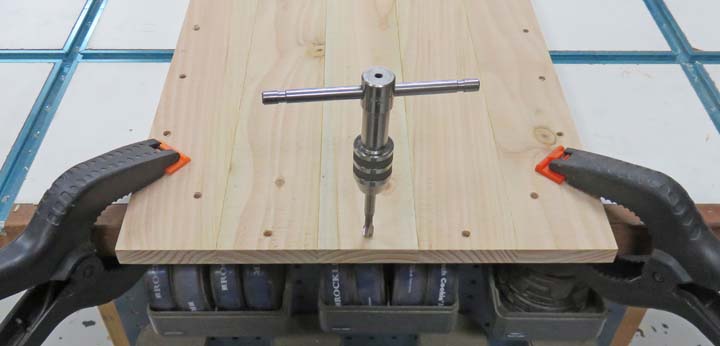
Now it's time to drill some bolt holes to fasten my metal frame to.
However, these aren't your average holes here, they are going to be
tapped holes.
|
|
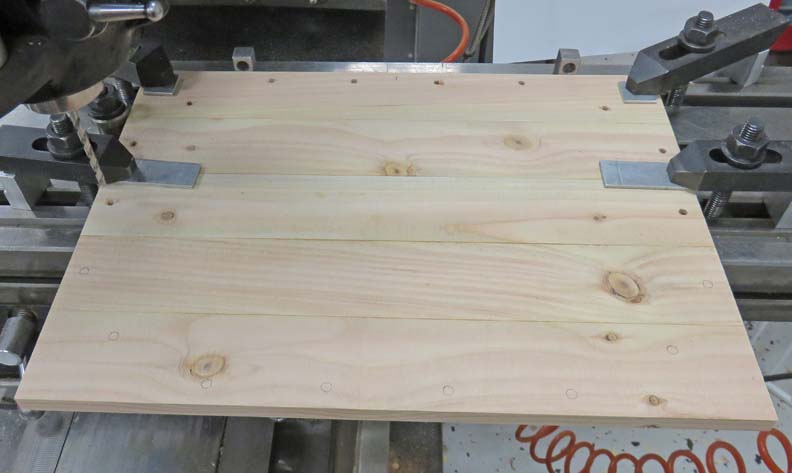 |
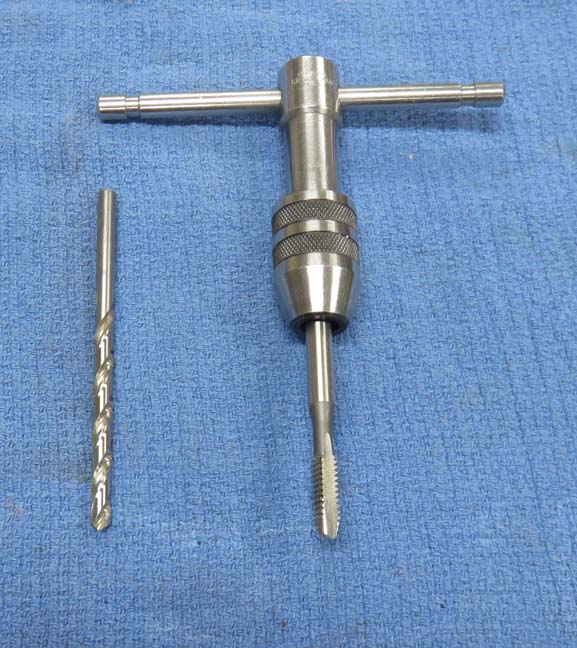
I'll be drilling and tapping for 1/4-20 threads.
|
|
 |
|
I will have to admit, this is the first time I've ever
attempted something like this. In theory, this should work just fine
because there isn't much a load on the fasteners as they will only be
holding the thin metal frame.
|
|
 |
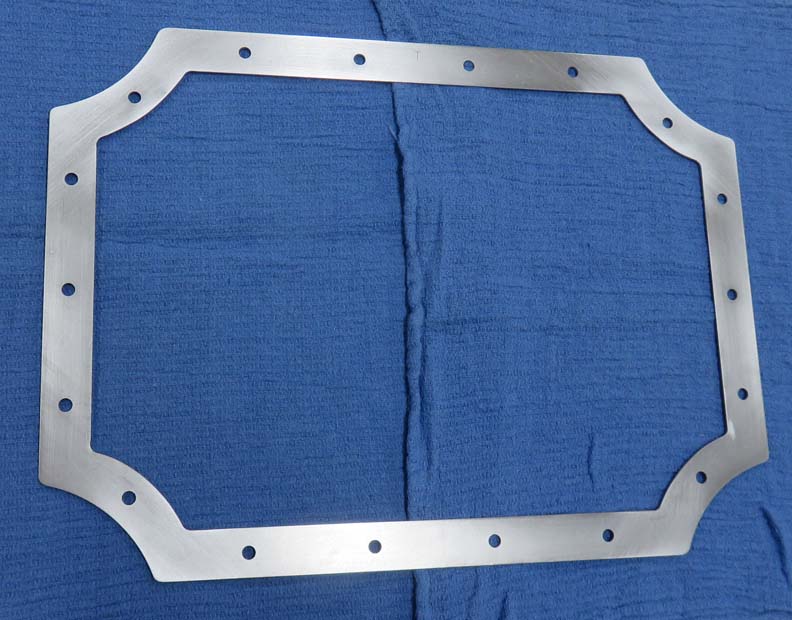
And here is the metal frame all finished. Now I can use this as a
template to produce the outside radii on my wooden piece.
|
|
 |
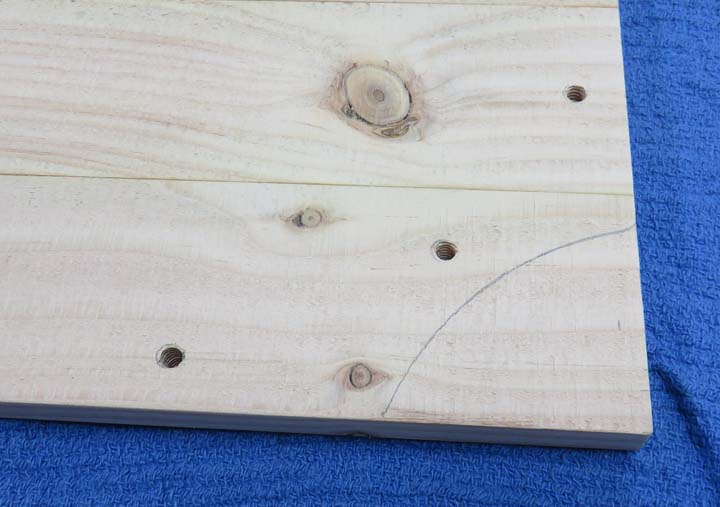
I used a few screws and bolted the metal frame to my wooden piece and
then traced each corner with a pencil.
|
|
 |
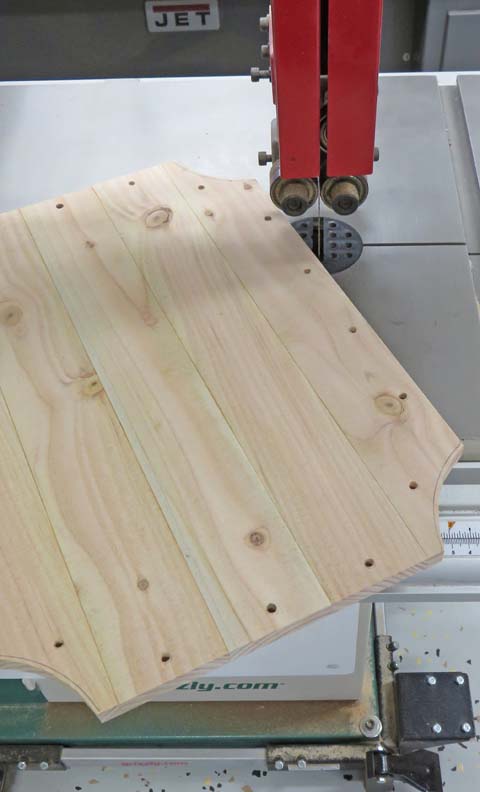
Next I used my bandsaw to rough each corner out.
|
|
 |
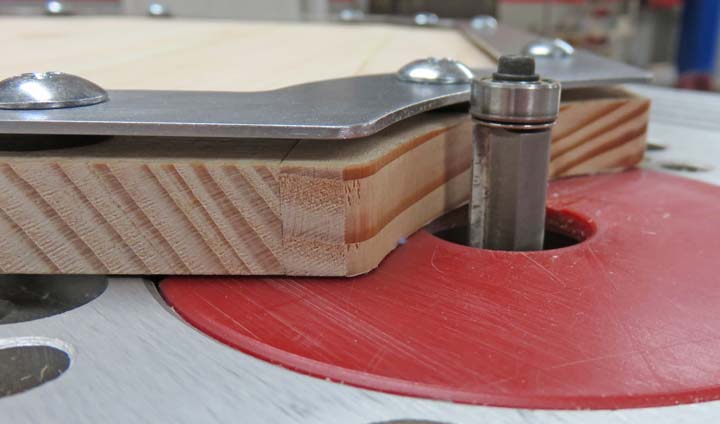
I'm using the steel frame as my router template. I also used some washers between
the wood and metal so my flush trim bit could ride on the metal
frame.
|
|
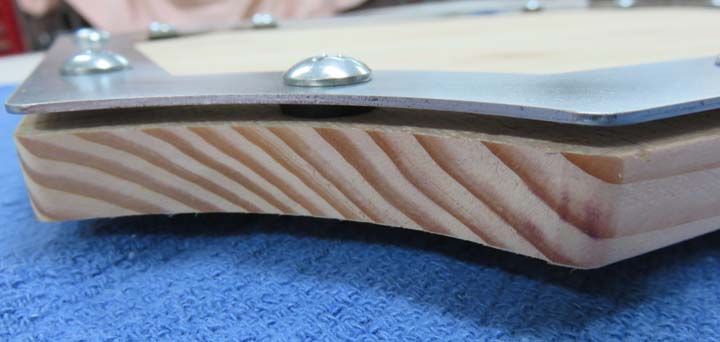 |
This worked out great and all my corners looked perfect.
|
|
|
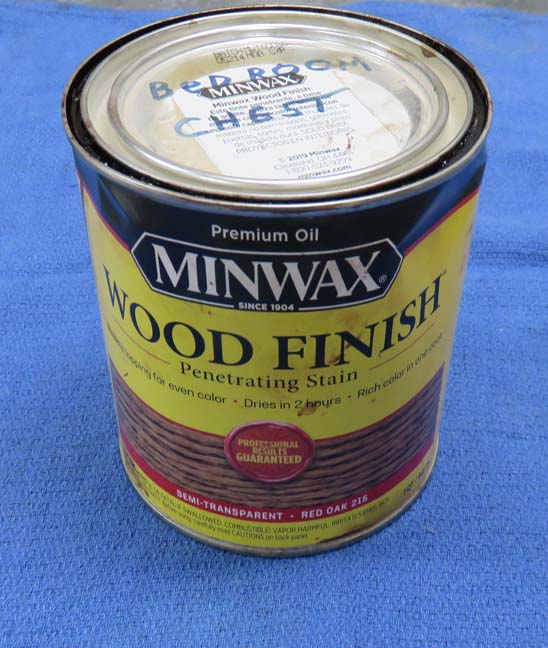
Now it's time to stain the wood plaque. I've used this wood stain a
few times before and really like how it looks.
|
|
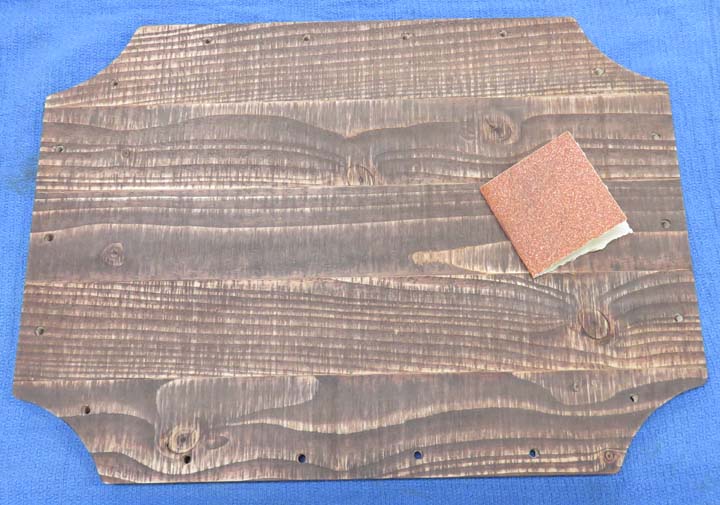
After the stain was dry, I used some fine grit sandpaper to lightly go
over everything to make it look somewhat older.
|
 |
|
1
2
3
4
5
6
7
8 |