|
Working With Chemicals Continued
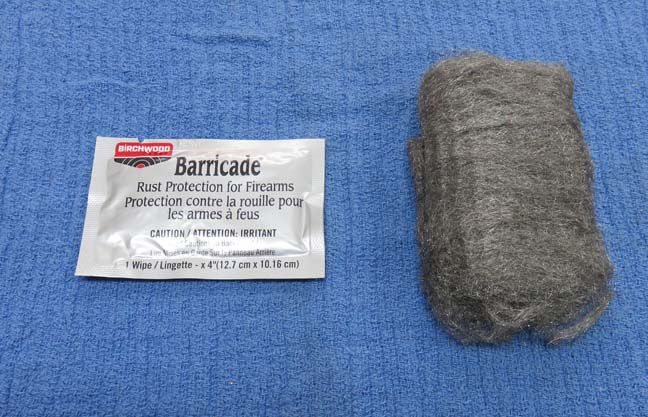
The bluing kit also came with some rust protection and some
very fine steel wool. I used the steel wool first to make sure the surface
looked a little more even and then applied the packet of rust protection to
both of my work pieces. Inside the packet has a cloth soaked with this
rust preventive which was very easy to apply.
|
|
 |
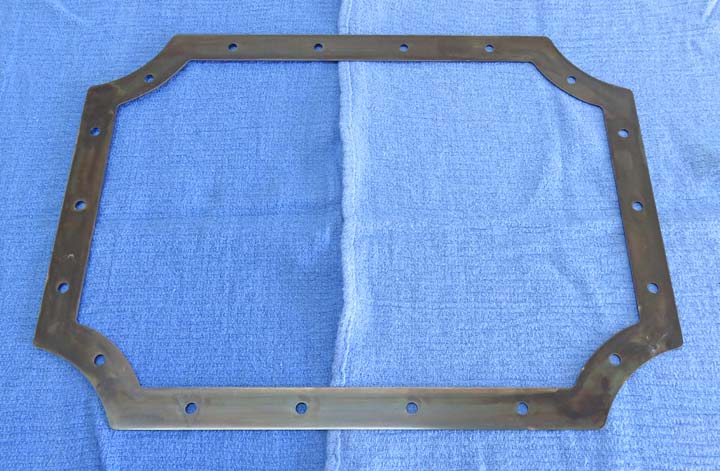
Here is what the frame looks like which turned out just about like I was
expecting. I did this in four sections, half and half on the front, and
then half and half on the back.
|
|
 |
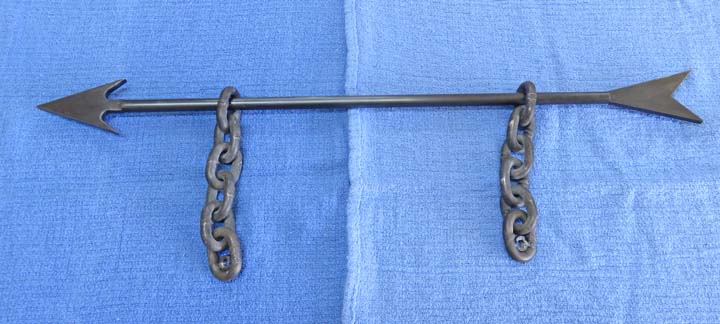
And here is the arrow which was easier to do than the frame.
|
|
 |
|
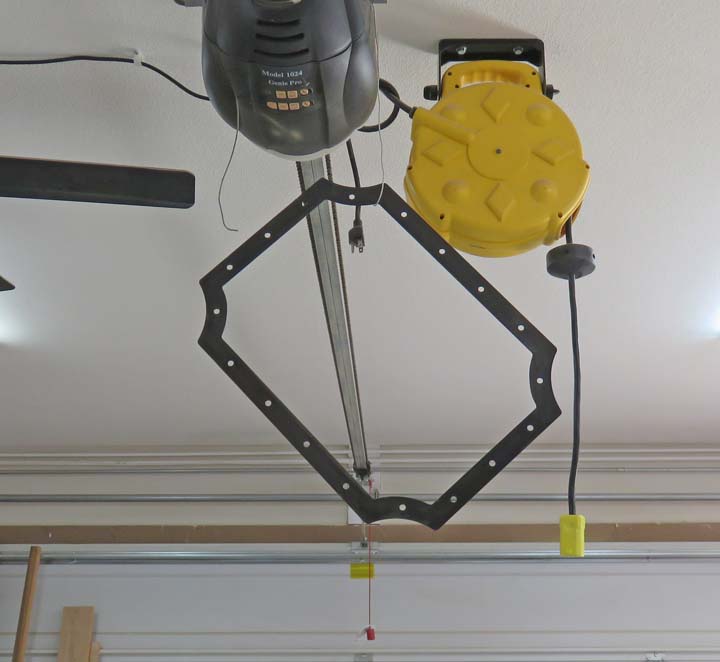
The reason that you see the frame hanging from the
ceiling is because this rust preventive really stinks. I let this set
for four or five days like this, checking the odor everyday until it
died down enough to work with it again. If you ever work on a firearm with
this type of gun bluing, don't use the packet of rust preventive because
wild game will smell this stuff for miles away.
|
|
 |
|
Working With Glue
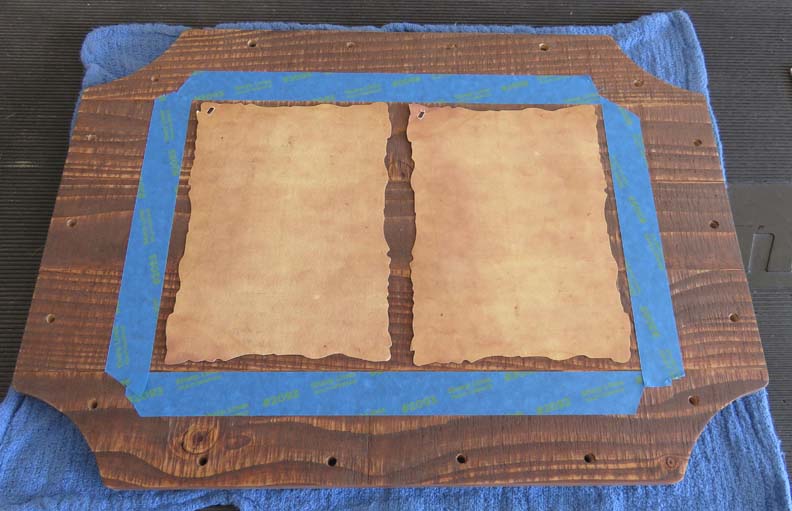
I'm getting ready to glue on the invitations so I'm doing some layout
work with tape. Once I had the tape where I liked it, I could use it as
a guide while sticking my paper to my plaque.
|
|
 |
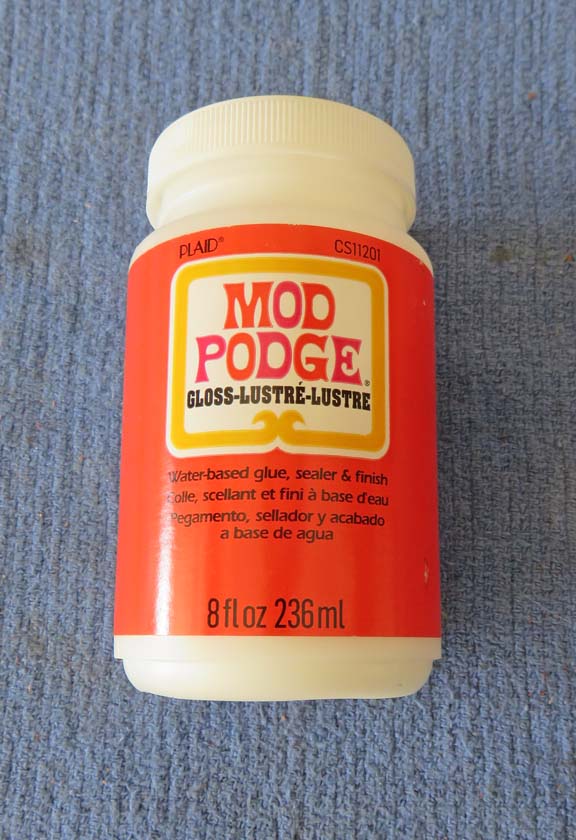
I'm using Mod Podge because it works great for paper. I've used this
before on a
pervious project which
worked very well.
|
|
 |
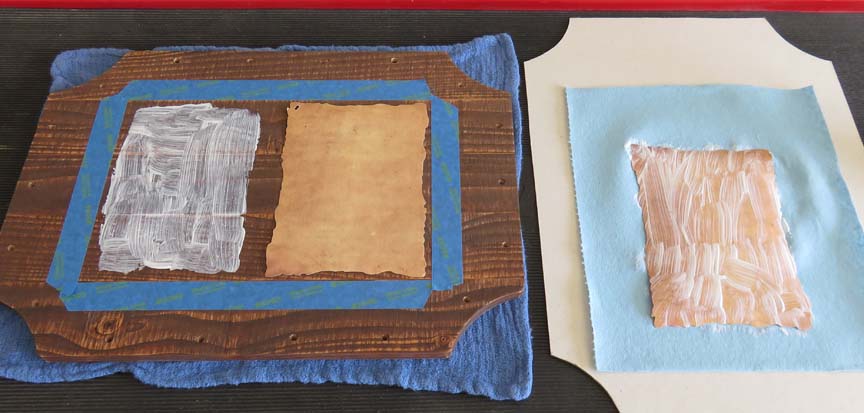
Just brush it on both side, and then stick it on.
|
|
 |
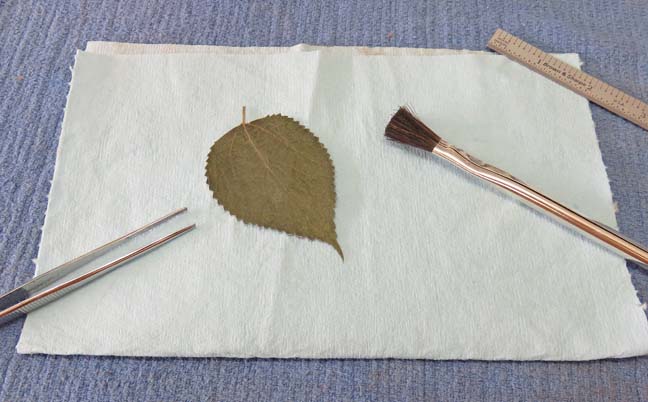
This leaf came with the wedding invitation so I decided to add it.
However, this leaf is very thin so it won't take much glue to stick in
on.
|
 |
|
1
2
3
4
5
6
7
8 |