|
My daughter, Tracey, is getting married in
the first week of October and she asked me
to make a couple of things for her big day. Tracey is planning most of the
wedding herself, along with some help from her mom and her sister Angela.
And I couldn't be happier for her and her fiancée. One other thing I'm
happy about is that I have a few months to make these items, which make
my life easier. The first item that she
wanted were some coasters. Now these coasters were going to be four to
five inches in diameter by 3/8" to 1/2" thick. These coasters
will also have
custom made vinyl stickers on them, made by Tracey. Once all the
stickers are in place, I'll put some spray clear on both sides.
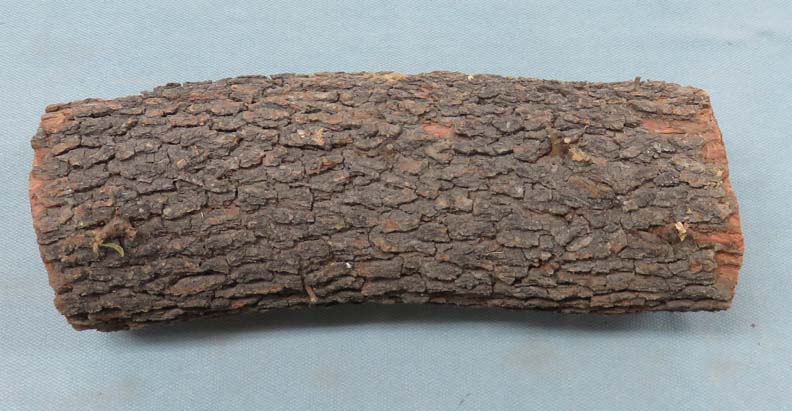
Now I just happen to have a
few pieces that met this specification as they came from a tree that was
in my front yard. As for the type of tree that I'll be using? I have no
idea but it has some thick bark on it but should work great for this.
|
|
 |
|
Working With Wood
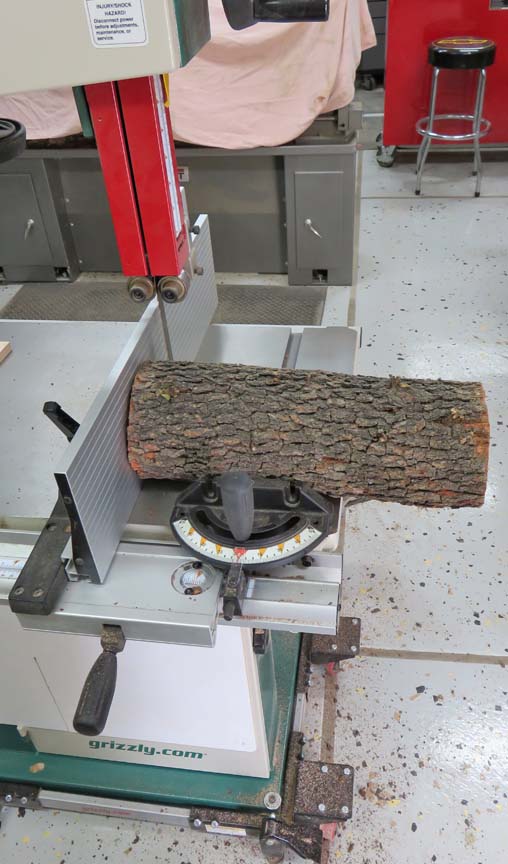
I used my bandsaw for this and used a 3 / 4 pitch blade
on it which worked out great. BTW, that 3 / 4 not a typo, it means the
bandsaw blade varies between three or four teeth per inch. This a common
blade type in the bandsaw industry (variable), along with many other
variants like this.
I used my miter gage to help hold my work piece along
with my fence as a work stop. They both worked out really well for this.
|
|
 |
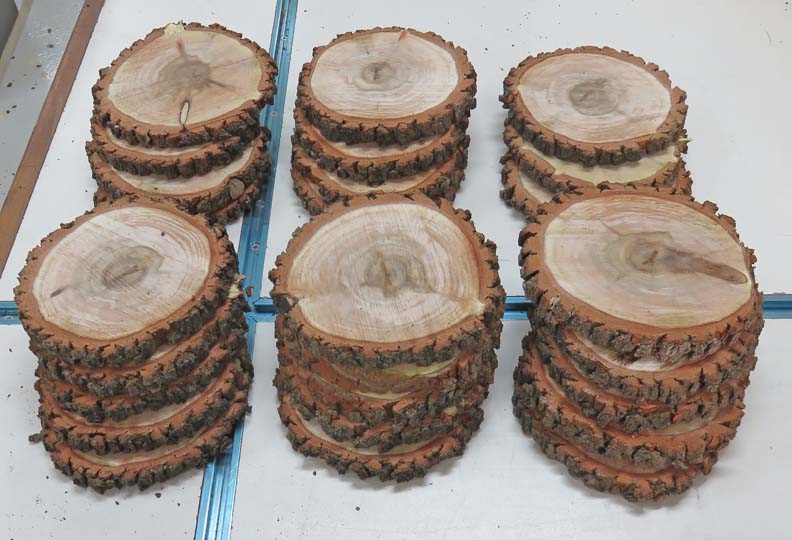
A few minutes later I had all these cut.
|
|
 |
As I was cutting, I remembered that I had removed a gala apple tree from
my backyard recently, so I cut a small piece off of it and sliced some
pieces like I did above.
|
|
 |
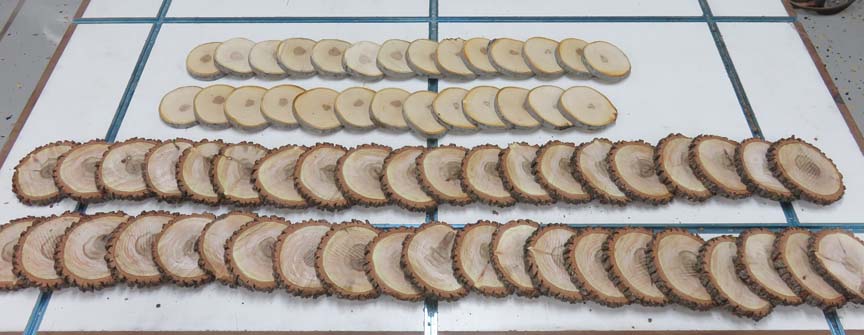
Here is what I have so far, which is more than enough because Tracey
wanted about 40 coasters. Now it's time to clean up all those
pieces.
|
|
 |
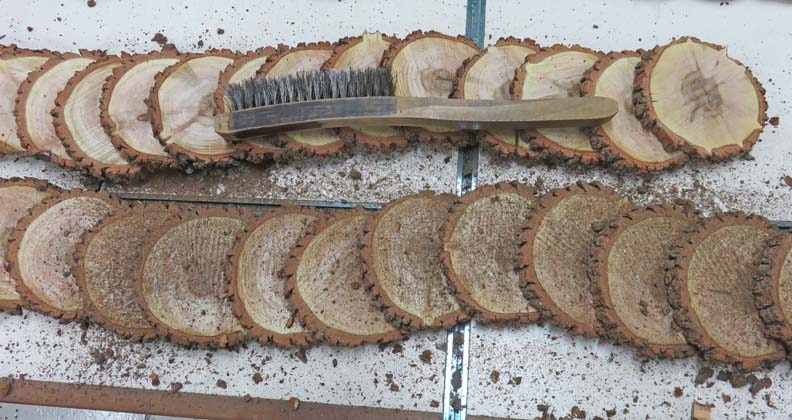
First
I used a wire brush to get rid of all the loose bark which worked out
fine, but it sure did create a bunch of dust. And this dust made me
sneeze big time so I took two days to do this step.
|
|
 |
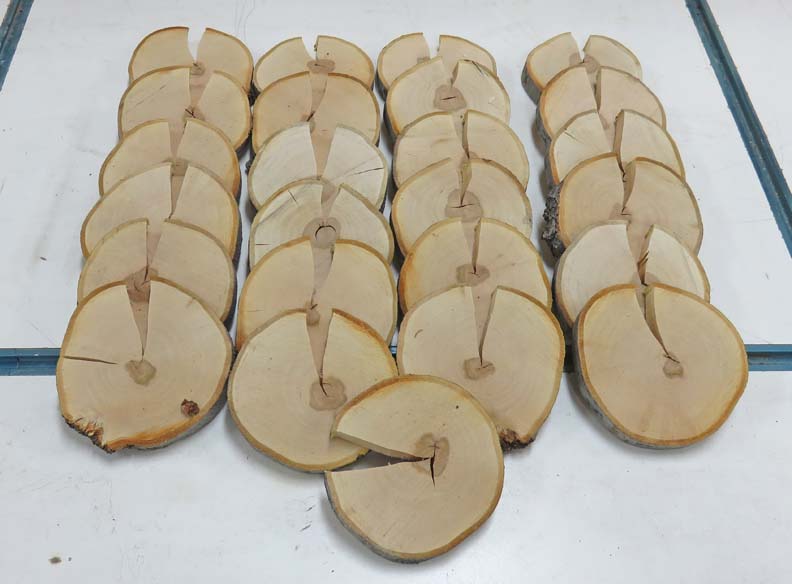
A few days later all my apple tree pieces looked like Pac man as they
all split. I guess there's a reason I've never seen apple wood for sale
at the lumber yard that I go to. Time for plan B.
|
|
 |
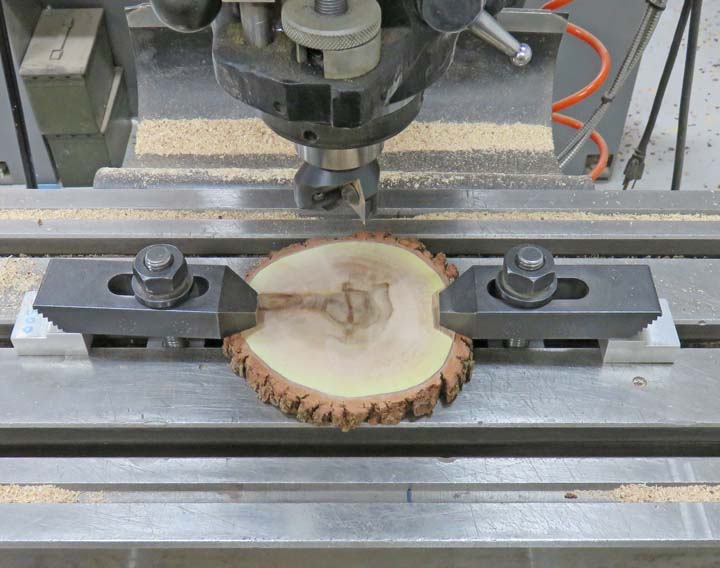
All of my pieces were too small to put through my planer so I cut them
all on my milling machine. That's the good news, but the bad news is
that it takes awhile to machine each piece (top and bottom surfaces).
|
|
 |
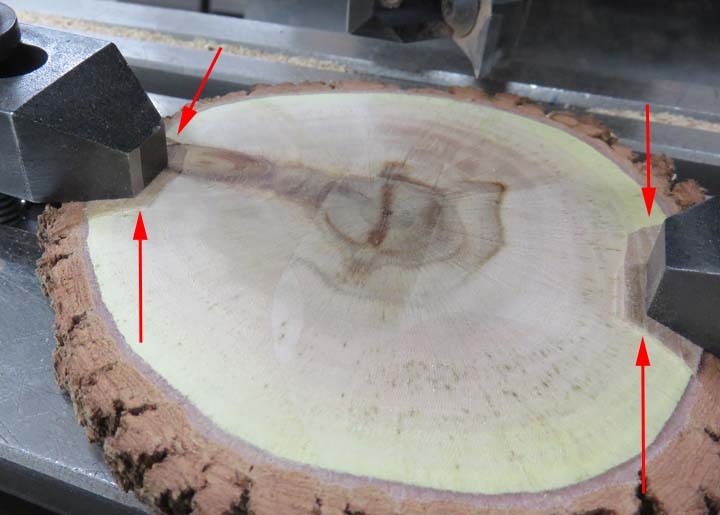
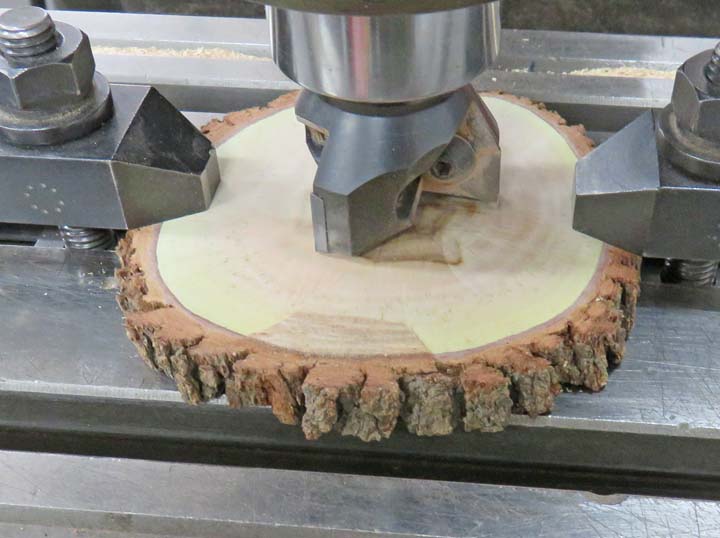
Here is what it takes to machine these pieces: first clamp it down on
each side, then machine the entire surface except where the camps are
(arrows).
|
|
 |
|
Then unclamp my work piece, turn it 90 degrees,
clamp it down again and then machine the area that was under the clamps
on either side. Now flip the part over and repeat the whole process
again.
Now this takes about 10 minutes to complete both sides
and most of the time I'll have to come back and re-machine one of the
surfaces because I didn't have it sitting exactly flat the first time.
But in my defense, trying to clamp a part that has a sawcut surface
isn't easy to work with either. This procedure took a few days to
complete mainly because I got bored with this type of machining.
|
|
 |
|
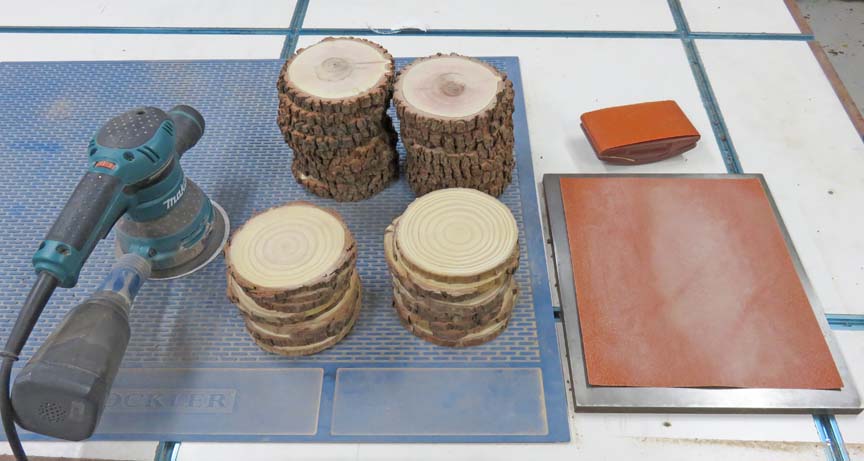
A keen eye will notice the two new stacks of parts in the
foreground. This was plan B as I bought some extra pieces because I didn't have enough to
make my quota. These new pieces came in packs of 10 so I bought two
packs. And these new ones are slightly thinner than mine but that
shouldn't hurt anything.
Next it was time to start sanding all these pieces. I
started using my DA sander but quickly found out that my parts weren't
coming out flat. So I had to go "old school" and dig out my nice flat
plate of steel, place a sheet of sandpaper on it and begin getting a
serious shoulder workout. I started with 100 grit and then went to 150.
This process took a few days because each one took awhile. I'll return
to the coasters soon but now it's time to work on another wedding
project.
|
 |
|
1
2
3
4
5 |