|
Working With Wood Continued
Here I'm getting ready to assembly so I used the table
extension on my table saw as my work bench. I put a drop of glue on each post and
used my nail gun with some 1 1/4" long nails at each corner. I had one
nail shoot out the side and at that point, I decided this was the wrong way to
fasten these pieces together.
|
|
 |
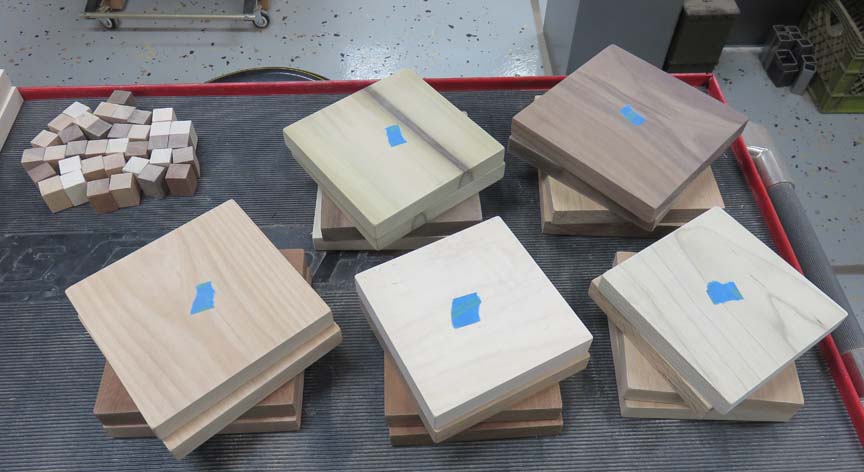
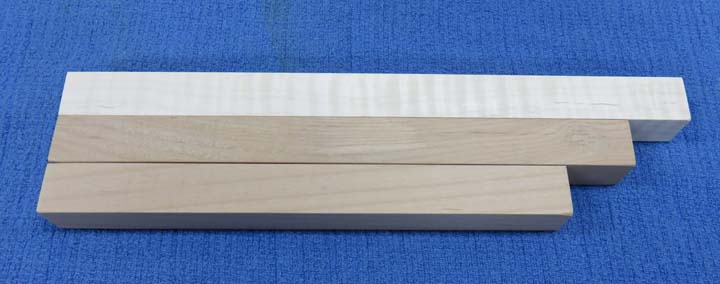
I sorted out the rest of the pieces and
marked the tops with blue tape.
|
|
 |
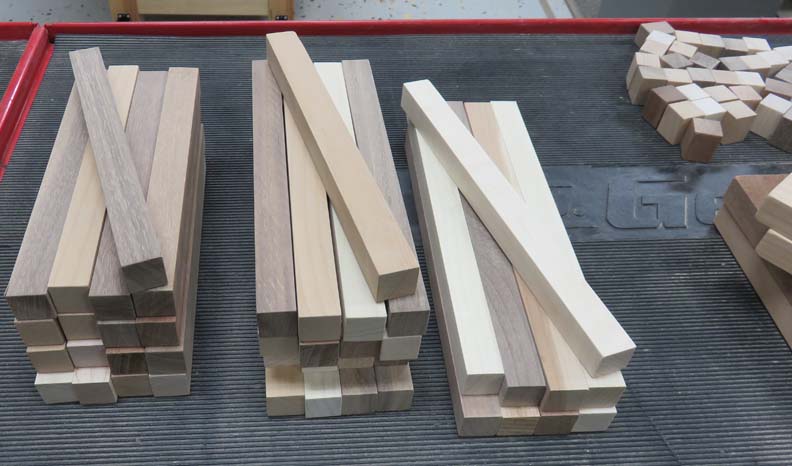
Next I sorted all my posts (three sizes) and decided to use a different
method of joining them together.
|
|
 |
|
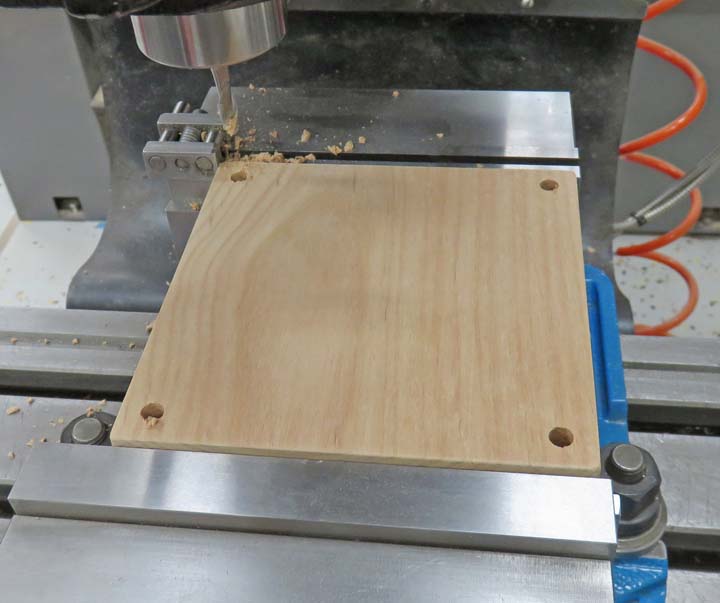
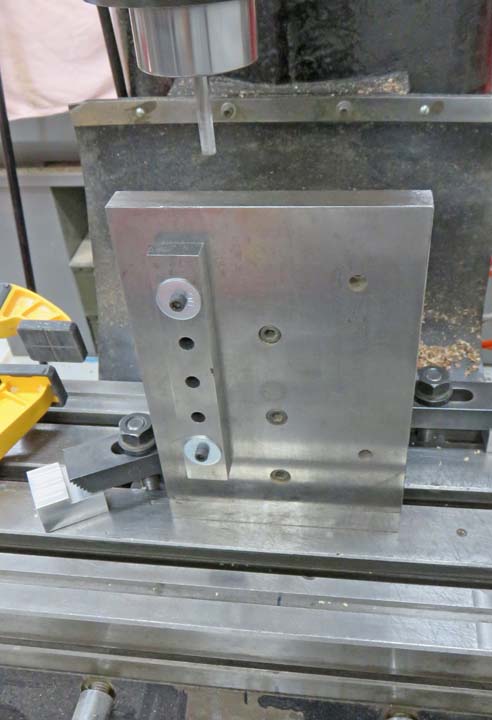
I'm going to use 1/4" wooden dowels along with some glue
to fasten all my pieces this time. I used my milling machine for
this which went pretty fast. Also, I used a 1/4" end mill in place of a
drill because this produces a flat bottom, along with only using one
tool in place of two (which would have been a center drill and then a
drill).
|
|
 |
|
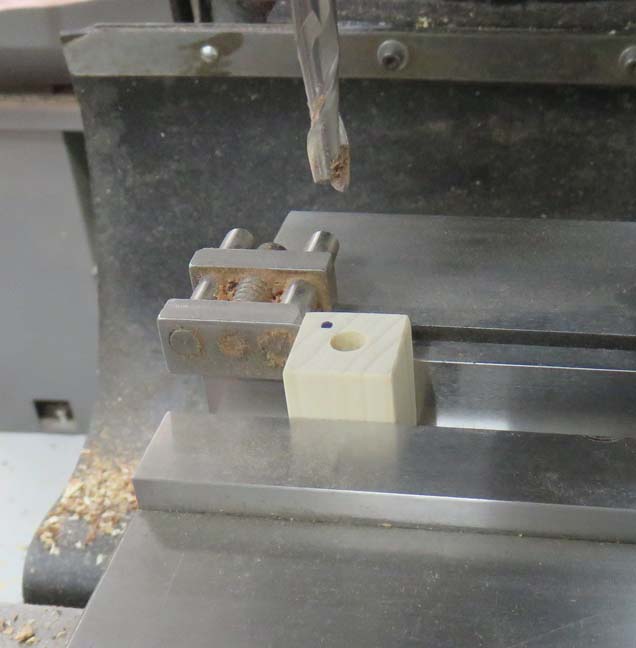
Here I'm putting holes in the feet. The dot on the wood
is to represent my zero corner. If I needed to put this back in my vise
for any reason, I would orient it with the dot facing the solid jaw and
my work stop. This way I know it's in the exact same position each time.
It's a machinist thing...
|
|
 |
|
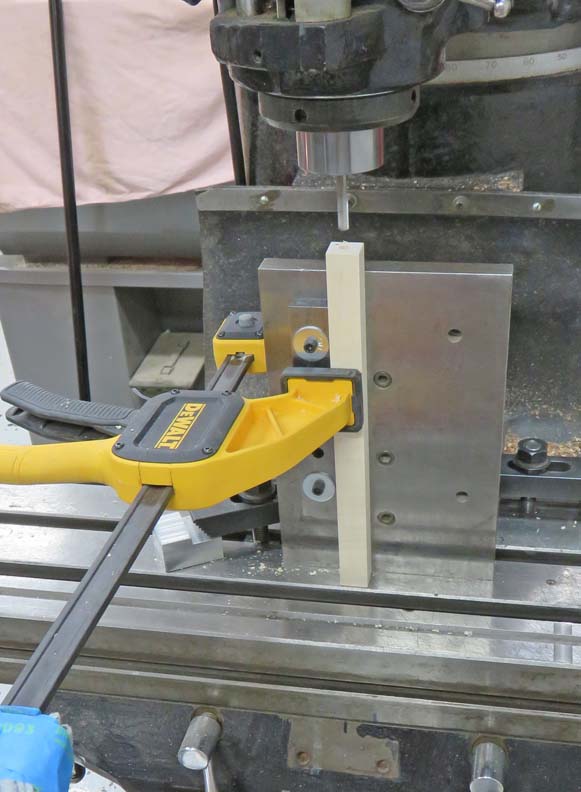
Now it's time to do the long pieces. I removed the vise
and now I'm using my angle plate along with a parallel to locate my work
piece.
|
|
 |
As I've stated before,
I have three lengths but will only need one setup to put in all the
holes.
|
|
 |
I started with the longest pieces first and went to a depth of just over
1/4".
|
|
 |
|
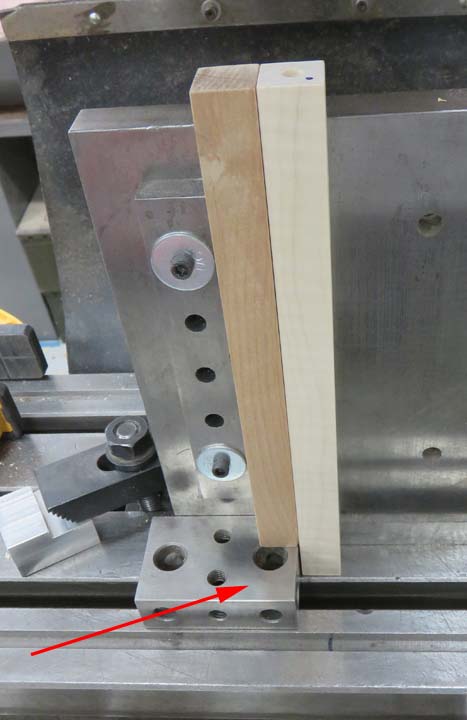
Once all those were done, I placed a 1" X 2" X 3" block
under my work piece, giving me the same height as before. And when all
those mid-length pieces were finished, I moved my block to the two inch
side, which again gave me the correct height.
|
|
 |
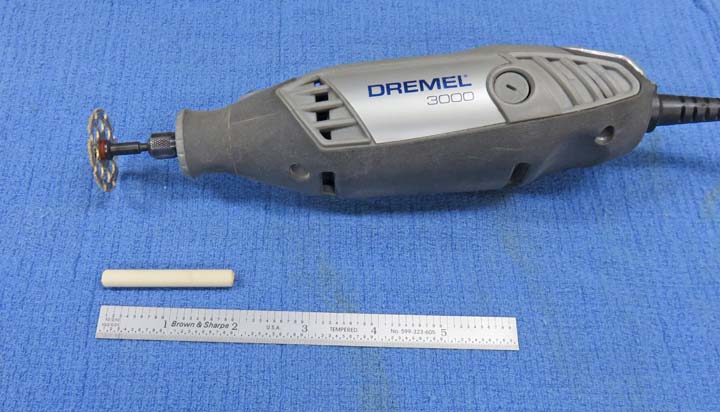
I used my Dremel to cut my wood dowels because this method creates a
smaller burr and doesn't splinter the wood like my hacksaw does.
|
|
 |
|
1
2
3
4
5 |