|
Working With Vinyl
Here are the vinyl stickers that I'll be working with. I have 40
wooden coasters but Tracey gave me a few more vinyl pieces just in case
something went wrong.
|
|
 |
|
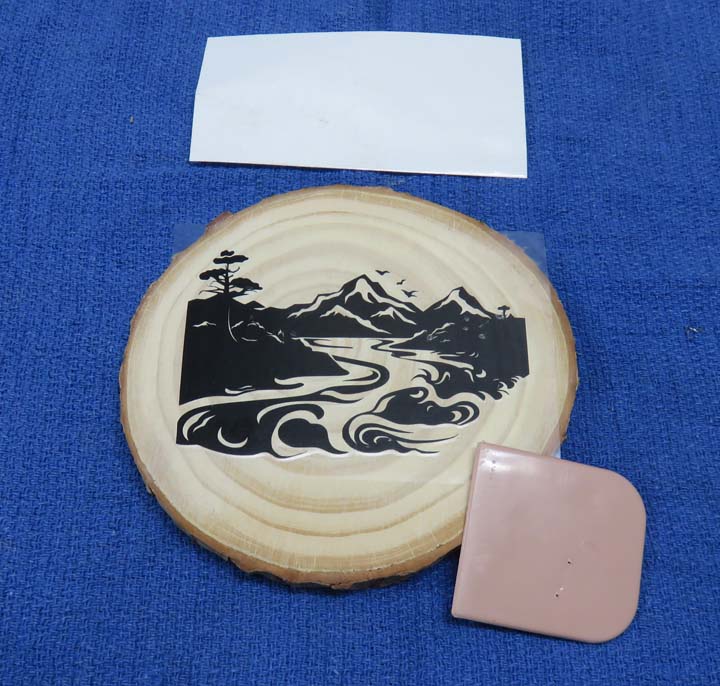
For the most part, these are pretty easy to work with: remove the
white
backing sheet first, stick it to whatever you're working on, and then
use a soft tool to help work every square inch of the sticker to the
working surface (tan plastic piece). I also use my fingers to help
smooth out the sticker as well. Once all that is done, you can slowly
remove the clear backing sheet, revealing the sticker.
One thing I found out the hard way was the thinner
pieces that I bought didn't allow the vinyl stickers to adhere that well
for some reason. Once I found this out, I was very selective with the
amount of detail each sticker had. If there wasn't much detail, I used
the thin wood pieces.
|
|
 |
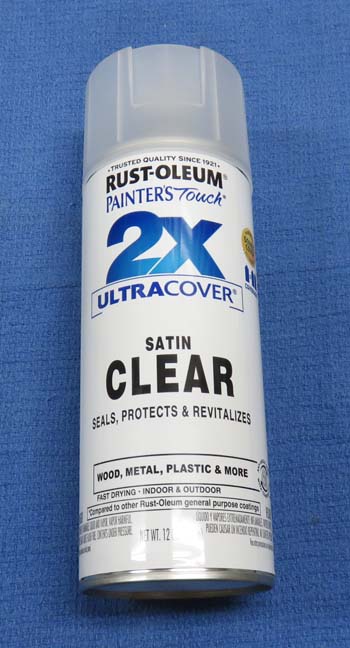
And again
I used a spray clear in satin for the finish on both sides.
|
|
 |
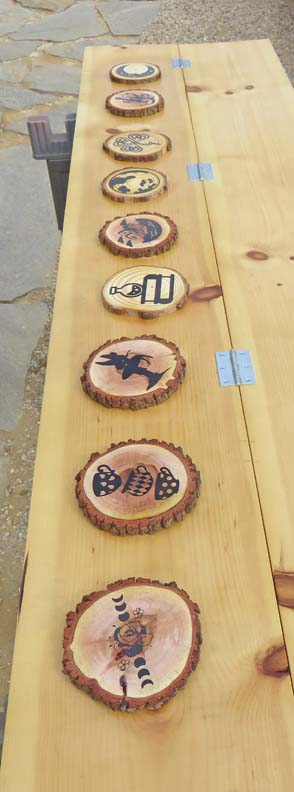
Here are a few I was working on in my spray booth.
|
|
 |
|
The Coasters Are Finished
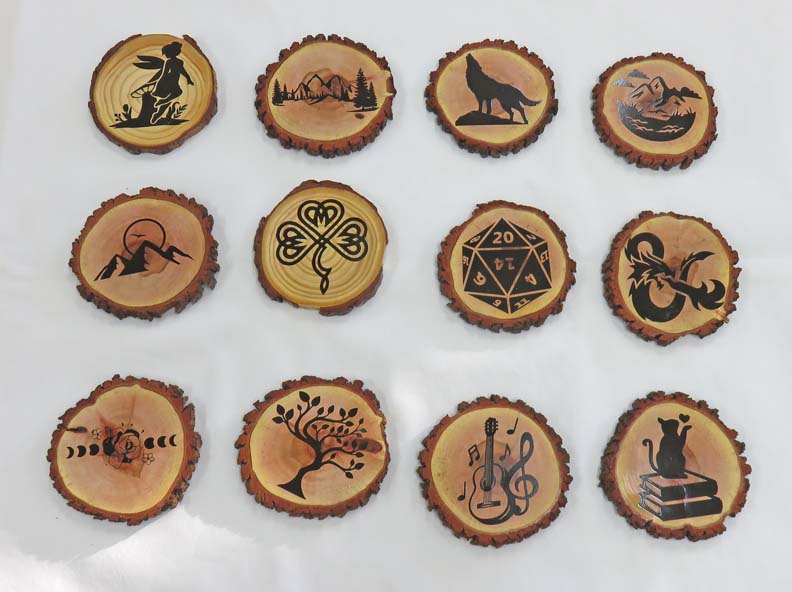
Most of these came out looking great. However, some of them had a
corner or two that wanted to lift or peal off on the thinner ones a few
days later. I used some glue on those corners but with limited success.
|
|
 |
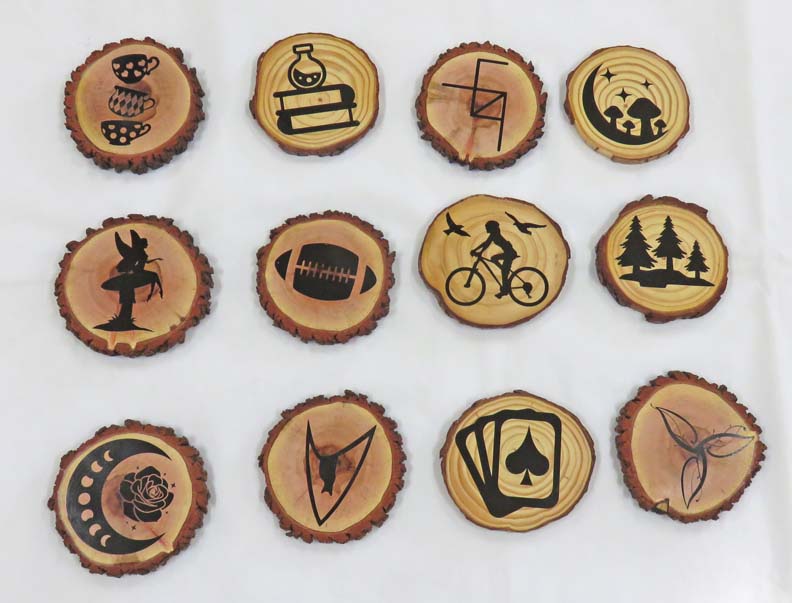
Tracey custom made some of the vinyl stickers for some of her
friends.
|
|
 |
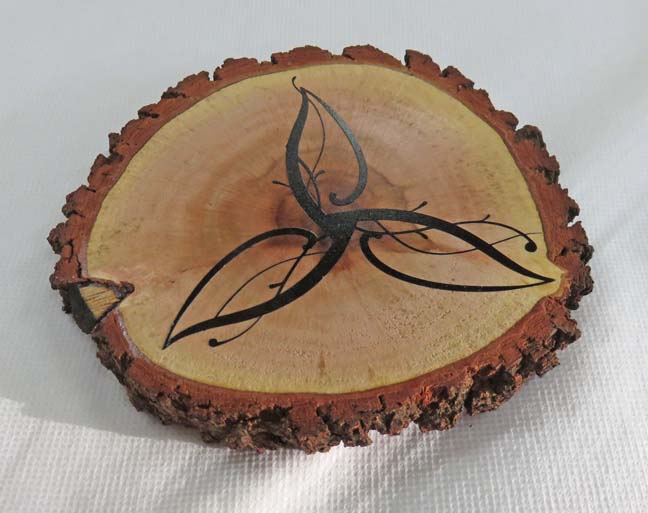
The small thin lines worked out perfectly on the thicker pieces.
|
|
 |
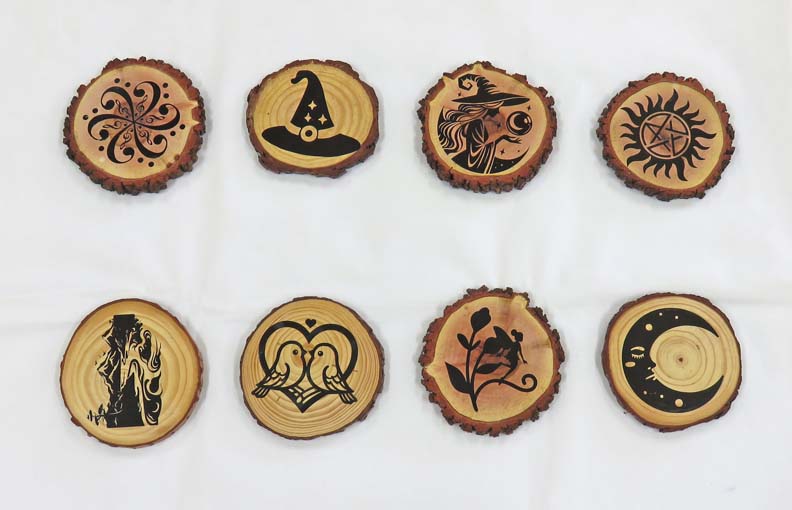
And some of the stickers were randomly made, because she didn't know
what some of her guests would like.
|
|
 |
|
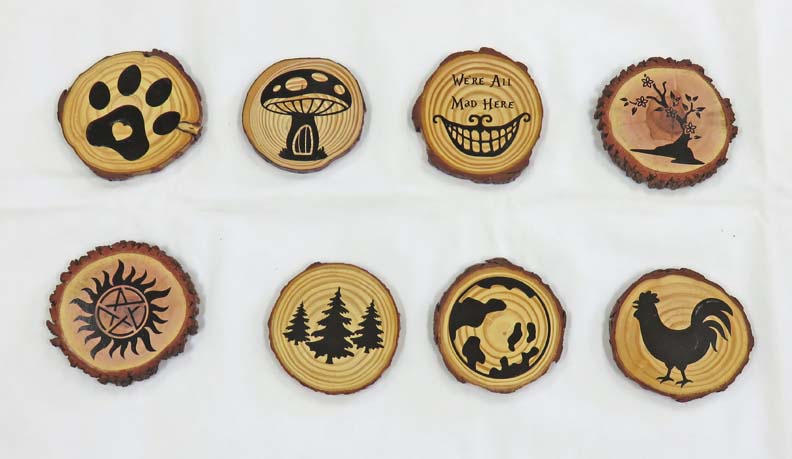
Here are the last group. Between my daughter and myself,
I think these all came out pretty good. Oh, and all the guests were very
happy with them as well. The coasters should give them something to
remember her wedding day and to set their beverage on or whatever they
want in the future.
|
|
 |
|
1
2
3
4
5 |