|
Working With Wood Continued
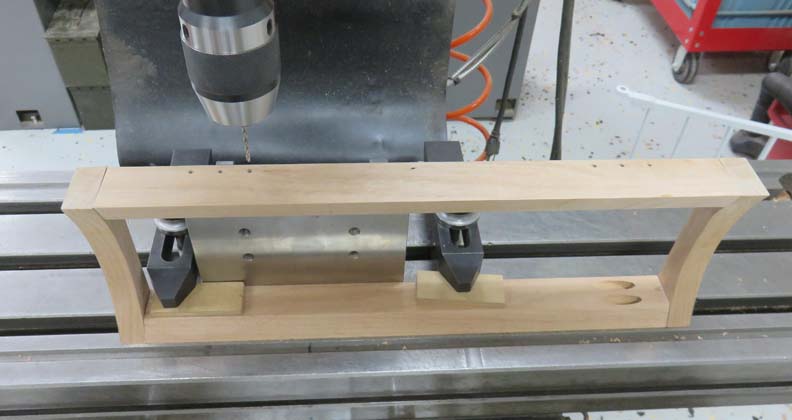
Again, I wanted the holes for the screws to line-up
correctly so the milling machine was called upon once again. I could have
used a hand drill but it seems like the holes are never in the right
place after the drill follows the grain of the wood.
|
|
 |
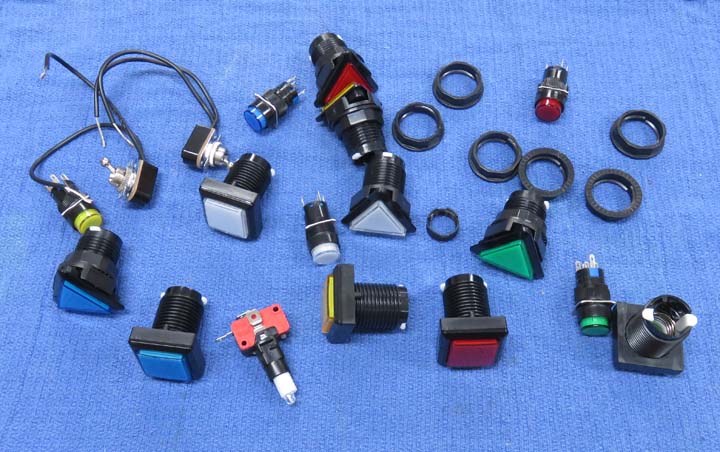
Here are the switches that I'll be
installing. There are three major differences between them, even though
some have different shaped buttons.
|
|
 |
|
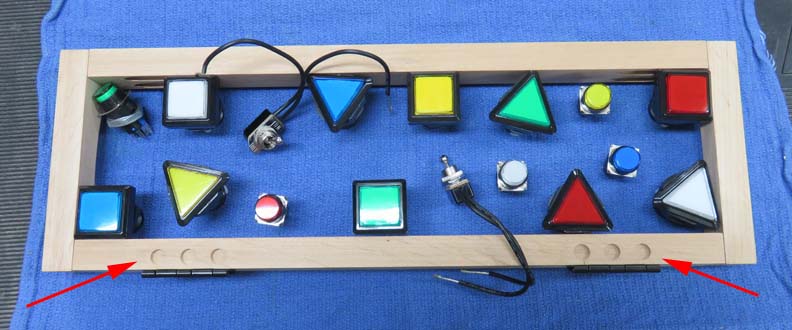
Here is what my daughter came up with. She placed them in a very random
pattern which is just what she wanted.
Notice the small round pockets in the wood (arrows). These are clearance for
the #4 nuts that will be used on the hinges.
|
|
 |
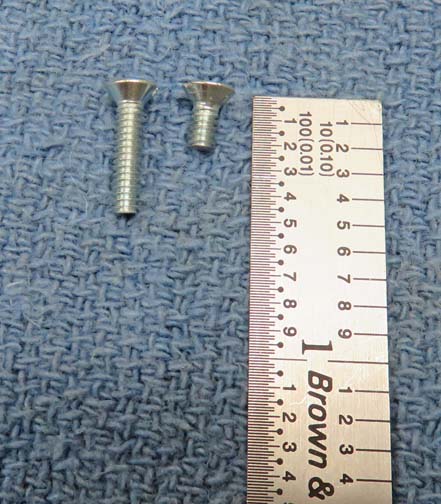
I had to cut these #4 screws down from 1/2" to just under 1/4", which
are now pretty hard to deal with.
|
|
 |
|
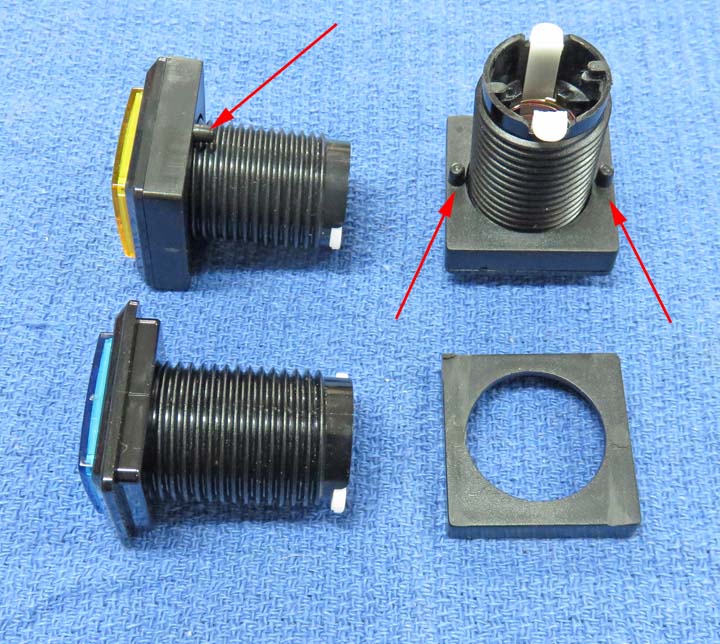
One thing that needed to be removed was the two small studs that were on
the larger switches (arrows). I used wire cutters first and then my belt
sander to remove them. The bottom square piece has the studs removed.
|
|
 |
|
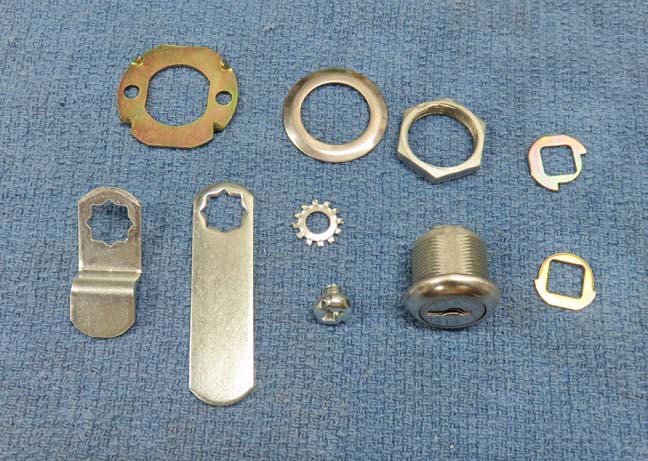
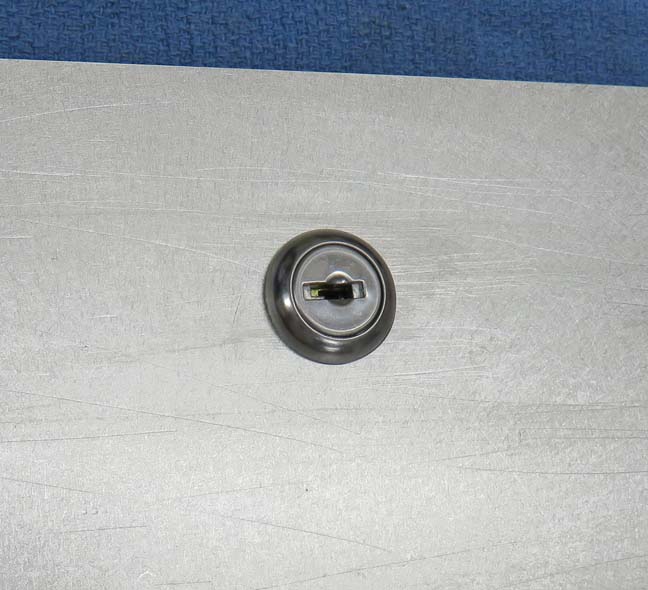
This is the key lock that will keep the door shut. However, this will
only be used by the staff and not the ones playing the game. If you look
close at the lockset (bottom right), you'll notice it has threads along with a
small flat
area. This flat area is so the lock doesn't spin while using it. However,
making a hole that has a 3/8" radius along with those two flats is
something a manual milling machine isn't designed for compared to a CNC
milling machine.
|
|
 |
|
Working With Aluminum Again
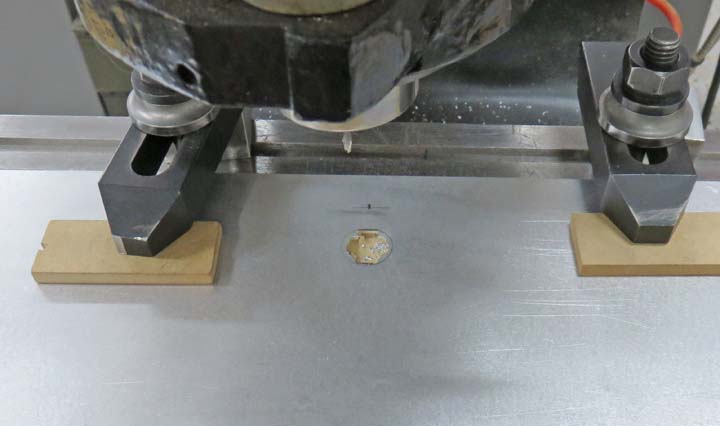
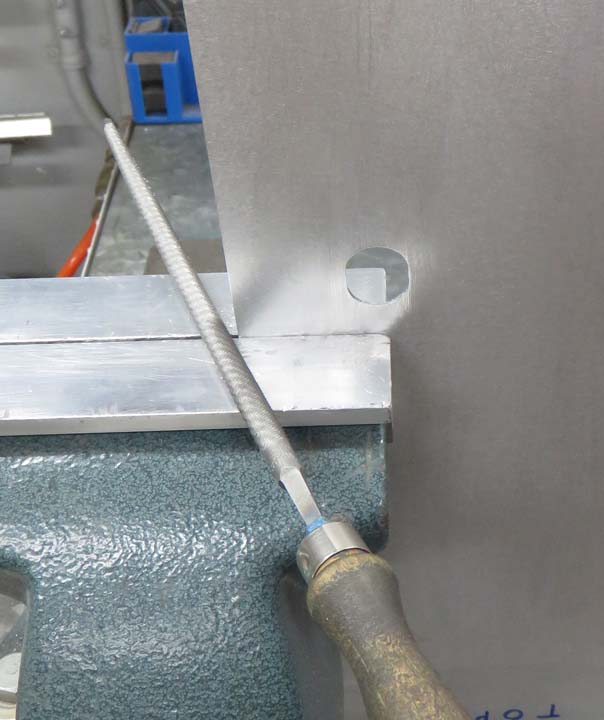
I laid out the lock area with a pencil. Then I establish the two flat
areas with my milling machine making sure the dimensions were correct. Next I cut near to the
line but stayed away from it.
|
|
I know this looks like a mess, but the two flats at 9 and 3 o'clock was
my main concern here because those are for the lock set.
|
|
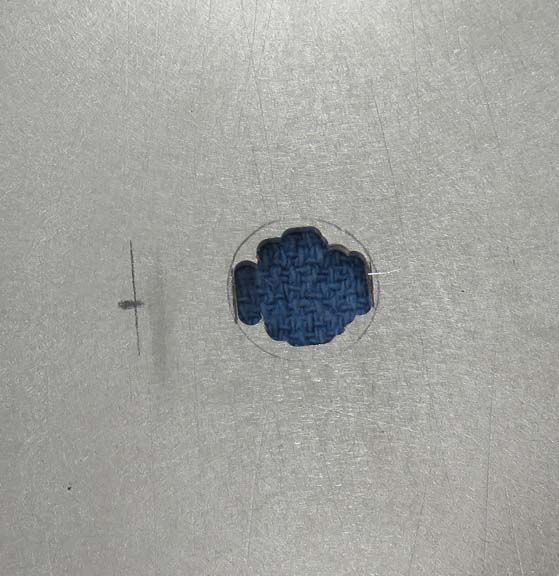
Then I placed the aluminum in my vise and finished the rest with a round
file. This went fast because the material is thin.
|
|
And there we go, the lock fits great with hardly any slop.
|
|
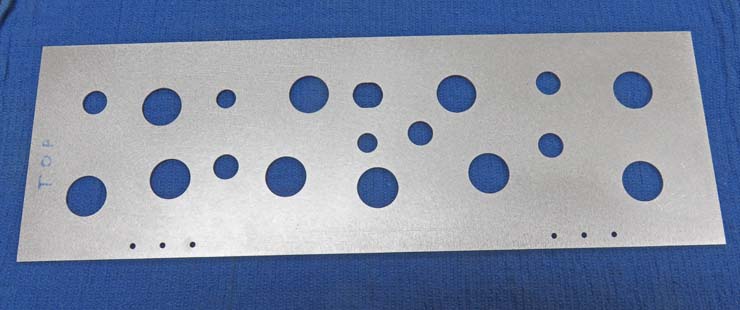
Next I made a bunch of holes for all the switches. If you look close you
can see the hole I made for the lock at the center/top.
|
|
 |
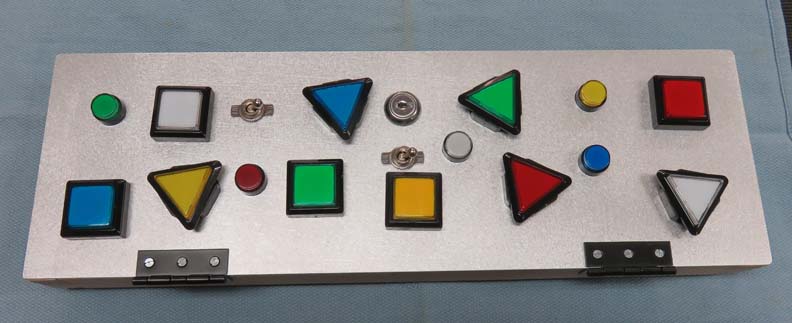
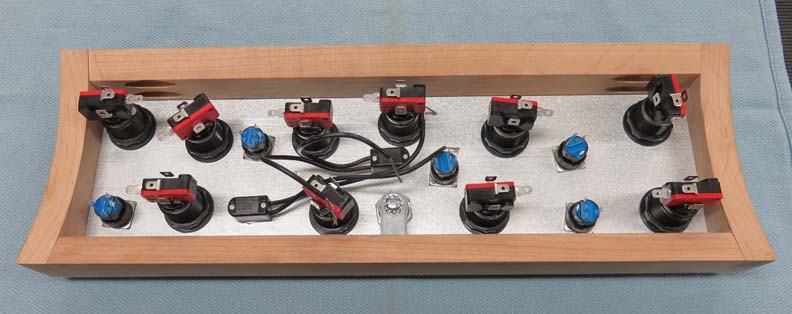
And here is what all the switches look like installed. Yes it's random
but it needed to match the theme of the game, kinda cartoonish.
|
|
 |
|
Lots of switches in there, and most of these have lights in them. Now
it's time to work on another project
|
|
 |
|
1
2
3
4
5
6
7
8
9 |