|
Working With Steel Continued
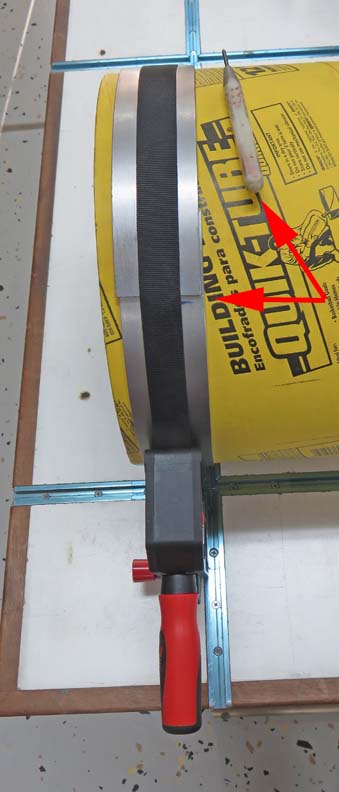
I'm using my band-clamp (normally used for wood working) to squeeze
the ring onto the cardboard tube. Then I used my scribe to mark a line
that I'll cut to (arrows).
|
|
 |
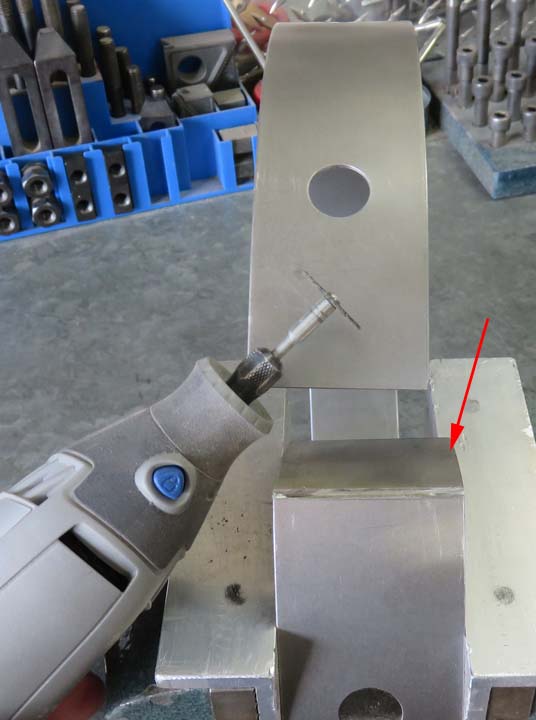
I used my Dremel and a cut-off wheel to
cut the steel with and I left the line while doing so because I'd rather have the rings
slightly lose than too tight.
|
|
 |
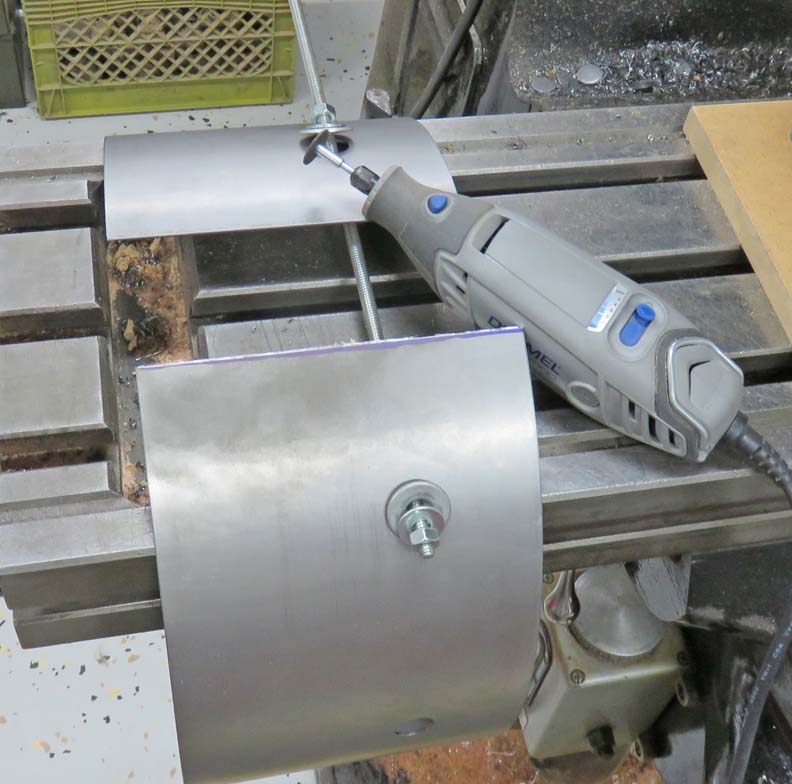
The larger ring wouldn't fit in my vise so I used some all-thread along
with some washers and nuts to keep it in the right position while I cut
the excess off.
|
|
|
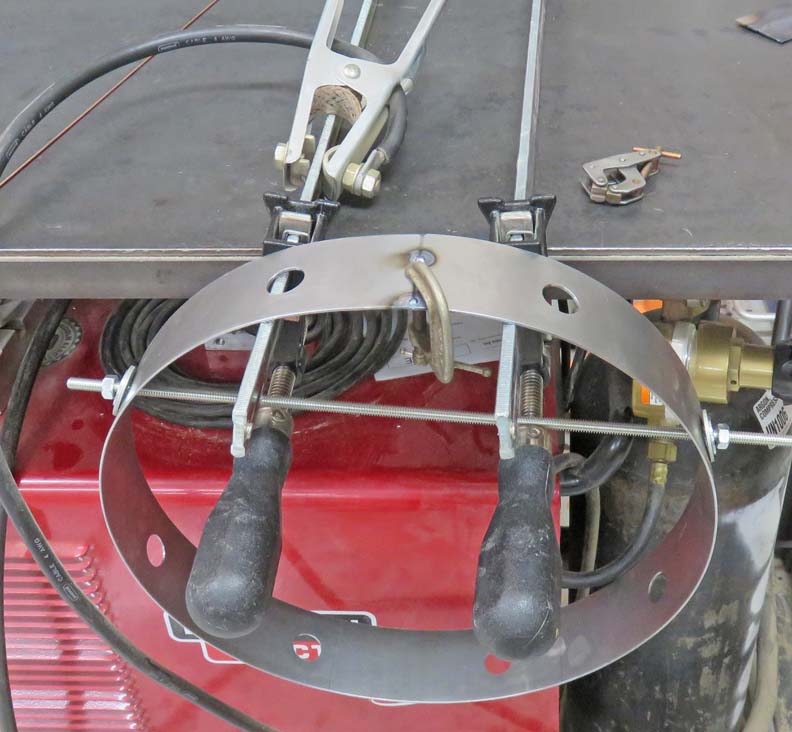
Again I used a piece of all-thread to pull the ring
together for welding. Once it was in the right position, I used a single C
clamp to keep things from moving while I did some tack welds.
|
|
 |
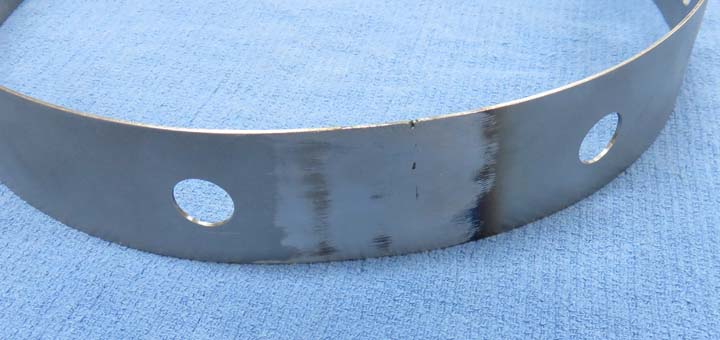
Here is the six inch piece all welded. Now it's time to cleanup all
those welds.
|
|
 |
A few minutes with a grinder and it looks much better now. I did this
for all the rings.
|
|
 |
|
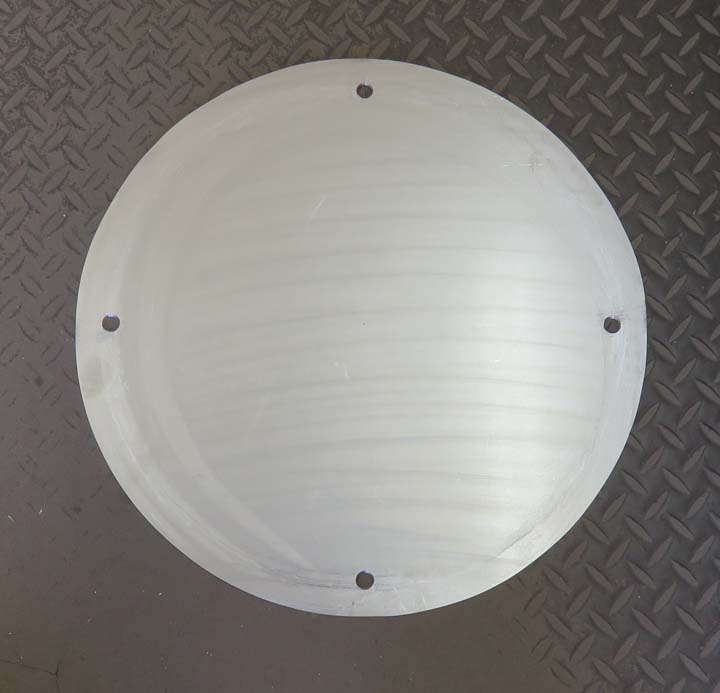
This is the base that will be attached to the floor. I'll be welding the
six inch ring to this piece and the four holes in the base will be used with some Tapcon fasteners, which will be
anchored to the concrete floor. Knowing what
size the Tapcon's were going to be, I also chamfered these holes accordingly.
The reason the largest ring will be used here (six
inches tall) is because
it might get kicked, or worse while people are playing the game. This
way it should protect the cardboard tube that much better so it doesn't
get beat up.
|
|
 |
|
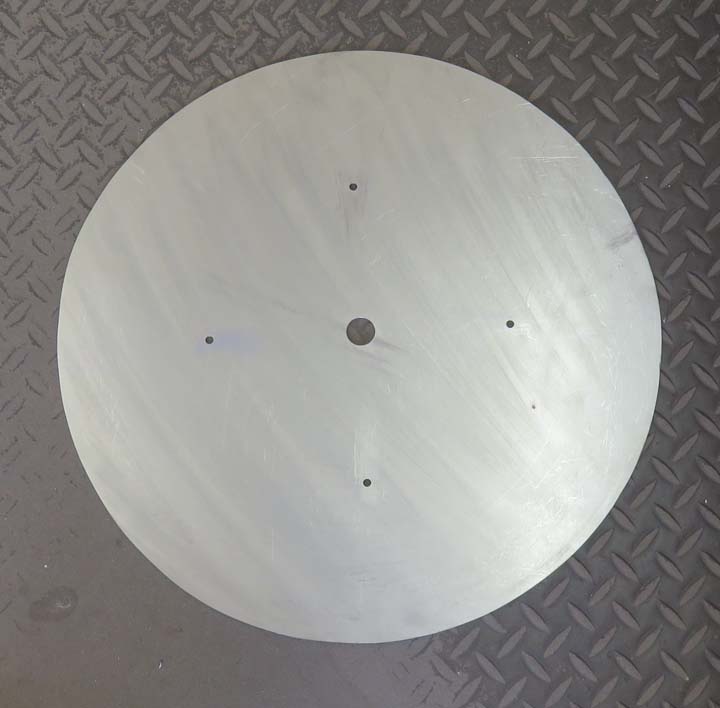
This base plate will be used with the two inch ring that
will be fastened to the ceiling. The four holes are
for wood screws to hold this in place and the center hole is for
electrical wiring. I'll revisit this project in a minute while I switch
to
another project.
|
|
 |
|
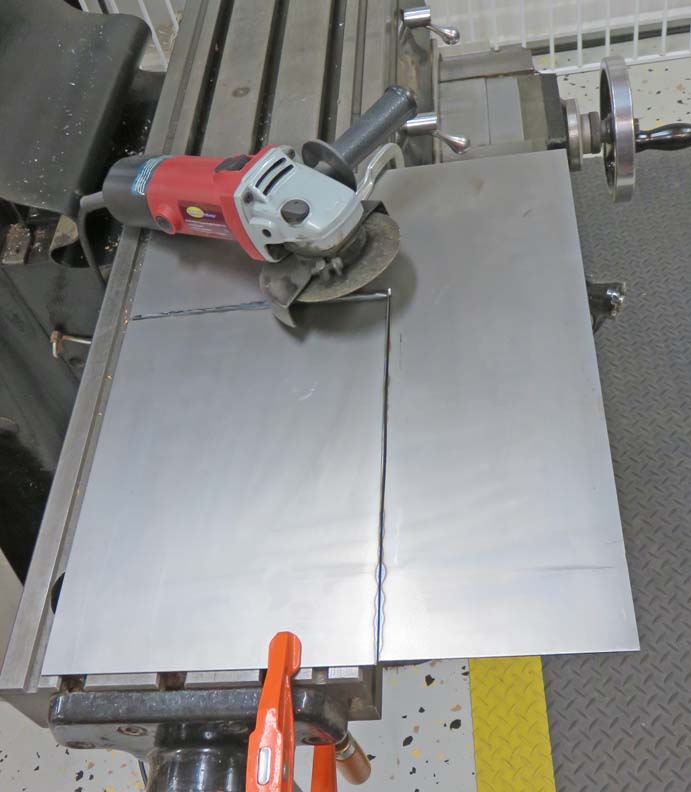
I'm cutting out a piece of steel that was leftover from the rings
here,
which
will be used for as a trim plate on the cardboard
tube. This trim plate will be fastened with # 10 screws and there will
be a clear piece of plastic behind it. Think window here.
|
|
 |
|
I decided to cut three pieces of material for the trim
plate at the same
time, mainly because I didn't know exactly how thick this trim plate
should be. Once I'm finished, I'll mess with each piece and see which one
I like best.
On the left we have a piece of mild steel that is .025"
thick, the middle is the same as the rings at 1/16"" and on the right is
.090" 6061-T6 aluminum (street sign material).
|
|
 |
|
1
2
3
4
5
6
7
8
9 |