|
Working With Wood Again Continued
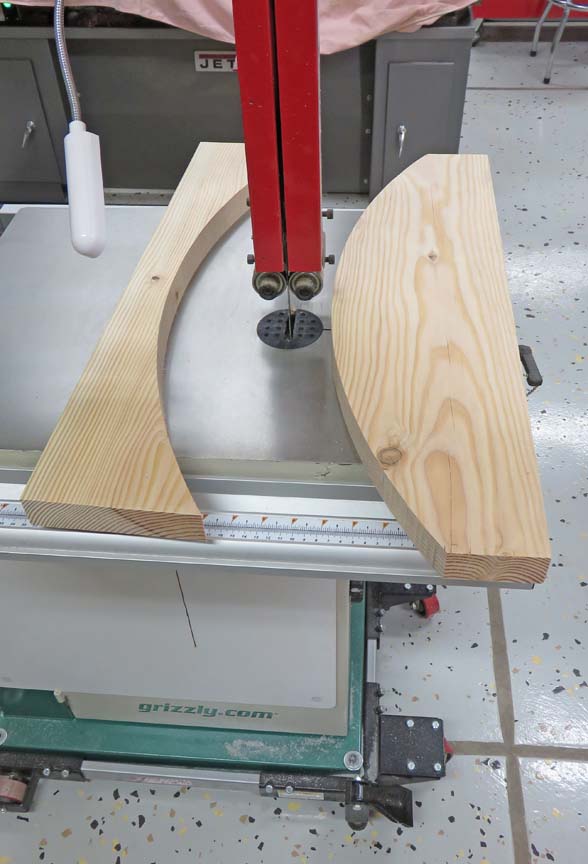
Here I'm cutting on the line and then I sanded the cut
surface with a sanding block. I prefer to use a sanding block on a
convex radius in place a belt sander because it's easier to control.
However, this method takes longer and is a workout.
|
|
|
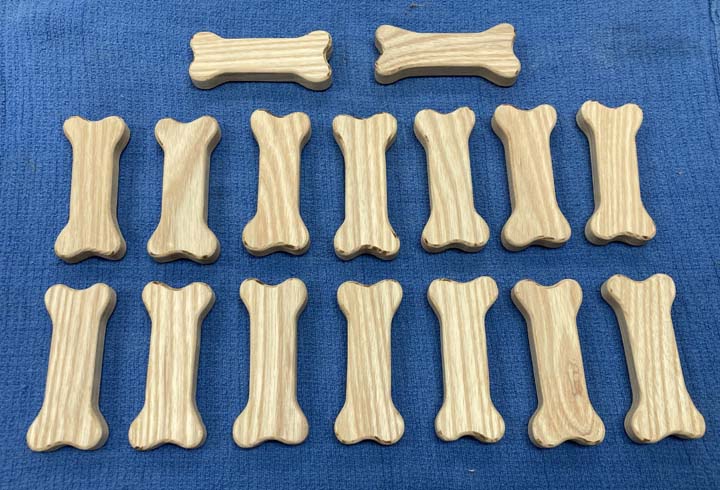
A last minute item that Angela wanted was some dog bones for the TREAT
machine. These measure 3 1/2" long by 1 1/4" wide by 1/2" thick.
I used my bandsaw for this along with my router table to make the edges
softer.
|
|
|
The Reveal
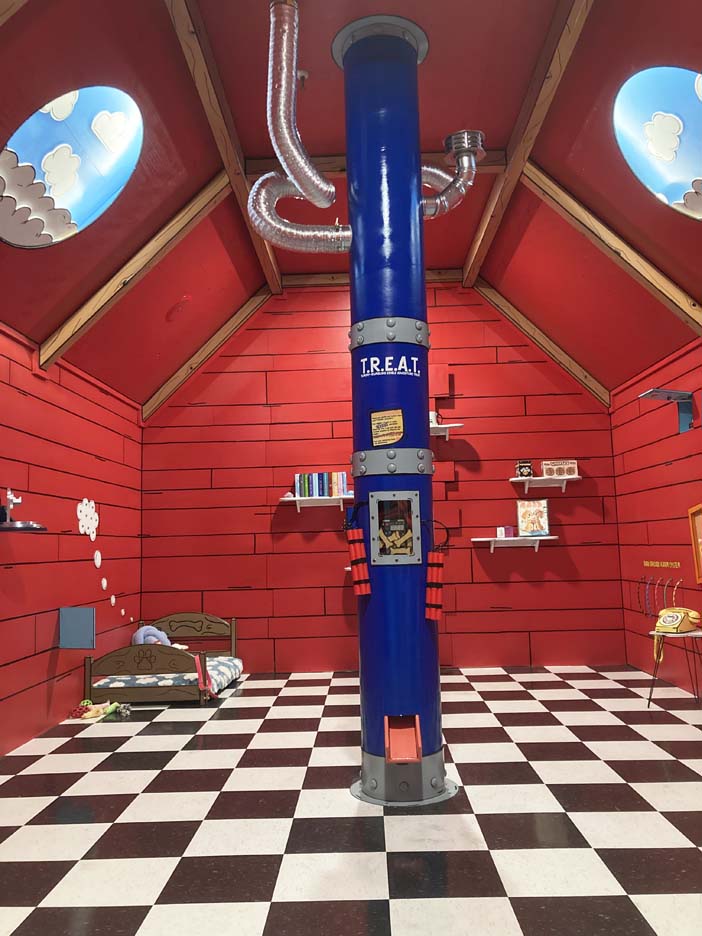
Here is the TREAT machine that Matt and Angela designed, which came
out very cool looking. There's a lot going on here so let's look at each
piece.
The machine is about 10 feet tall and can distribute a
treat in the chute at the bottom if you solve one of the clues.
Notice the shape of the roof, that's to mimic a dog
house. Also notice the black lines on all the beams, those are to look
like wood grain. BTW, those black lines were put on with a felt marker,
along with various other spots in the room.
The two round areas on the ceiling are skylights. The
one on the right has something special that happens when you solve a
clue.
In the back you can see the dogs bed along with some
white clouds. More on that next.
|
|
|
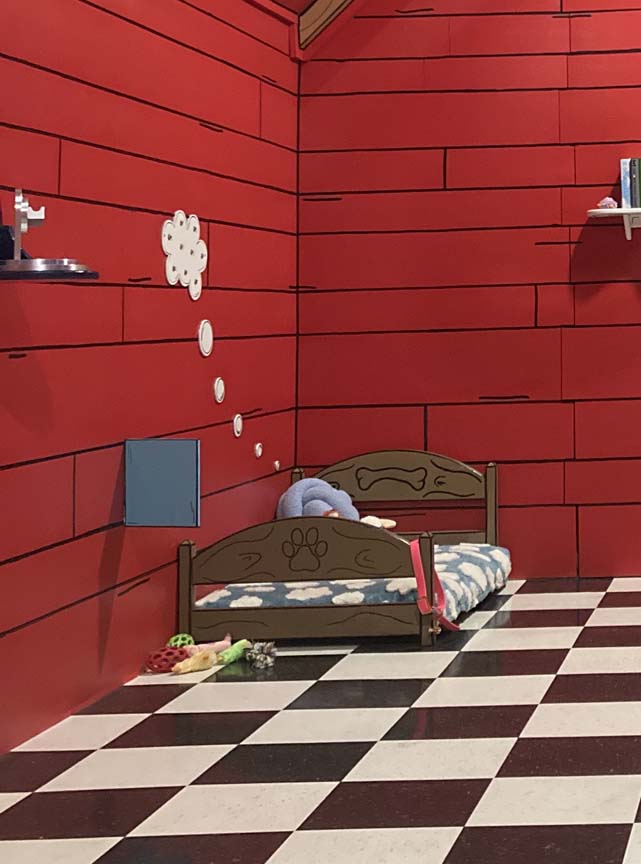
Here is a good view of the bed after paint. Matt made
the other pieces and then put the bed together, which came out really
nice. The white clouds on the wall represents the dog dreaming, and the
larger cloud has nine buttons that need to be pushed in the correct
order to solve the clue. You can also see the
laser pointer that I made
on the left as well.
|
|
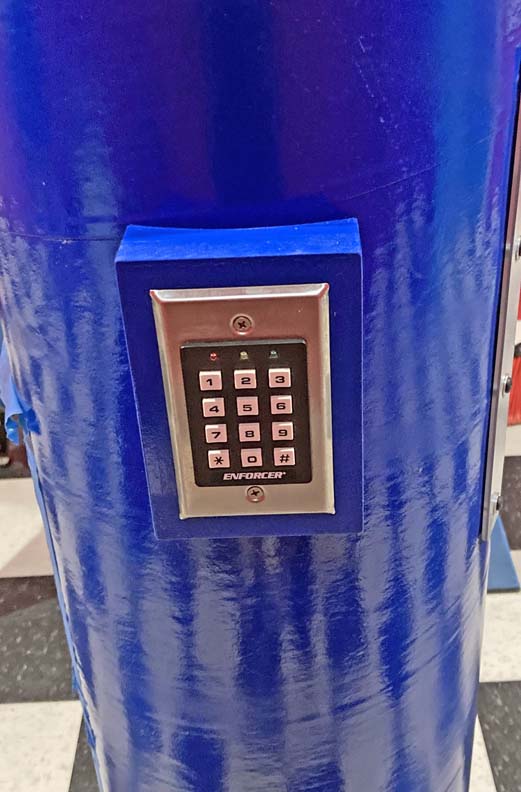
Here is the key pad box attached to the side of the TREAT machine.
|
|
 |
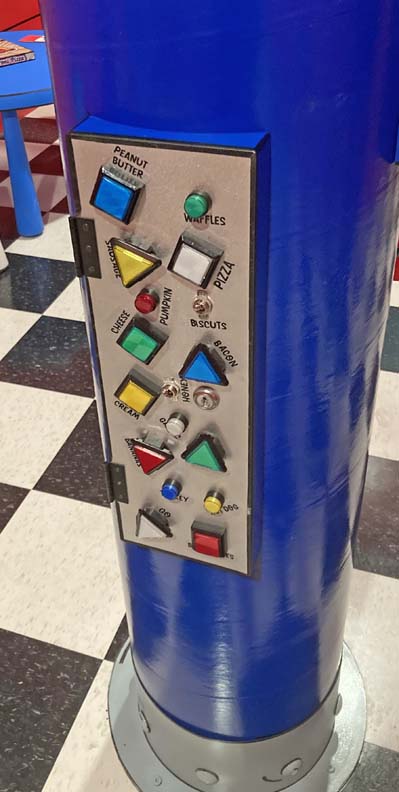
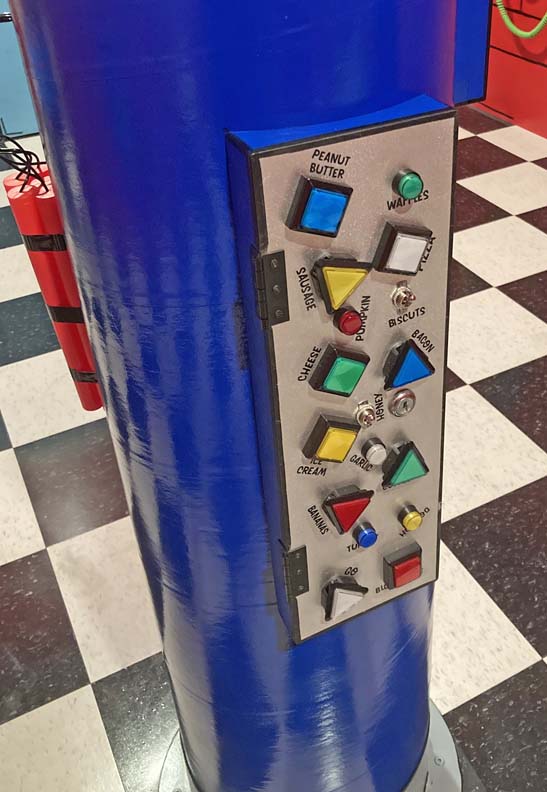
Here is the box that has all the buttons
on it. Angela liked the sanded finish on the door so she left it as is.
|
|
 |
I don't have much information on this but it's located on the back of
the TREAT machine.
|
|
 |
Here is what the trim plate looked like at one point.
|
|
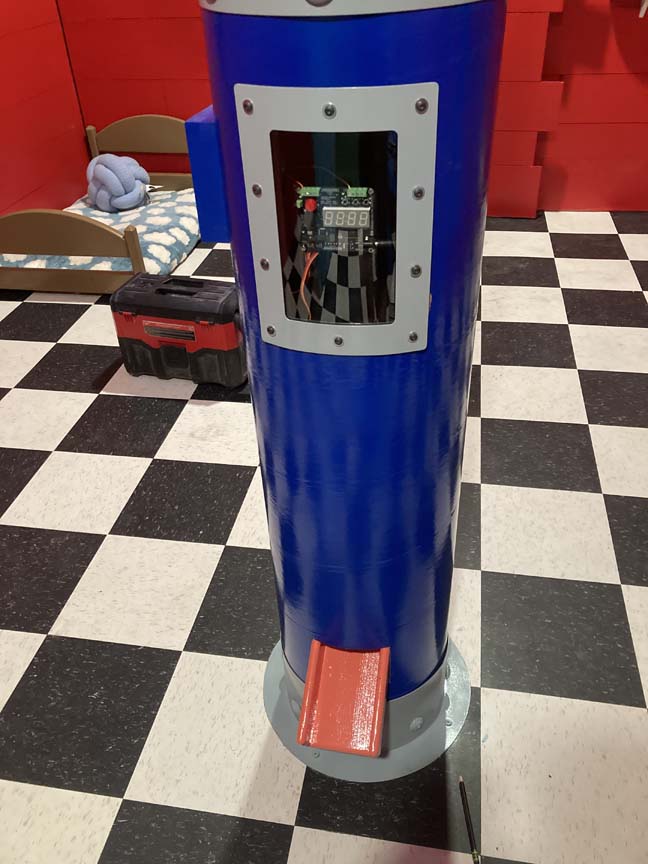 |
A close up of the electronics on the inside. And they painted the trim
plate gray, which is the same color as the rings.
|
|
 |
|
And here is what it looks like all finished. Again,
those black highlights are from a felt marker in an effort to look
cartoonish. And you can see all the dog bones in there, which were
painted gold by Matt, again with some black highlights.
|
|
 |
More black highlights, along with some fake explosives.
|
|
 |
|
Here is a close-up of the center ring. Those wood screws
don't look too bad now that everything is painted.
These escape room pieces were
really fun to work on and it's now open for any age group in case you're
interested. And as you can tell, it looks awesome and should be really fun to
play.
|
|
|
1
2
3
4
5
6
7
8
9 |