|
Working With Steel Continued
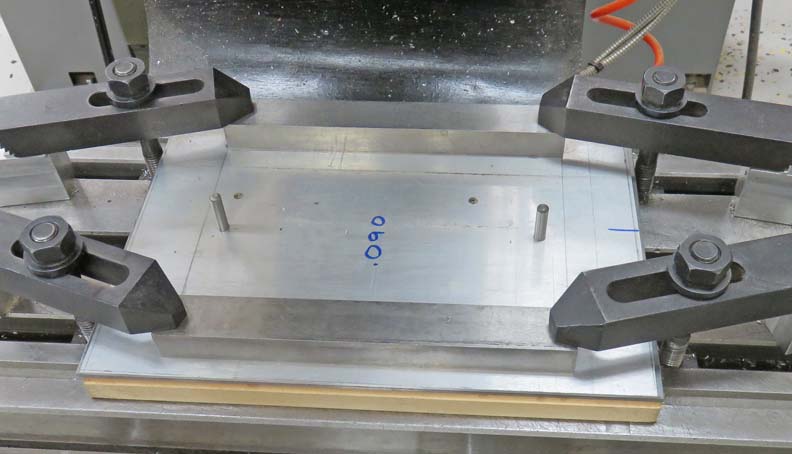
I used a piece of wood under my three pieces of material
and then clamped them all down. The two pins that you see are only for
alignment of the three sheets because I previously machined the
perimeter of them all before hand. Once everything was clamped down, I
removed the pins and then cut out the center.
|
|
 |
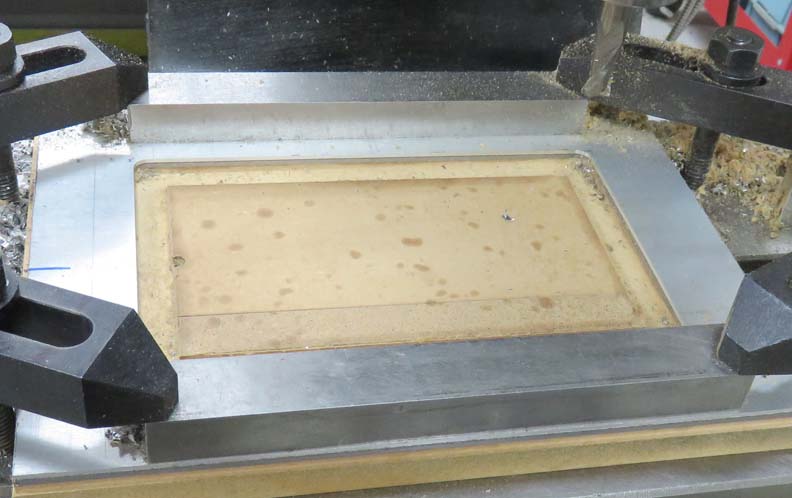
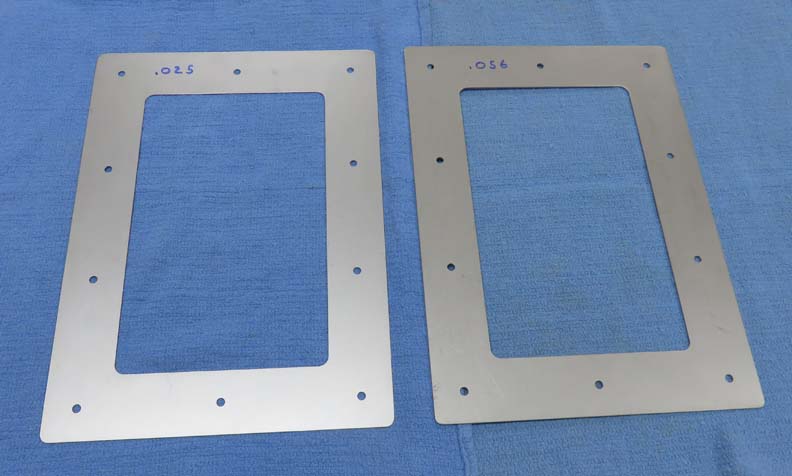
This didn't take that long and now all
there pieces have been machined. The sides are 1 1/2" thick all over.
|
|
 |
|
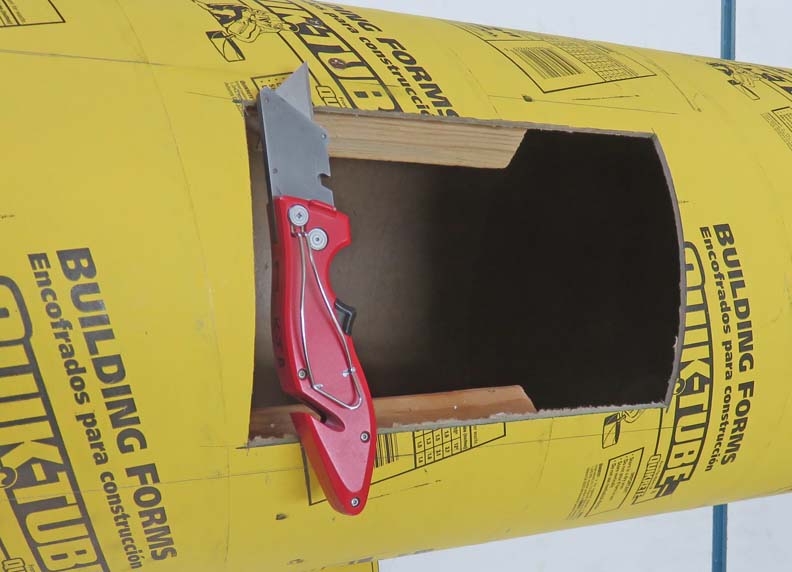
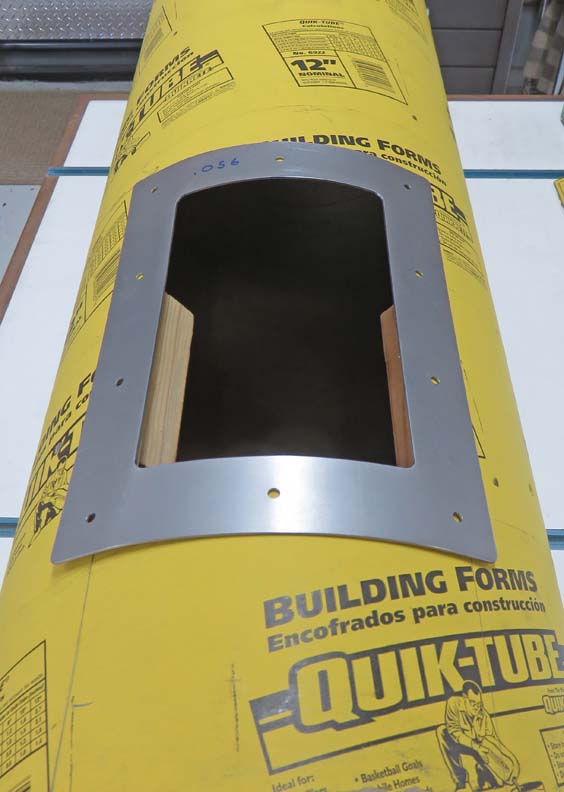
I used my razor knife to cutout the hole in the tube
which went pretty fast. The wood that you see in the tube are test
pieces. I thought that if we used four 2" X 3" or four 2" X 2" equally spaced
for the length of each tube, that would help stabilize things pretty well.
|
|
 |
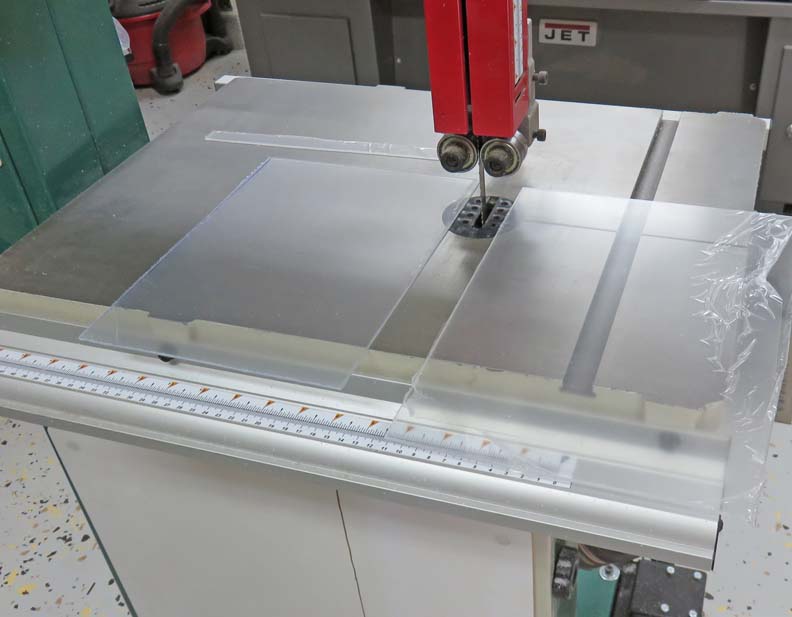
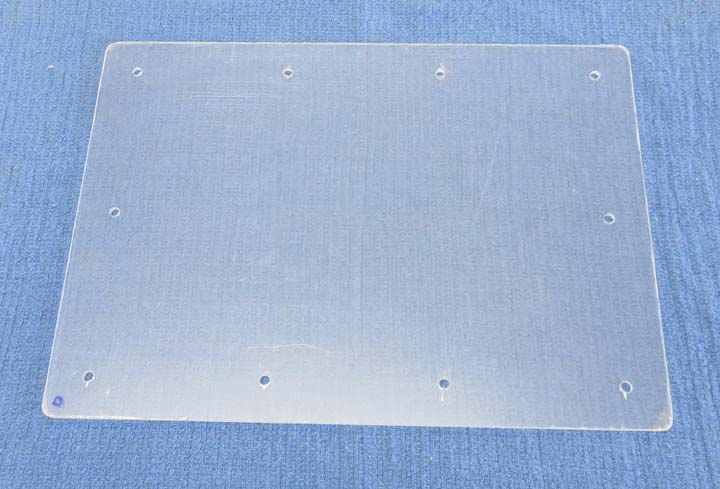
Here I'm cutting some acrylic that will be used for the window. My
bandsaw worked great for this.
|
|
 |
Now it's time to pick a trim plate for the clear window. After thinking
about for a minute, I'm going to use the thicker material.
|
|
 |
|
I needed the trim plate to conform to the tube so I used
the edge of my work bench to help form it. I placed the trim plate like
you see below, applied some pressure, moved my piece slightly and then
repeated. Slowly the trim plate was like you see here.
|
|
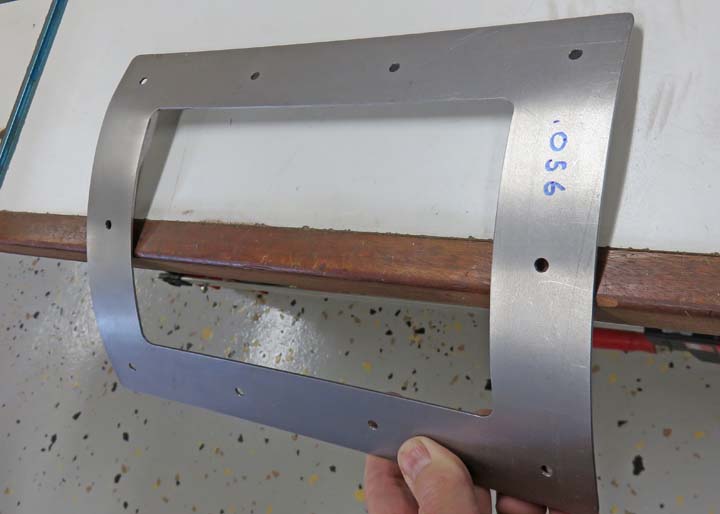 |
This only took about five minutes to bend and then I transferred all the
holes through the tube.
|
|
 |
I drilled holes in the acrylic with the same bolt pattern as the trim
plate.
|
|
 |
|
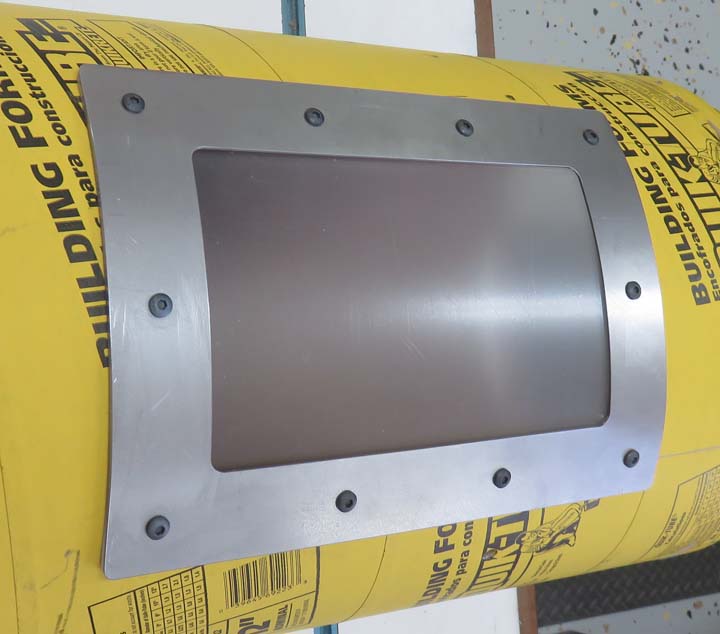
The acrylic is acting like a spring here, which is
keeping the
trim plate from sitting on the tube correctly. I ended up opening up all
the holes in the trim plate and window so everything would fit
right. I used nuts to fasten all the screws with, which was easily
accessed from the end of the tube. However, this won't be possible once
all the tubes are assembled. I need to figure out another plan here.
|
|
 |
|
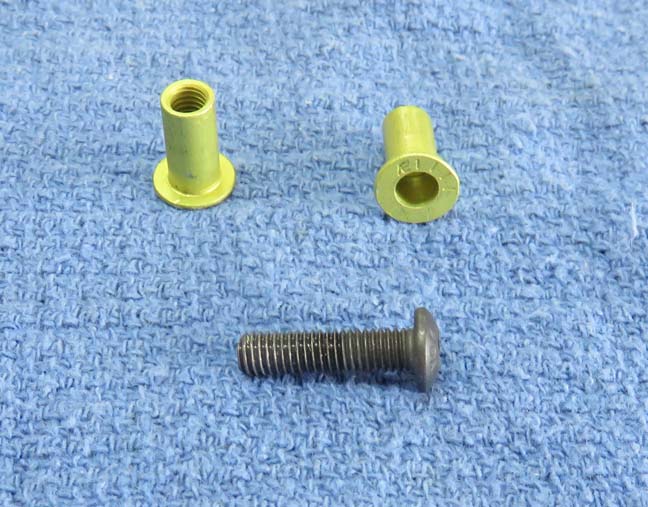
I remembered that I had some rivet-nuts leftover from
building my 33 Coupe years ago and sure enough, I had plenty of the #10
size that I needed. Rivet-nuts, or riv-nuts for short, have threads
inside them and squash or deform like a pop-rivet does. All you do is
drill the proper size hole for the riv-nut that you're using, then screw
a riv-nut onto your installation tool, then pull the handle. This deforms the
body of the rivet-nut and locks it into place.
|
|
 |
|
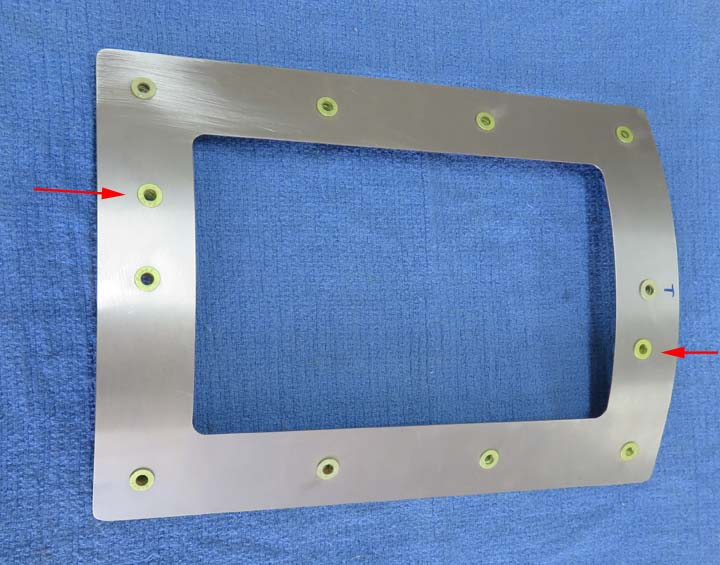
I used the thinner trim plate for all my riv-nuts, which
worked out pretty good. However, I needed a way to remove all of the
screws on the outside without the inner trim plate from falling. Notice
the two arrows pointing to the those riv-nuts? These two riv-nuts will
be used with some flat head screws that go through the tube to hold this
trim plate in place so it doesn't fall. Problem solved!
|
 |
|
1
2
3
4
5
6
7
8
9 |