|
Working With Steel Continued
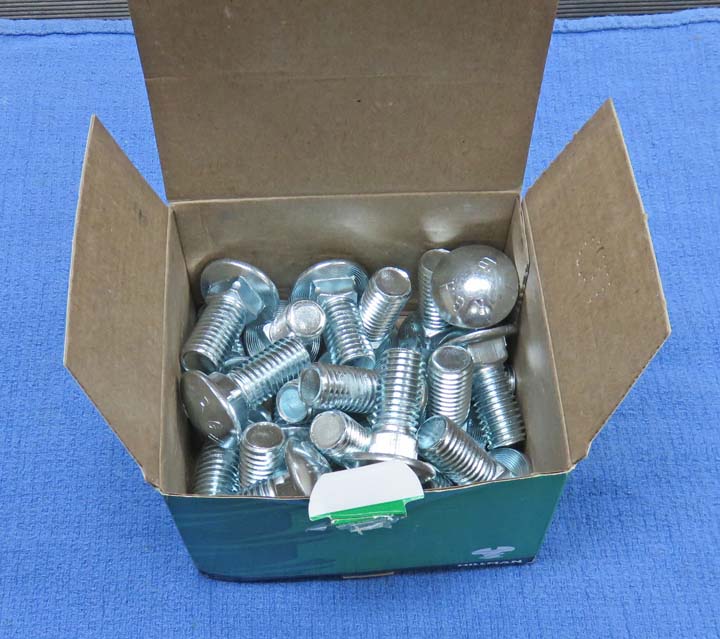
If you remember earlier on page four about using bolts
to simulate construction, well...here they are. These are 5/8" carriage
bolts, and I'll need 48 of them for this project. However, I'll only be
using the heads of them, and not the threaded area at all. I'm also
going to drill and countersink a hole in half of them, this way I can
fasten them to the wood (on the inside of the tubes) with wood screws.
|
|
|
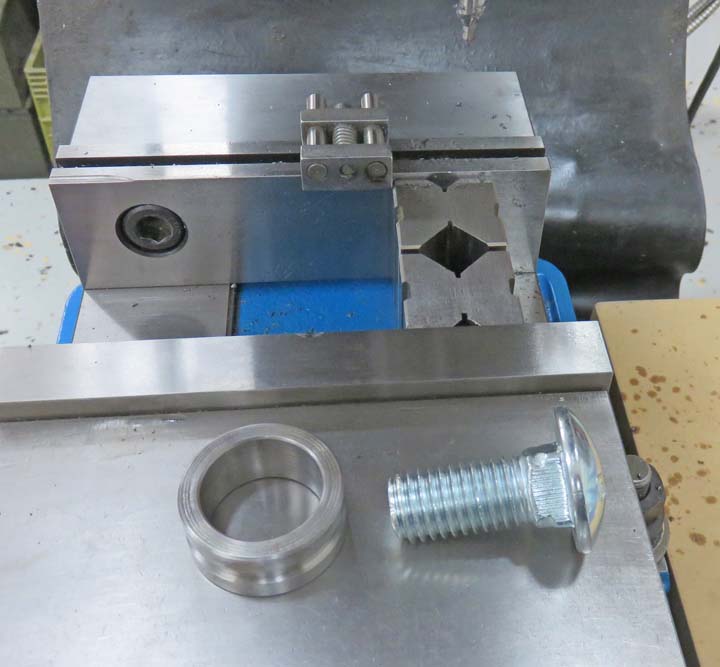
I made a setup to locate the bolts so I could drill them. To do that I'm
using some V blocks, a work stop and a spacer ring that will go under
the bolt so I can clamp on the threads only.
|
|
 |
Here I'm drilling a clearance hole for #10 wood screws, but I'm only
going about a 1/4" deep. No need to go through the length of the
bolt if I'll be cutting off the threads.
|
|
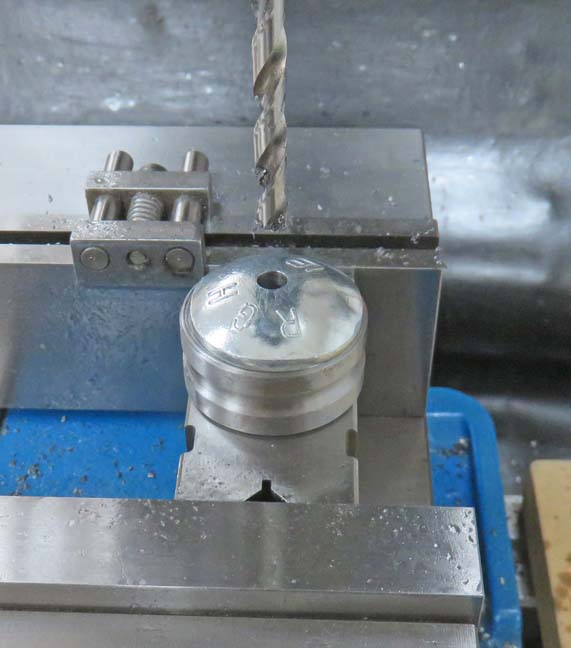 |
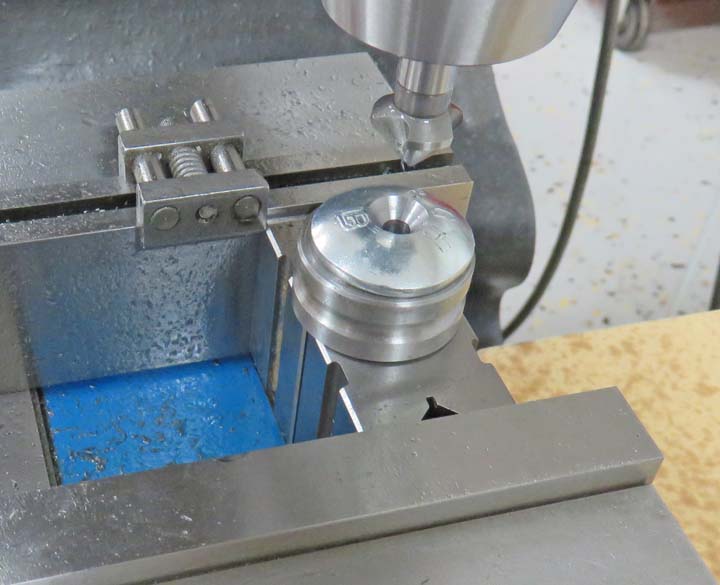
Next I used a countersink so the wood screws would sit flush with the
top surface. I did this on 24 of the bolts.
|
|
 |
|
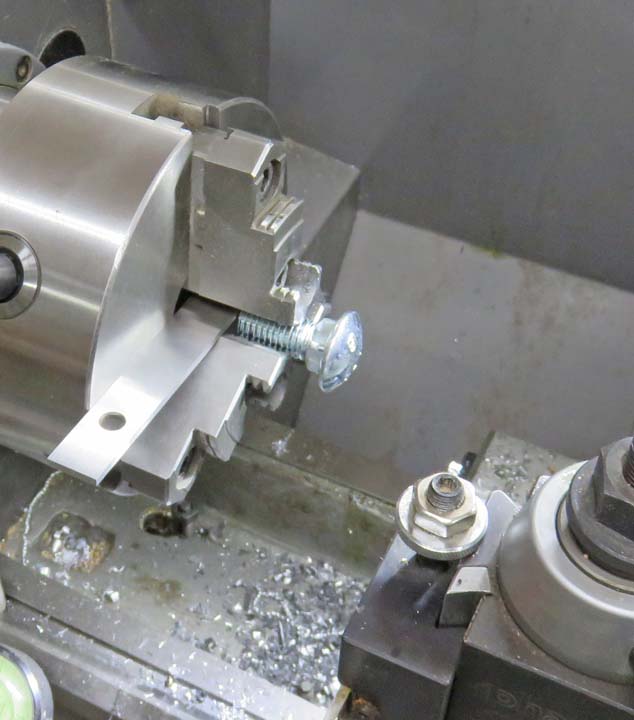
Now it's time to cut the heads off them all, and I'll be using my
lathe for this. Notice the parallel in the chuck jaws. While the lathe
is off, I placed the parallel through the chuck jaws, slid my bolt
against it, tightened the jaws, removed the parallel and then I was ready to start machining.
|
|
 |
|
I'm using a high speed steel parting tool to machine the
bolts with, which worked great for this but I had to resharpen it after
every five parts. The reason for this is because bolts are heat treated.
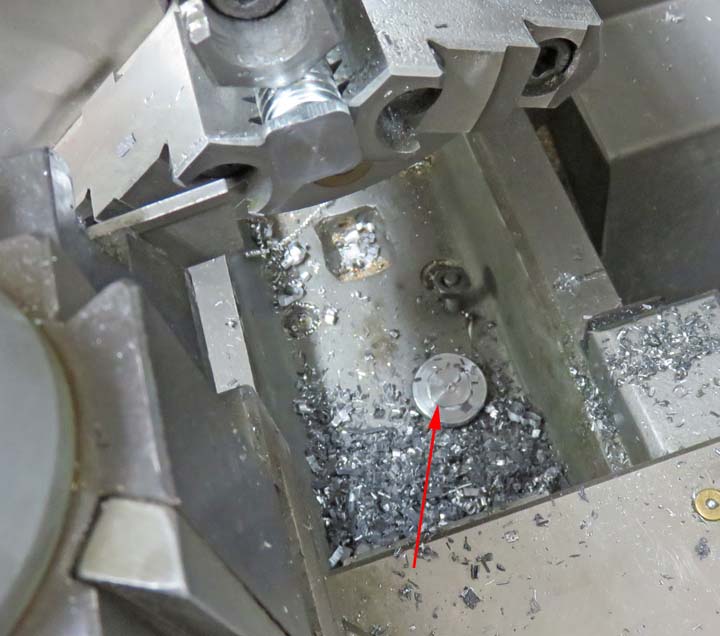
Notice the square shoulder under the head (arrow). This
area needed to be turned down slightly because I thought I knew the
correct size to use when I was putting in all those holes on the rings.
But it turns out my information was not right so I'm cutting the square
area down so they'll fit. Once that part was done, I moved over .055" (slightly
less than my ring material) and then parted it, or cut it off.
|
|
 |
|
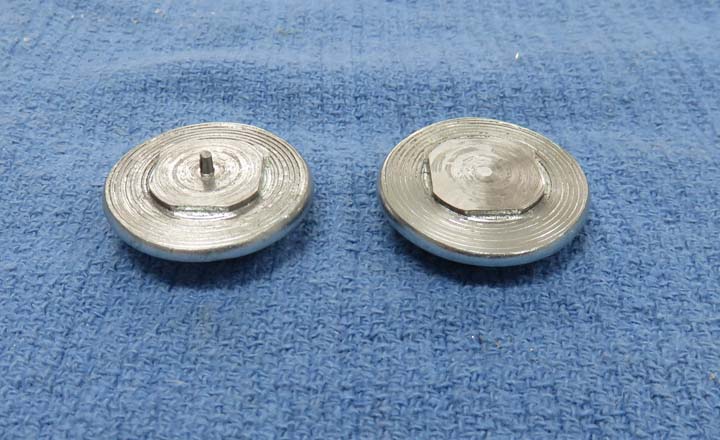
The one on the left is straight off the lathe. The small
piece sticking out is common when using a parting tool like I was, a
square end on the cutting tool. You can eliminate this piece sticking
out by grinding an angle on
the parting tool so it prevents this but I needed the end of the tool to be
square so I could cut the square area next to the head. But a few
seconds with my belt sander and the small piece is gone.
|
|
 |
|
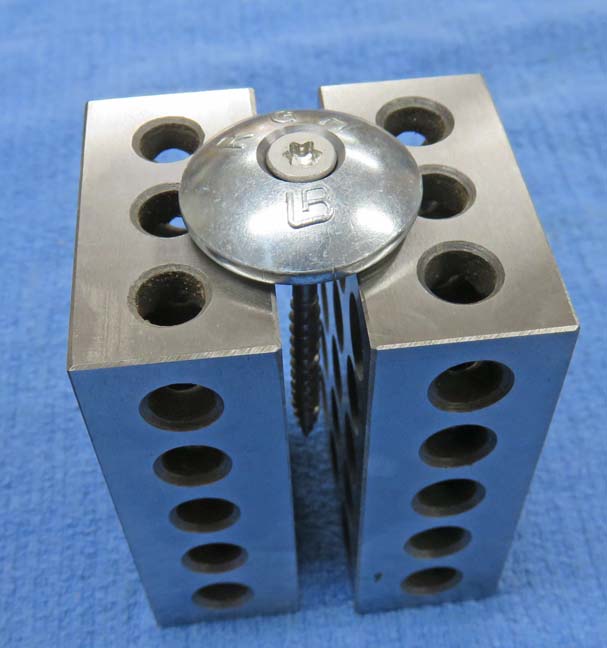
Below you can see the piece that I'm keeping in the chip
pan (arrow) and the threaded portion that I won't be using in the chuck.
This operation took about six to seven minutes for each bolt. Lots of
cutting oil, slow rpm and watching my dial indicator made this really
monotonous (48 bolts) so I worked on these over a two or three day period.
|
|
 |
Here is what the wood screws will look like once they're fastened down. It
pretty much blends in so it's not so noticeable, plus these will be
painted later as well.
|
|
 |
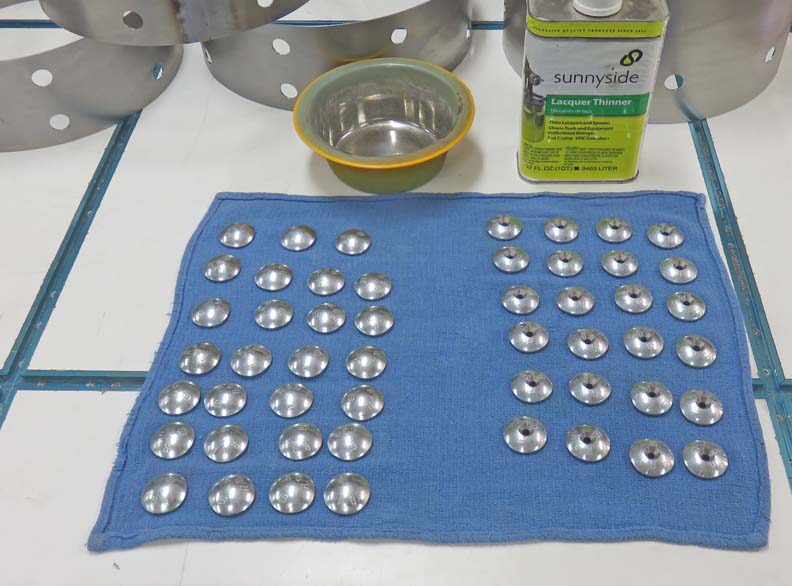
I'm giving all the bolt heads a bath in lacquer thinner before I start
welding them on the rings because they had lots of oil on them.
|
 |
|
1
2
3
4
5
6
7
8
9 |