|
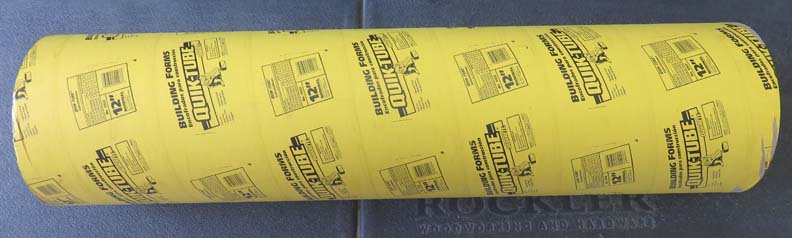
Here is my cardboard tube again and this time I'll be making some rings
that go around it, four of them to be exact. Like I said before, the plan is to stack these
so they go from floor to ceiling. Now the height of the ceiling is about
10 feet, that means two full length tubes and one that will be cut to
size, about two feet long.
The rings will be made out of 1/16" thick mild
steel sheet, then bent and welded together. These rings will be placed
at each tube joint to help hold everything together. The bottom ring
will be six inches tall and will be attached to the concrete floor. This
way it will make sure the tube won't move and stays stable. The top ring will attach to
the ceiling and will be two inches tall. There will be two middle rings
that will be four inches tall and they will join the top and bottom
tubes together. And last, these rings will also
have large bolts welded in them to help simulate the construction, but
really won't be functional.
|
|
 |
| Working With Steel
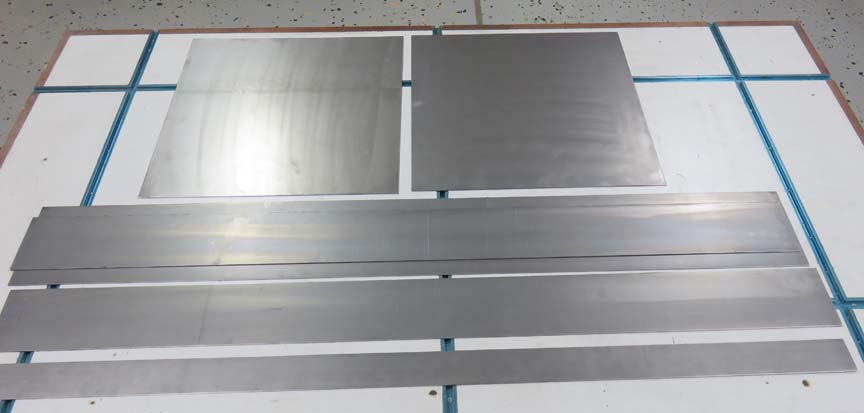
Here is the 1/16" mild steel sheet that I'll be using. The
two square pieces at the top are going to be base-plates for the top and
bottom rings. The base plates will be round when finished. The rest of
the material, is for the rings.
|
|
 |
|
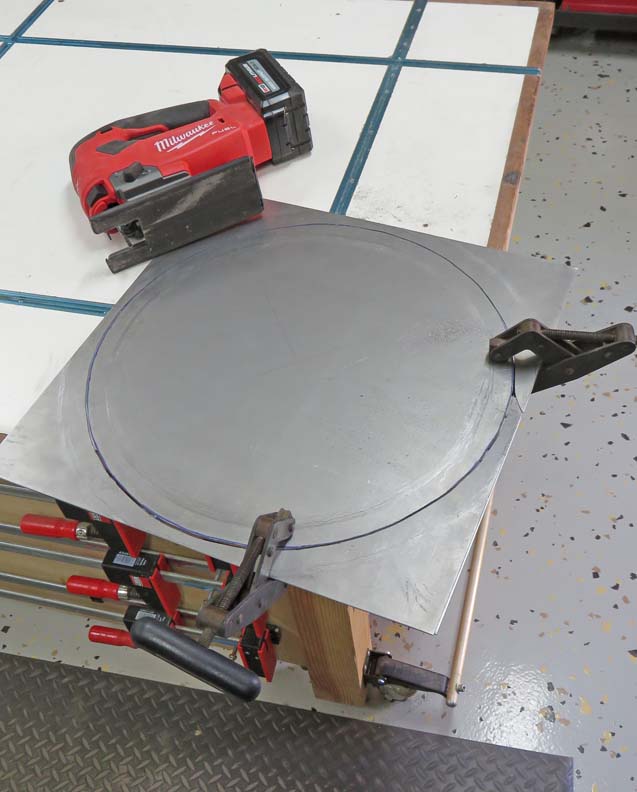
Here I'm cutting out both bases at the same time using my jigsaw. To make
sure they stay together I'm using some clamps that I move when needed.
Once they were cut out, I used my belt sander to remove all the sharp
edges.
|
|
 |
|
The next part that I'm doing is putting holes in all the
rings for the bolts that I mentioned earlier. What I need to do is put
eight holes in each ring that will be equally spaced apart. However, the
four inch wide rings will have 16 holes in them (two rows of eight).
|
|
 |
|
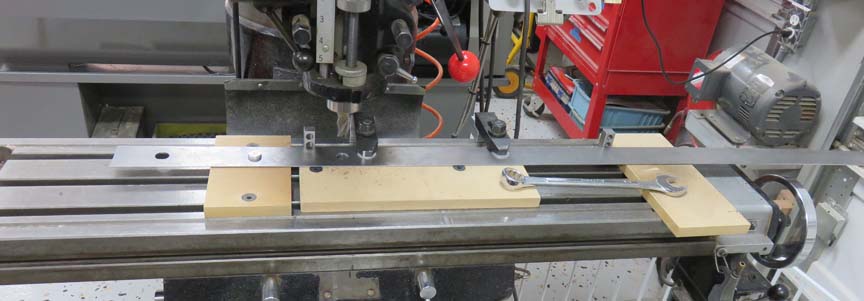
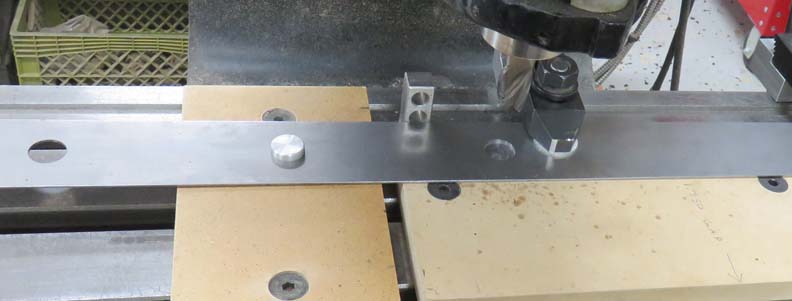
I made an aluminum pin that is two to three thousandths
smaller than my milling cutter. Then I used that same milling cutter to
produce a hole in the piece of wood that you see below (the pin is a slip
fit now). I also bolted that piece of wood
to the mill table so it wouldn't move with some flat head screws. With this
setup, I can machine one hole
in my work piece, loosen my clamps, move my work piece over and have
that hole locate on my aluminum pin (which is a calculated distance) so they're
all equally spaced when I'm done.
|
|
 |
|
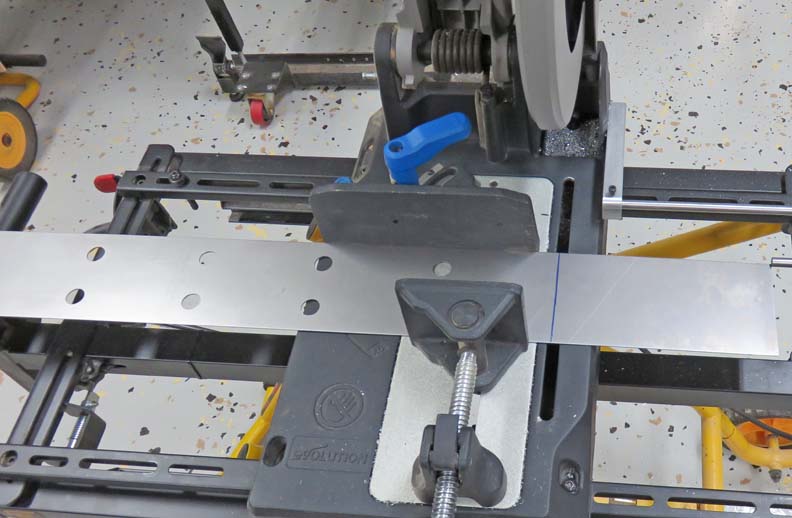
Here I'm trimming my material two inches oversize. The
reason I'm leaving it oversize is because when I form these into round
pieces on a tri-roller, the material doesn't form well when it exits and
leaves a small flat area. Once I'm finished with the tri-roller, I
can trim off this excess material leaving a nice round work piece.
|
|
 |
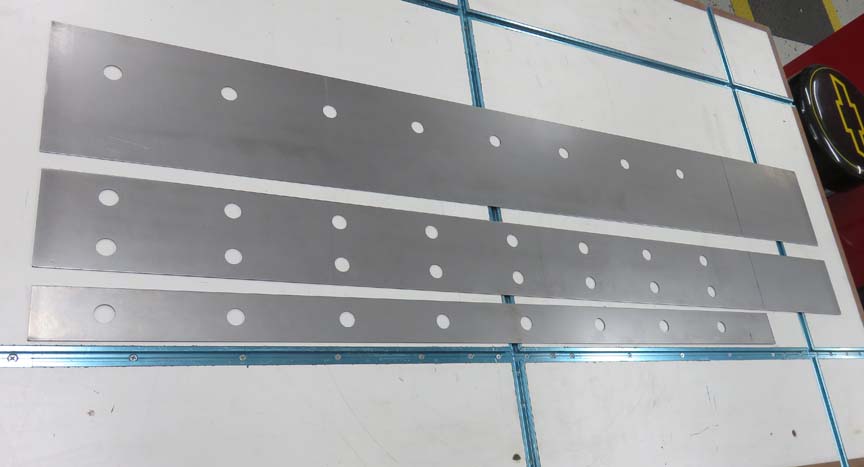
Here is what my pieces look like with all the holes in them. The two
inch piece at the bottom has been cut slightly oversize but the others
have not yet.
|
|
 |
|
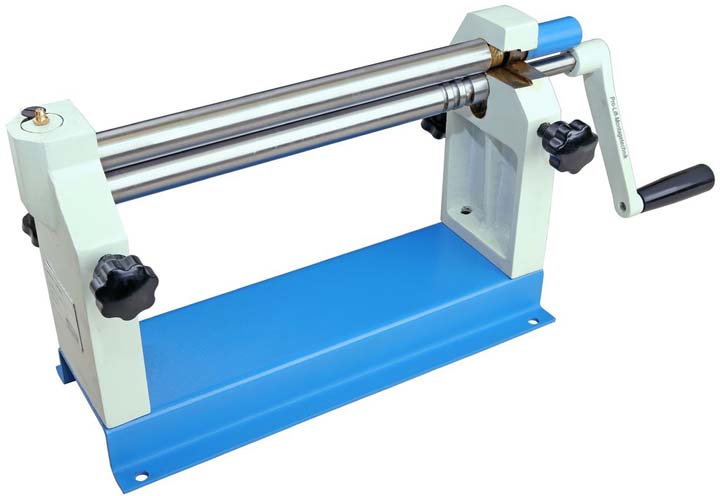
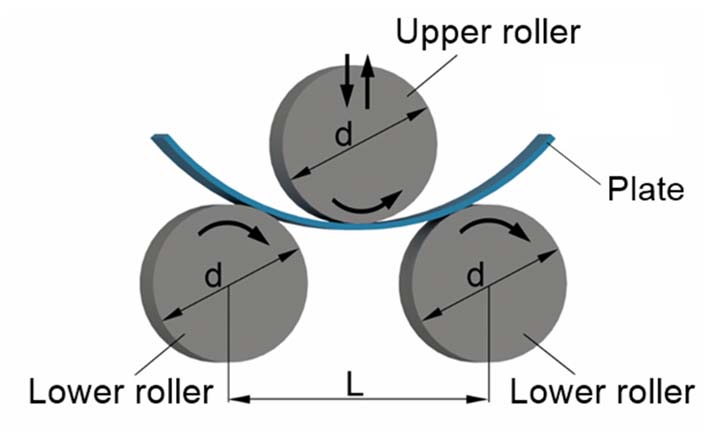
Here is what a tri-roller looks like. It has three
rollers, (hence the name tri) and is adjustable to form different size
radii and thickness' of material, depending on your needs. Now this isn't the actual tri-roller that
I used as I forgot to take a picture of it while using it at my old
work. And some tri-rollers are motorized, because as the material
thickness increases, so does the friction making a hand crank useless.
|
|
 |
|
Here is how a tri-roller works, you feed your material
into one side and then crank the handle. As you crank the
handle, it drives two of the three rollers feeding your work piece
through them. The third roller is adjustable fore and aft, allowing you to
adjust your radius size. It's a simple design that works very well.
|
|
 |
After about 15 minutes on the tri-roller, I had all my rings formed. Now
it's time to trim off the extra material I left on there.
|
|
 |
|
1
2
3
4
5
6
7
8
9 |