|
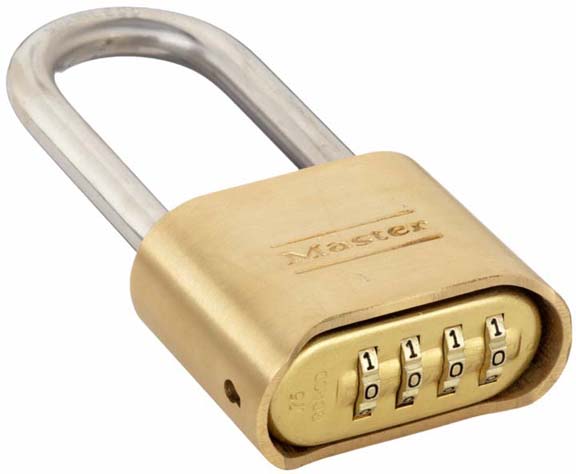
I've been asked to make a few things for my daughter and
son-in-laws business at Open Door Escape Games, to which I gladly
excepted. What I'll be making this time will resemble the dials on that
lock that you see below. However, I won't be making the entire lock,
just the four dials.
Now these dials will be made out of wood and each one
will be 12" diameter by 4 1/2" wide. Yes, that's pretty large but this
is what they wanted. And the dials will be mounted into some kind of
frame that will be attached to a wall, but the dials will only protrude
out from
the wall by about 2 1/2". Also, each one will have a tactile feel to
resemble a real lock, along with a sensor on each one. And once you get
each dial where it belongs, something happens.
Oh, one more thing, I'll be making a second set of these
dials that will be 12" diameter by 3" wide. This second set will be used
at a different Escape Room that my son-in-law has been hired to build
for someone. Yes, he's getting very good at this, along with all the aspects of construction
and I couldn't be happier for him.
|
|
|
Working With Wood
With all that being said, I'll be using common pine for
these lock wheels. However, to end up at 12" means I'll have to
glue two boards together because I'm not able to buy anything wide
enough for my needs. No big deal, it's just a little more time
consuming.
I've decided to glue a 1" X 6" and a 1" X 8" together to
end up at my target size of 12". In fact, these two boards will end up
at about 12 1/2", which will be perfect.
|
|
 |
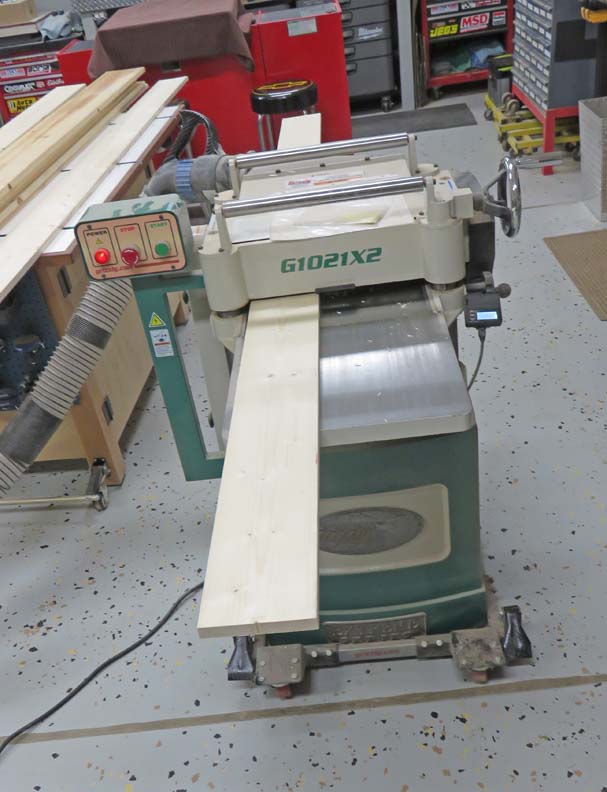
The first thing I did was run all the
lumber through my thickness planer just to clean-up both sides.
|
|
 |
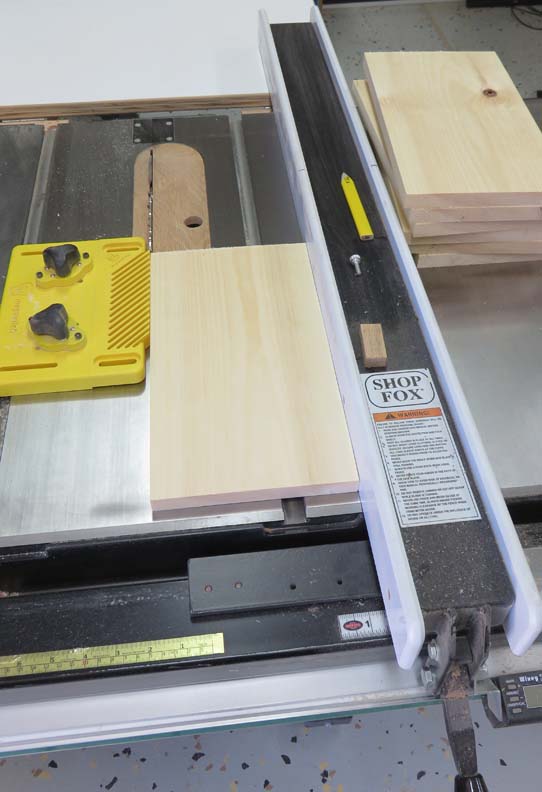
Next I cut each piece to 13" long. My saw makes quick work of this
process along with my home made work stop (arrow).
|
|
 |
After I had my pieces cut, I ran them all through my tablesaw to joint
the sides that will be glued. Again, just a clean-up here.
|
|
 |
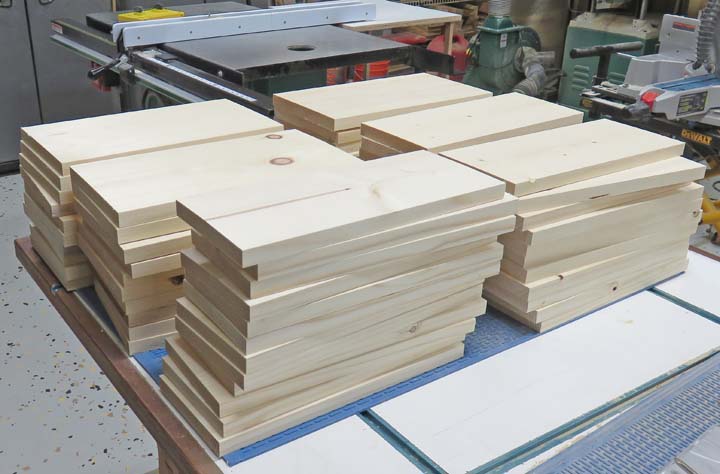
Here is what my pile of lumber looks like now.
|
|
 |
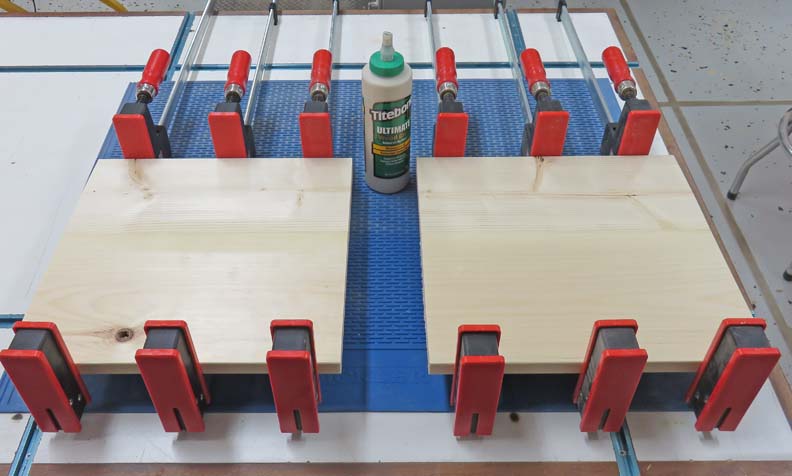
I recently bought two more parallel clamps, which came in very handy for
this project. This way I could glue and clamp two sets together which
really helped production.
|
|
 |
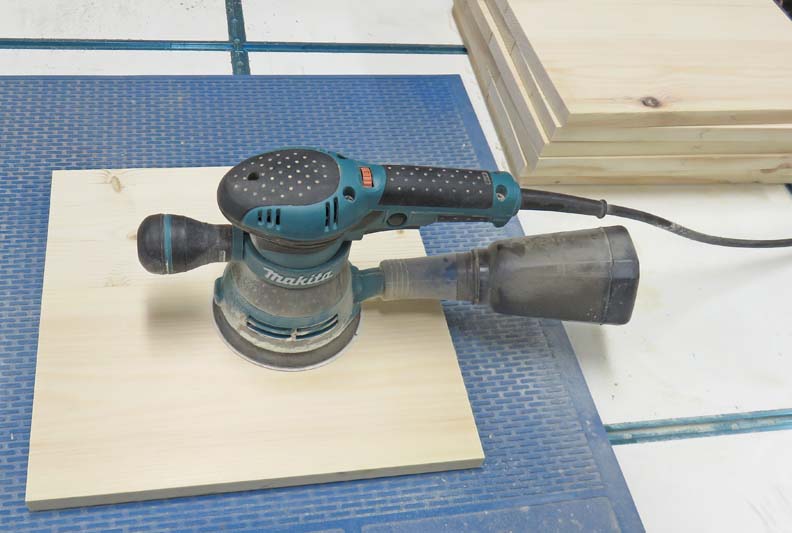
The next day I sanded both sides with 80 grit to get rid of any step at
the glue joint.
|
|
 |
|
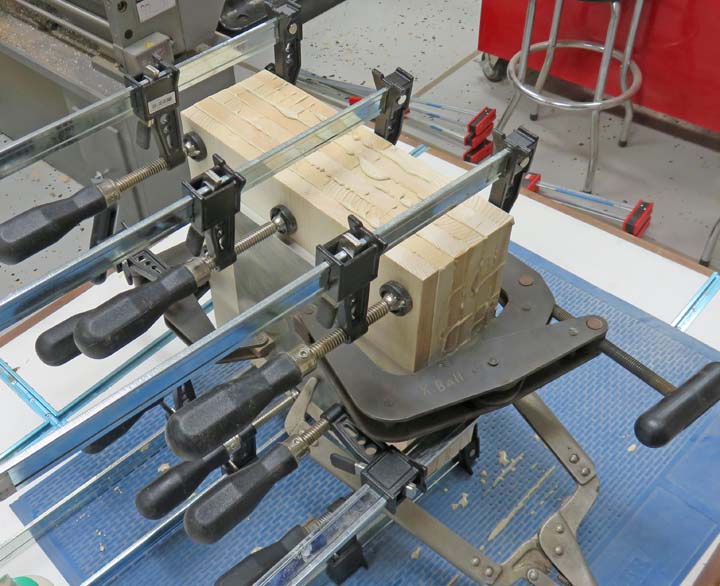
Now The Fun Begins... Now it's time
to glue all those pieces I just sanded together. I'll need to stack six
of these pieces together to get the thickness that I'm needing.
Once I had glue on all
the
surfaces, my work pieces wanted to slide and move around making it that
much harder to work with. And it's a good thing I own two six inch
deep-throat Kant Twist clamps because none of my others would come close
to reaching the middle. I also used some aluminum plate on each side to
help distribute the load out more evenly on the Kant Twist clamps.
|
|
 |
|
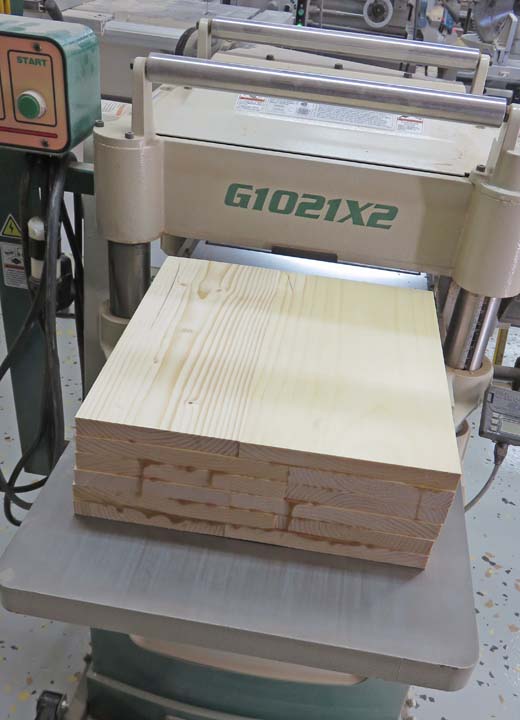
Some of this lumber was cupped pretty bad so I ran each
block through my thickness planer to help get them flat again. That's the good
news, but the bad news is they are now slightly under 4 1/2". But after
talking with my son-in-law he said that whatever size I ended up with
would be fine with him.
|
|
 |
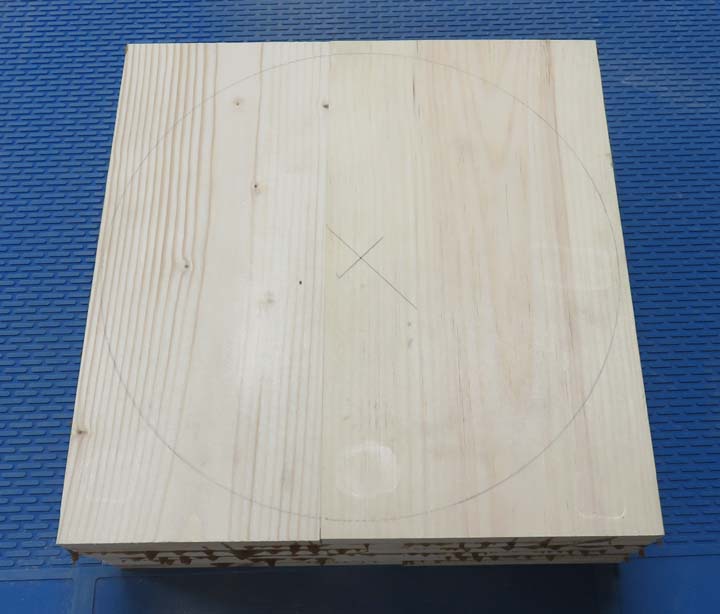
Next I laid out a center and then used my oversized homemade compass to
draw a circle.
|
 |
|
1
2
3
4
5
6
7
8
9
10
11
12
13 |
