|
Working With Metal Continued
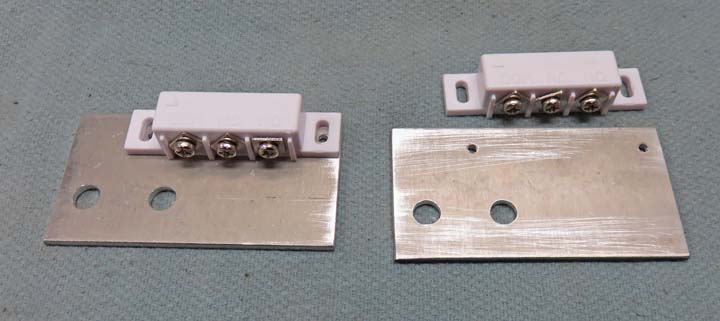
Here you can see what I came up with. It's a simple bracket but it
gives me some adjustability and was easy to make being aluminum.
|
|
 |
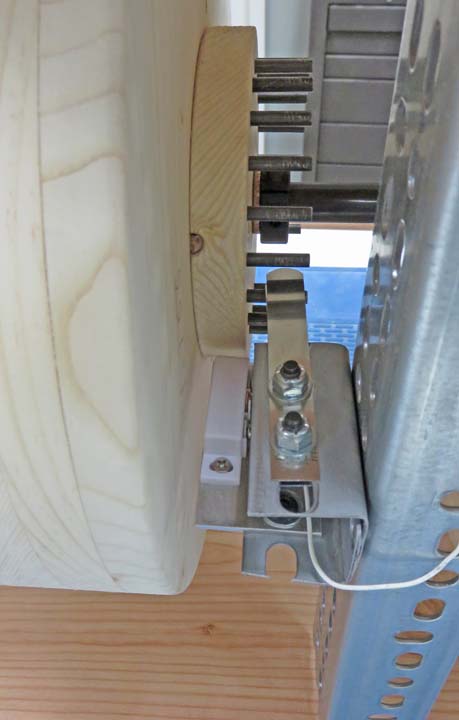
The switch bracket is mounted under the
shims which worked out pretty good. Now when the wheel is turned it
clicks, but it's still very easy to spin.
|
|
 |
|
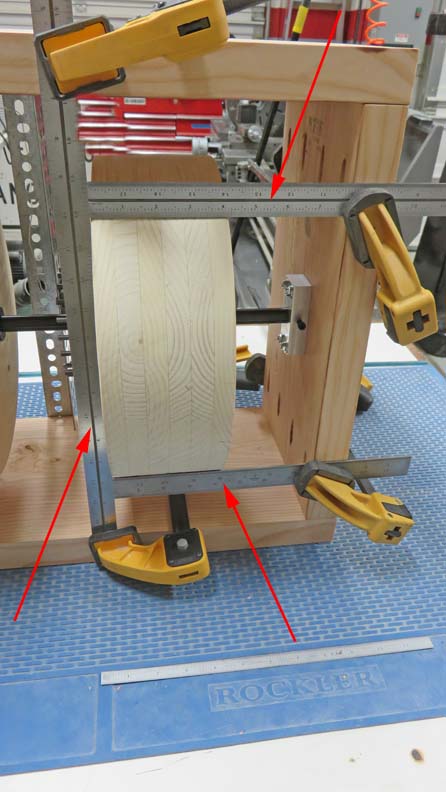
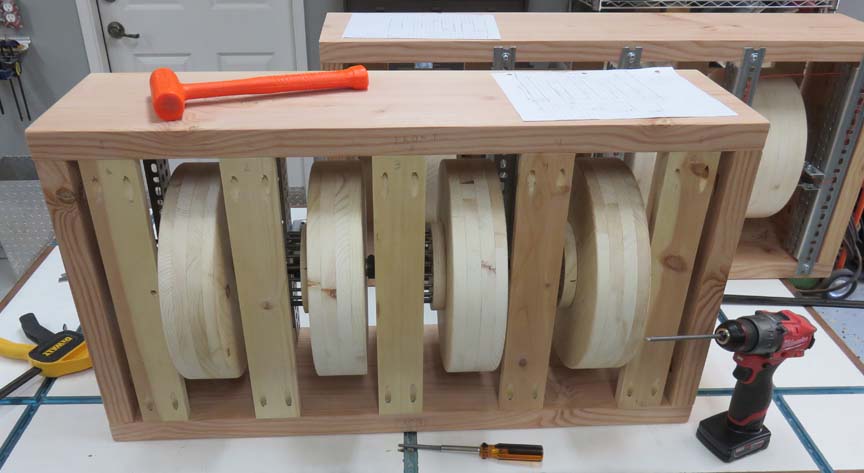
With all the wheels working like they should, it's time
to make a trim plate for the front. To get an idea of what size I'll
need, I've clamped three scales (arrows) to the wood frame. The two that are
horizontal are very close to the wheel, about 1/16" of clearance. Now I
can measure between those two scales to give me the size I'll need. I'll
be using 1/8" sheet aluminum for this trim plate, which comes by way of the
County of Riverside.
|
|
 |
|
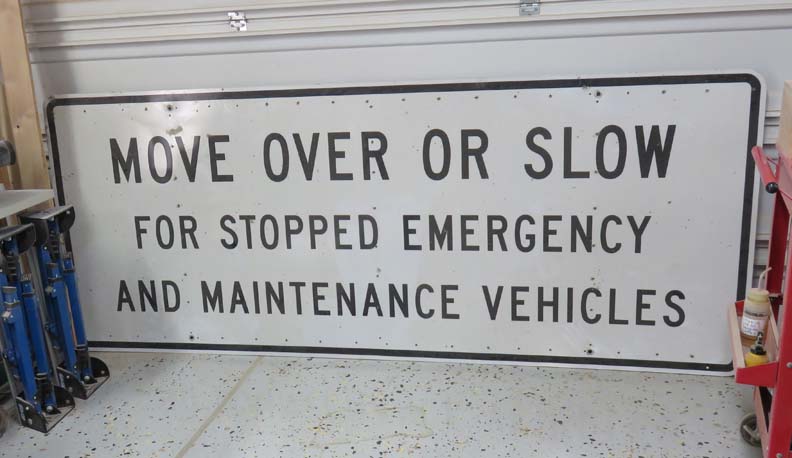
I saw this sign sitting next to the freeway for at least
three months and decided to finally take a look at it, to see what condition it
was in. Turns out it was in pretty good shape so I removed the 4" X 6"
posts that were still on it and brought it home. The size is 4 feet tall
by 10 feet wide and is 1/8" thick.
|
|
 |
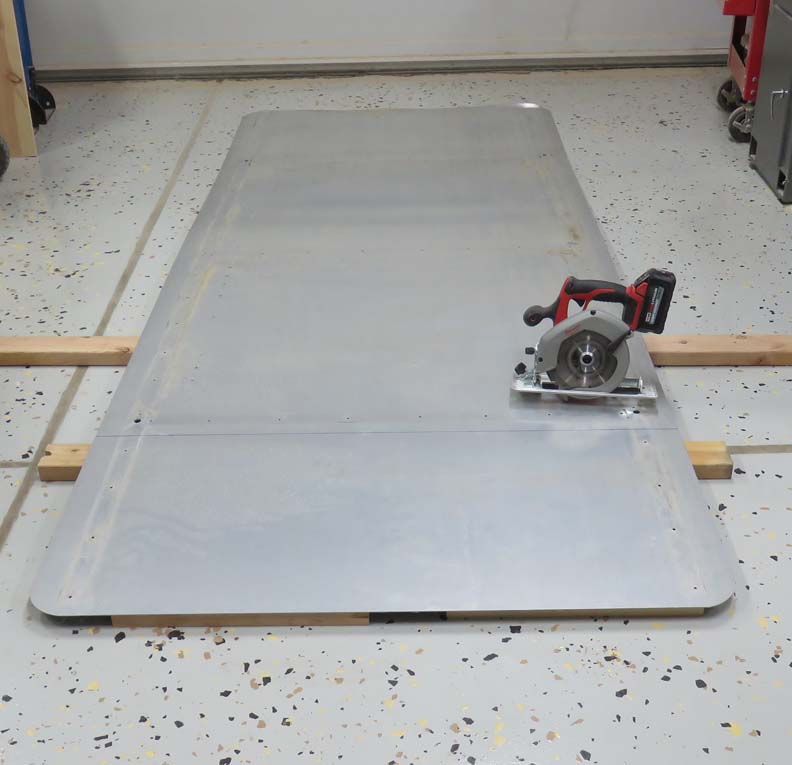
If you look close you can see a bunch of rivet holes around the
perimeter along with a few others here and there. I used my circular saw
to rough cut two large pieces.
|
|
 |
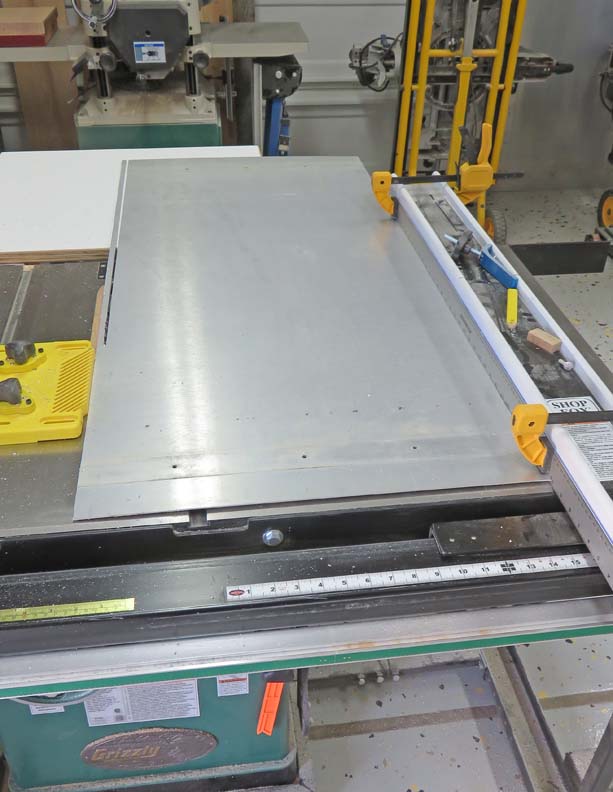
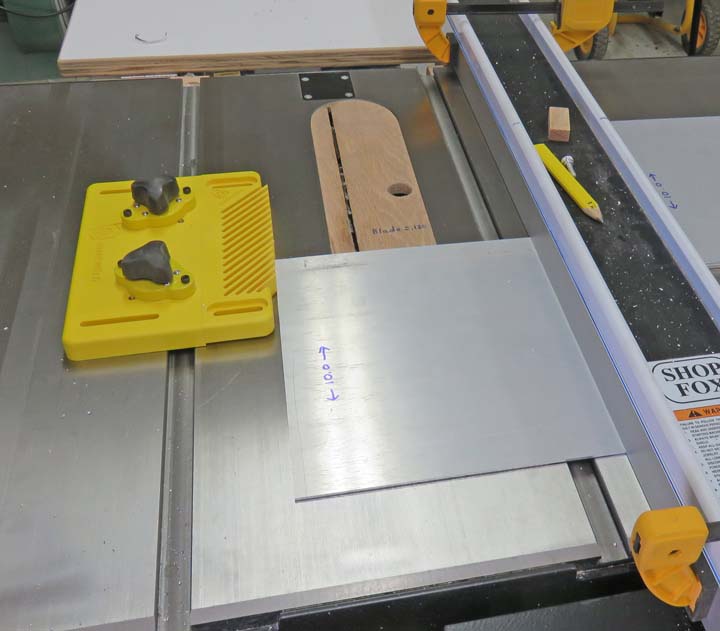
Next I trimmed them to size using my table saw. Both saws make quick
work of cutting but my table saw throws hot chips right at your face.
|
|
 |
|
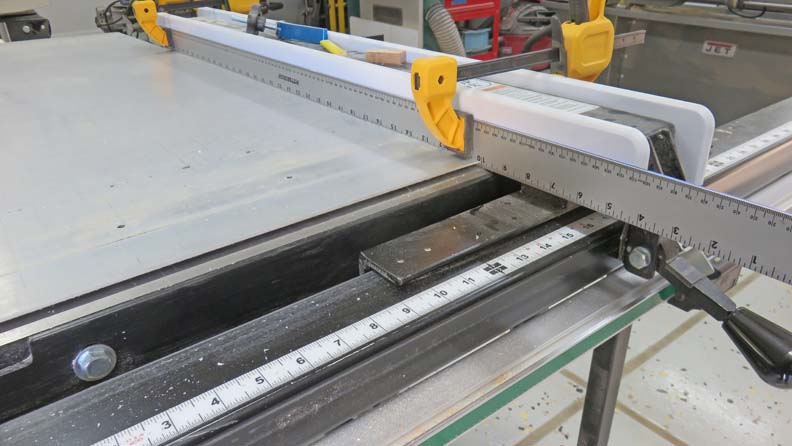
In case you missed it in the picture above, I had to use
a straightedge clamped to my fence because the thin aluminum slid under
it.
Now my original plan was to make this trim plate in one piece,
which meant cutting out four rectangles for the wheels in the exact location needed.
Well after I placed the sheet on my milling machine, I quickly found out
that I'd need some special clamping to make all this happen. The size of
the sheet was 40" long X 22" high which was going to be a big challenge
for my machine.
That got me thinking about what else I could do and
I came up with making the trim plate in more than one piece. And by doing it this
way, I wouldn't even have to use my milling machine.
|
|
 |
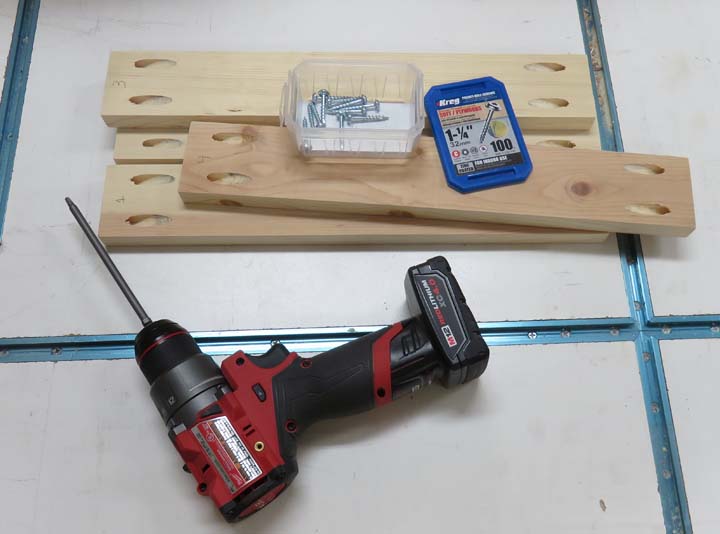
I'll need something to fasten the aluminum pieces to, so I made some
wooden braces. These were easy to make and will be held in with pocket
hole screws.
|
|
 |
Here you can see them installed. Now it's time to cut-up the aluminum
sheet into a few pieces.
|
|
 |
With the dimensions that I came up with using my scales earlier,
I'm now cutting some pieces to size using my table saw.
|
|
 |
|
1
2
3
4
5
6
7
8
9
10
11
12
13 |