|
Working With Wood Continued
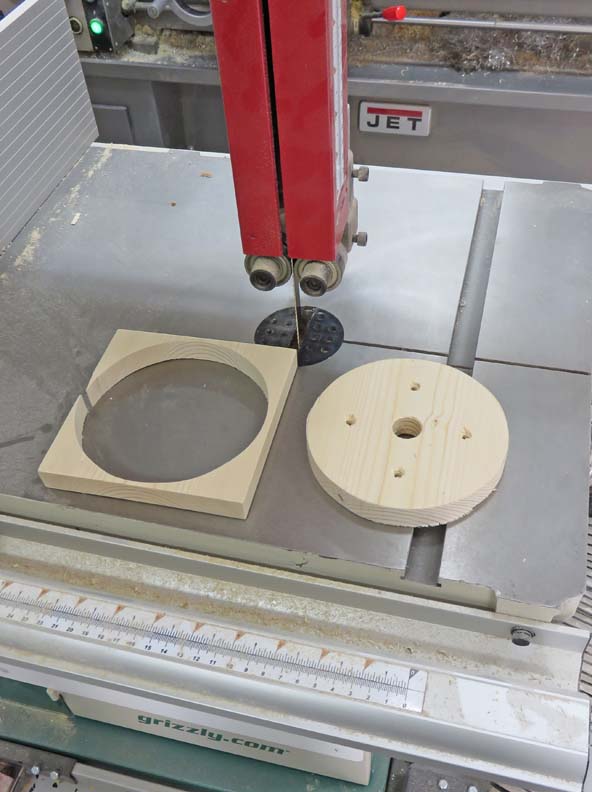
This small thin piece was easy to cut and it went quickly compared to
the larger/thicker ones.
|
|
 |
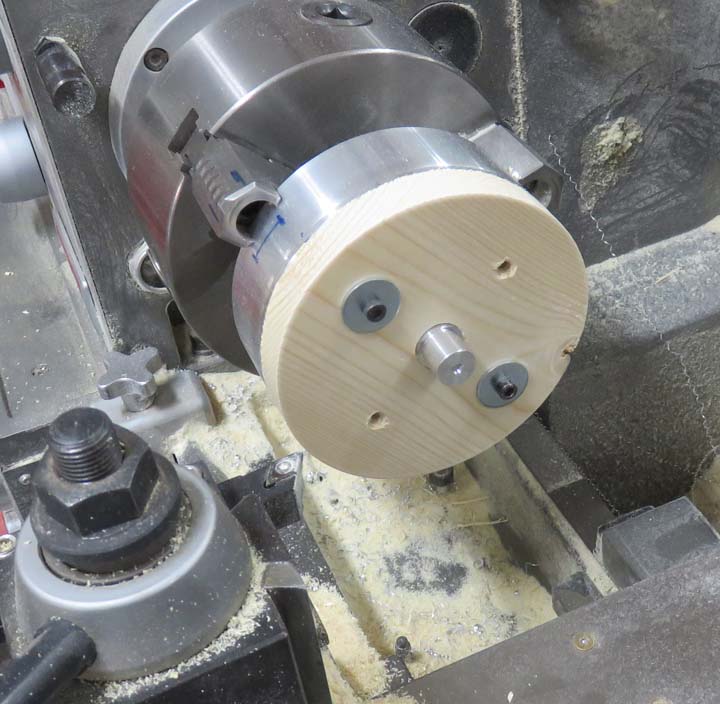
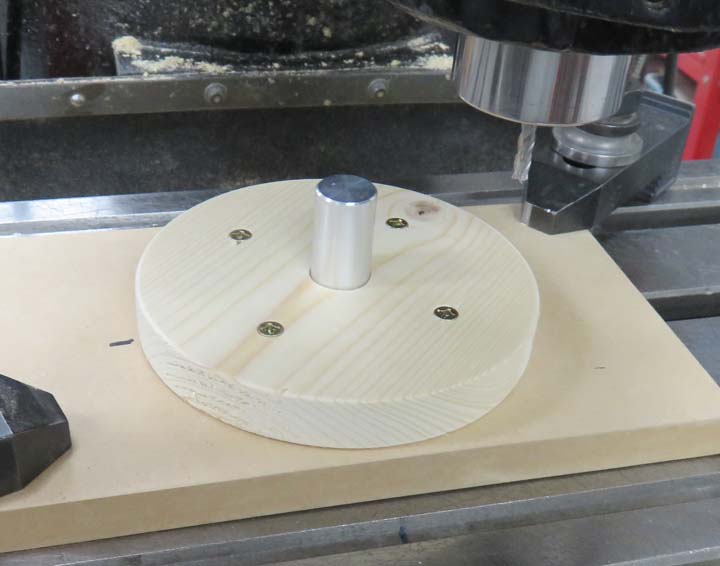
I switched back to my smaller tooling
which is perfect for these five inch rounds. Here you can see that I'm
using my aluminum pin along with two 10-32 cap screws and nuts to hold it with.
|
|
 |
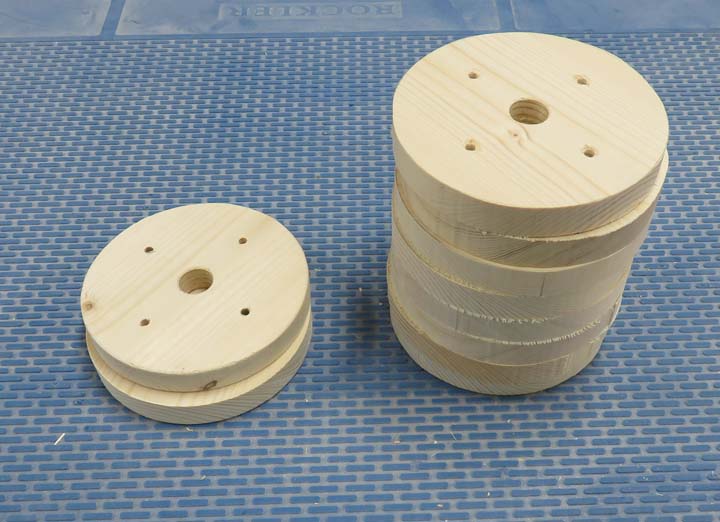
This didn't take long because I was able to use conventional lathe
tools. Now it's time to cut some steel.
|
|
 |
|
Working With Steel
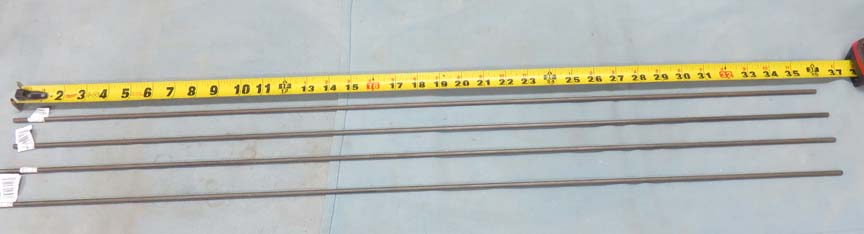
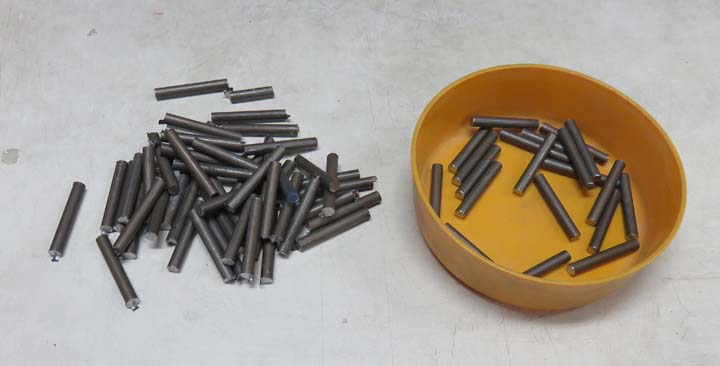
I'm going to use some 3/16" mild steel round bar to make some pins,
which will be inserted into the five inch round pieces. You'll get the
idea soon...
|
|
 |
|
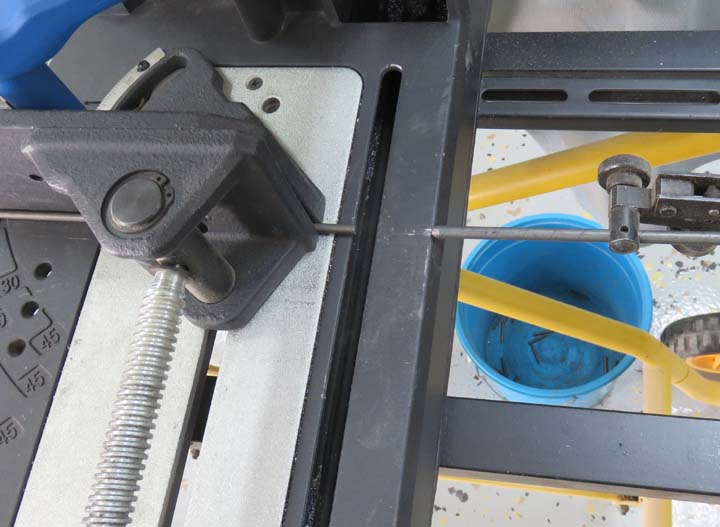
I used my metal cutting saw to cut the pins with but
quickly found out the blade that came with it wasn't ideal for this
smaller diameter material. My blade doesn't have the tooth count that is
really needed for this smaller material because it was bending it as I
cut though.
|
|
 |
|
I ended up putting a thick piece of steel behind the bar
stock right next to the blade (not shown). This remedied the problem but I really
need to buy a blade that has a large amount of teeth to cut something
thin like this again. Note the blue bucket: I put a plastic guard with a mag-base covered with a rag to help catch the pieces as the flew off.
But it only caught about 50% of my pieces.
|
|
 |
I deburred both ends on my belt sander and then put those into that dish
for later.
|
|
 |
|
Working With Wood Continued
Here is another simple fixture that I used to put in the holes for
the pins. I'm using a 3/16" diameter end mill in place of a drill for
this operation.
|
|
 |
|
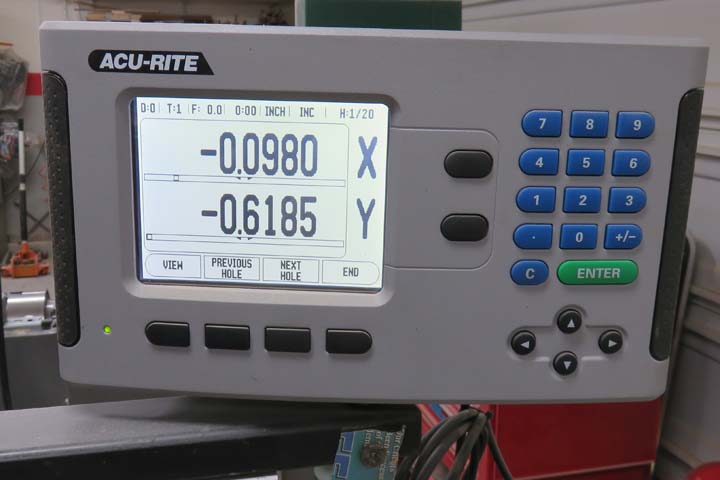
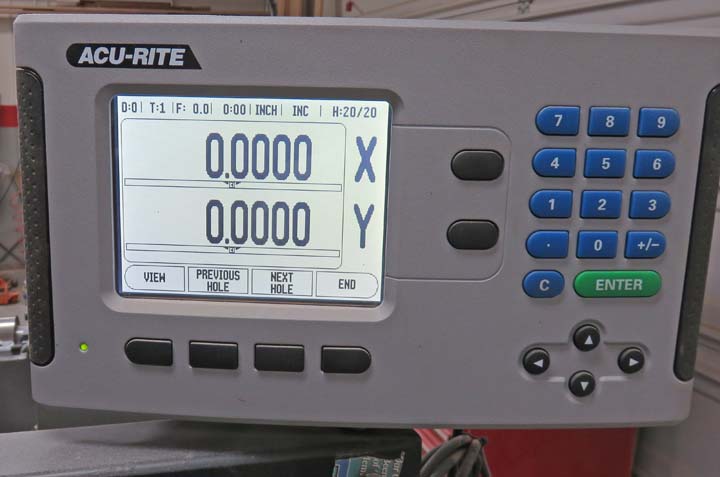
My digital read out has some nice features, including
one for bolt circles. All you do is input some parameters, like the
radius of the bolt cycle, how many holes, starting point, etc. and then
hit go. The next screen that appears has the X and Y coordinates that
you need to dial to.
|
|
 |
|
Once you have your numbers read zero, you're ready to
work on that hole (drill, ream, using and end mill, etc.). When you're
finished with that hole location, you hit "Next Hole" and it gives you a
new set of numbers that you move to. You keep doing this until you have
all your holes done, then replace your work piece and repeat the process
again. Very simple.
|
|
 |
|
1
2
3
4
5
6
7
8
9
10
11
12
13 |