|
Working With Metal Continued
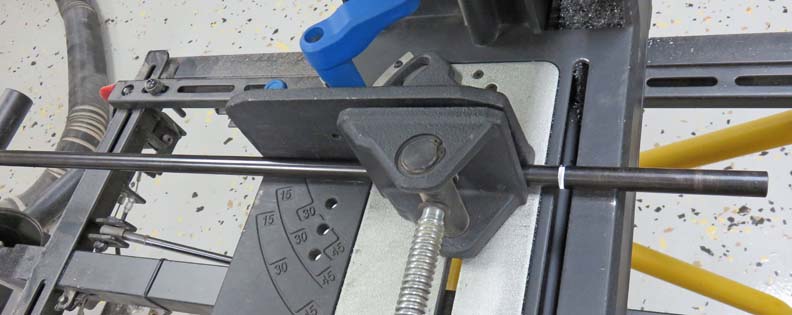
As I said before, I'm going to use a steel axle that will go
through all the wheels but it will be stationery. Here I'm cutting through the 5/8" diameter axle that will span from
one side of the frame to the other. The silver slot is where I stopped
the saw to take a picture.
|
|
 |
|
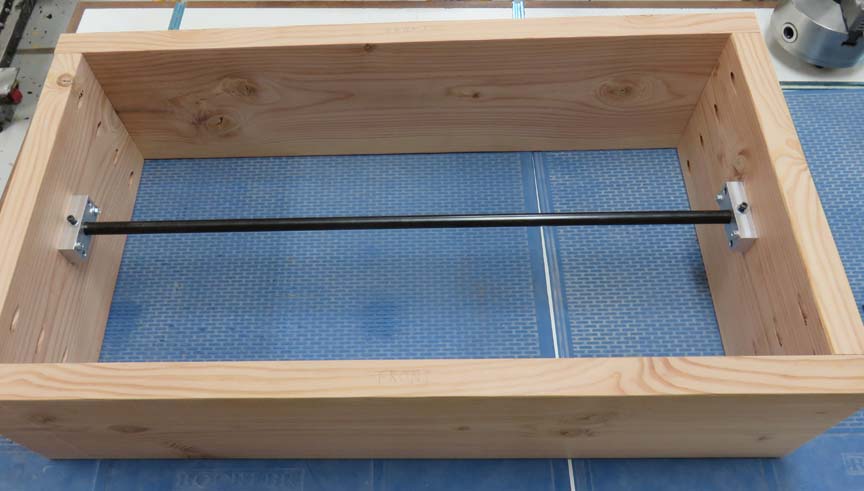
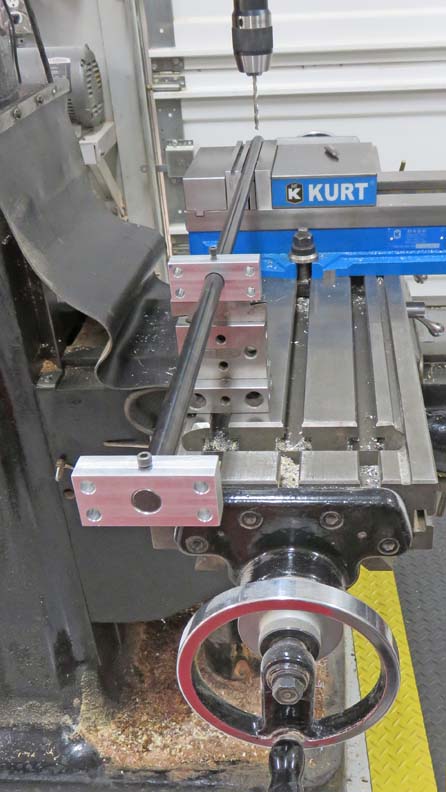
Here is what it looks like mounted to the frame. Also
notice the two 10-32 socket head cap screws (black) at each end now. These are to
keep the axle from turning, but lets take a closer look on how I got here.
|
|
 |
|
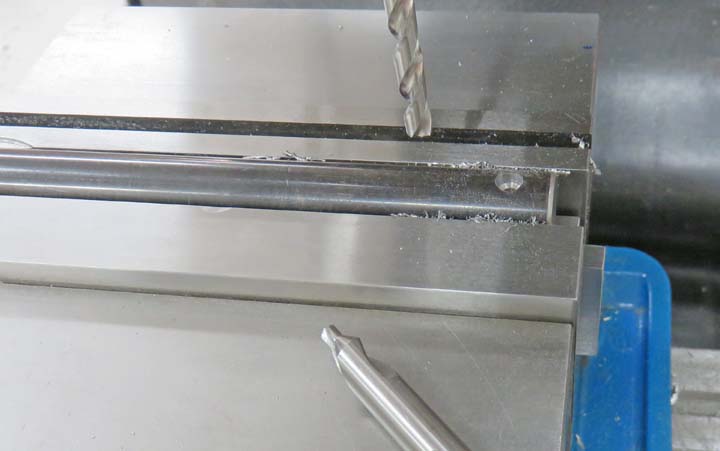
I put one hole at each end of the axle for the 10-32
screws to go into. However, the holes don't go all the way through and
are only 1/8" deep. I used a 1/4" drill for this so I have some
adjustability for my #10 screws. Now the first hole is the easy one, but
I needed both holes in alignment so everything lines up properly.
|
|
 |
|
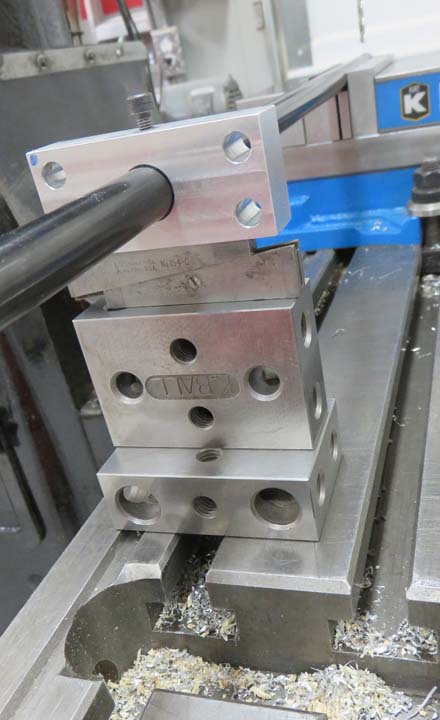
The first hole I drilled is on the left with the # 10 screw
fastened down tight in the block. Next I used
the milling machine table as a surface plate and tightened the other
block down, making the bottom of both blocks parallel.
|
|
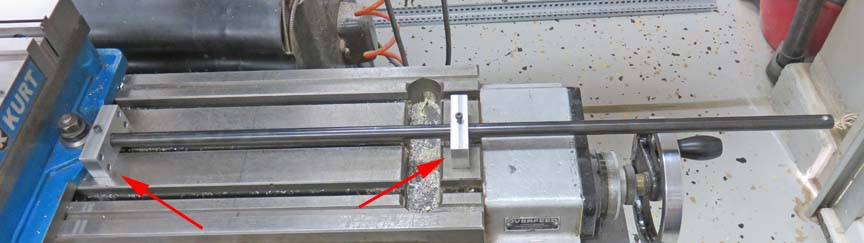 |
Then I placed my second block on some 1" X 2" X 3" blocks that were parallel to the
table and at the same height as my vise.
|
|
 |
To get the exact height I needed I used an adjustable parallel as well. Once I had this
all set, I drilled the other hole at the opposite end.
|
|
 |
|
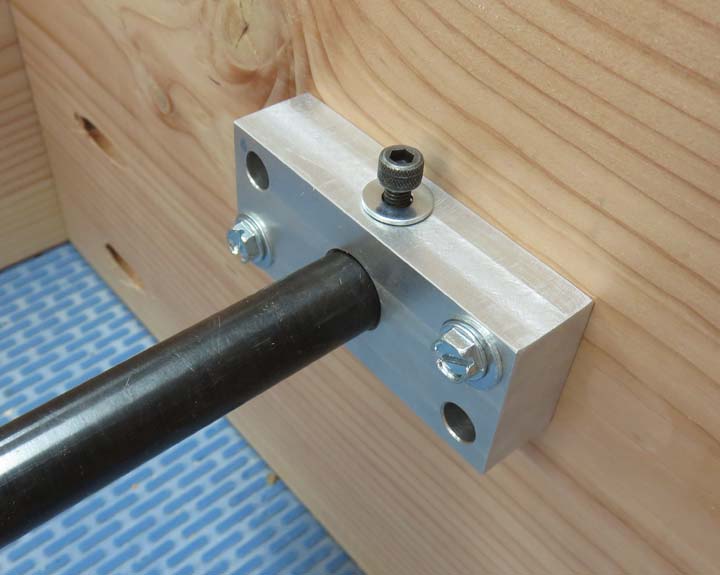
And there we go, both ends of the axle now have holes that are in alignment
with each other.
The four mounting holes in the aluminum block are slightly oversize to aid in adjustability
for the four #10 wood screws.
|
|
 |
|
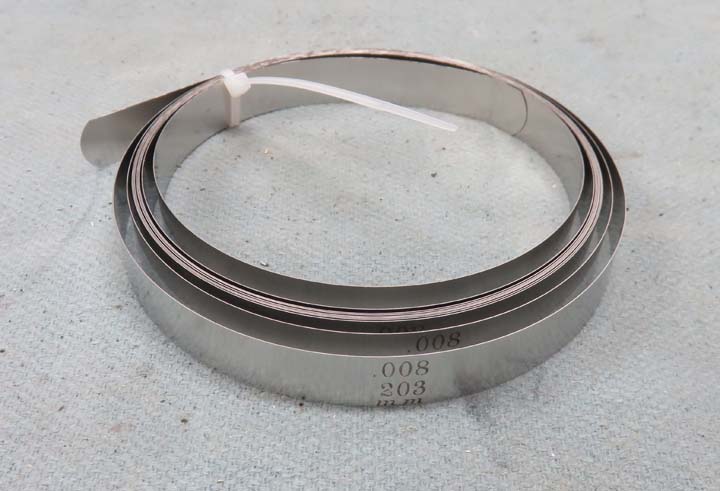
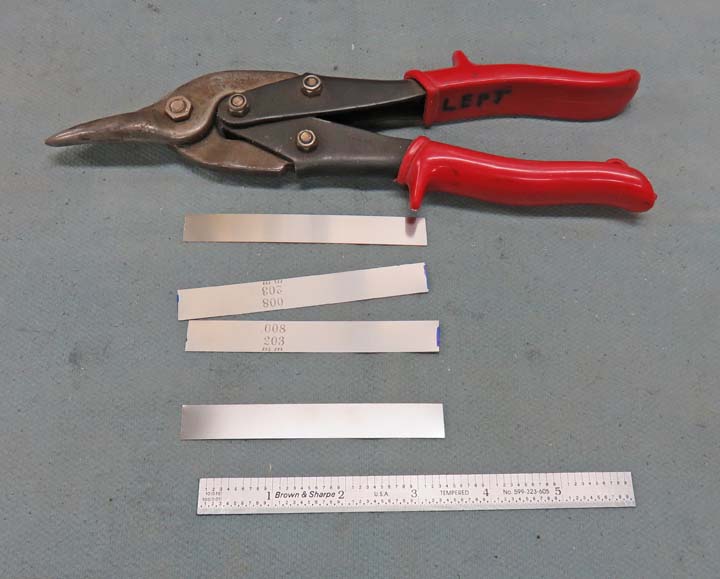
Remember all those pins I put into those 5" diameter
wood pieces? Well after playing with different size feeler gages, I
found that using two .008" gages worked out pretty good. Once I knew
that, I bought a few feet of .008" thick shim stock. The material is
stainless steel and is in the full hard condition.
|
|
 |
I cut each piece 3 1/2" long using some tin snips.
|
|
 |
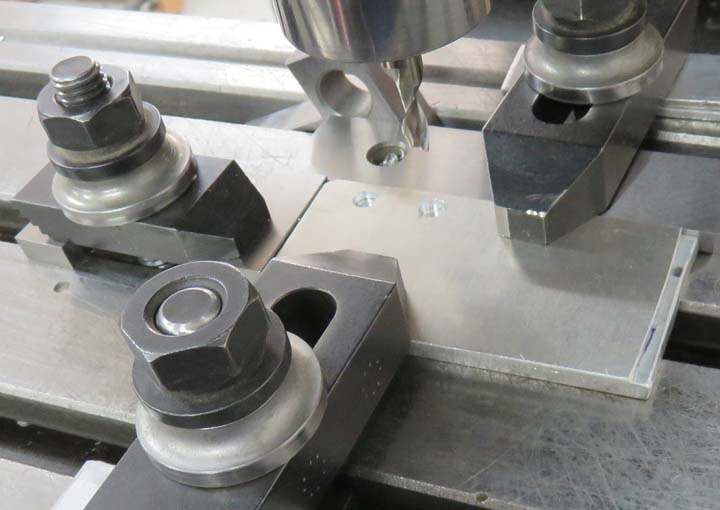
Next I used a 1/4" diameter end mill to put some holes in the shims. I
used some aluminum for my tooling.
|
|
 |
|
1
2
3
4
5
6
7
8
9
10
11
12
13 |