|
Working With Wood Continued
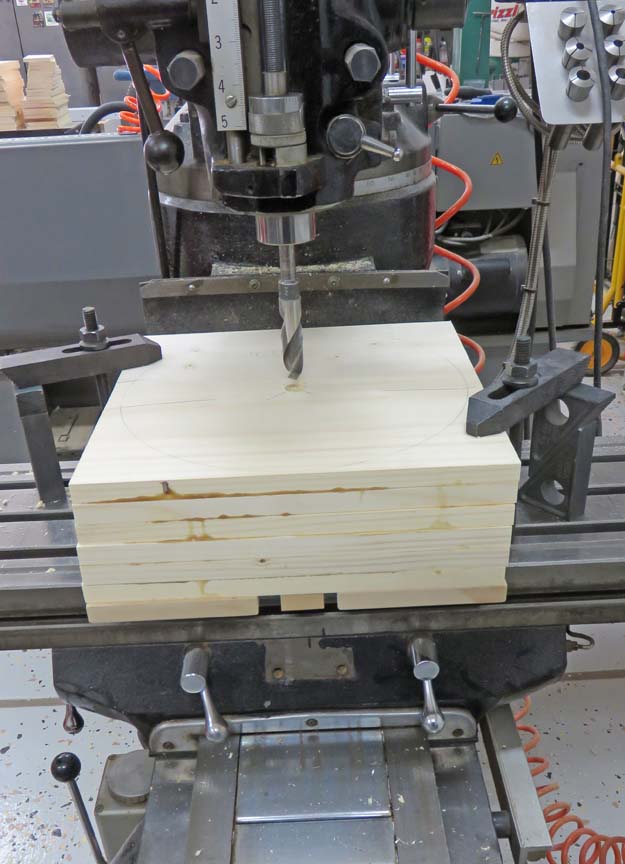
Here I'm using a 3/4" drill and going all the way
through. Notice the three pieces of wood underneath. These are made out
of MDF and the center one is used to drill into so there is a limited
amount of tear out. Twist drills like these are notorious for tearing the
wood when they exit your work piece.
|
|
 |
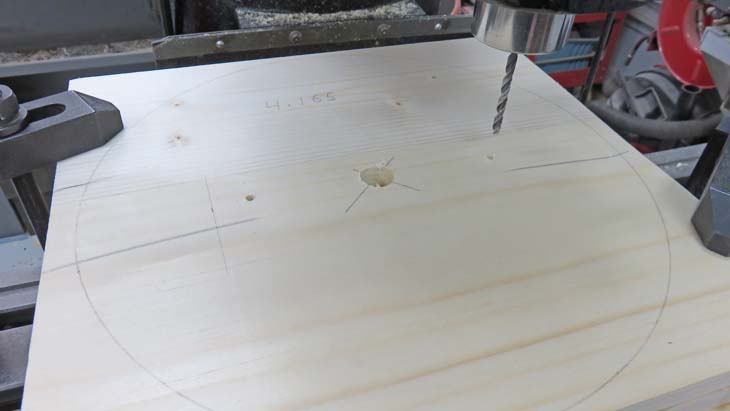
Next I drilled two pilot holes for some
screws. These screws will be used to help "drive" my work piece when I
turn it on the lathe.
|
|
 |
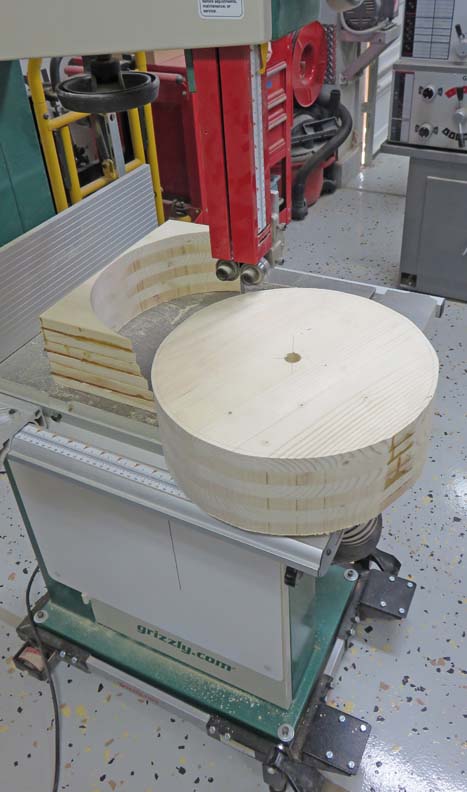
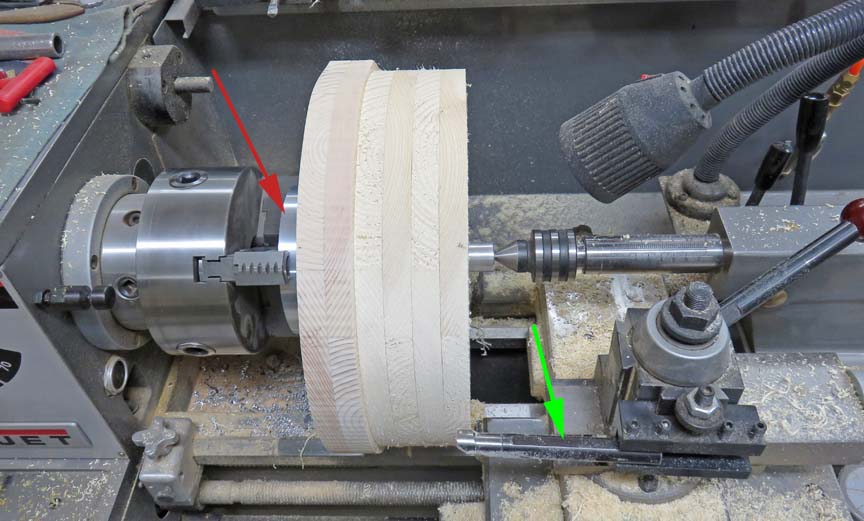
I used my bandsaw to cut near the line, leaving me a small amount of
stock to turn.
|
|
 |
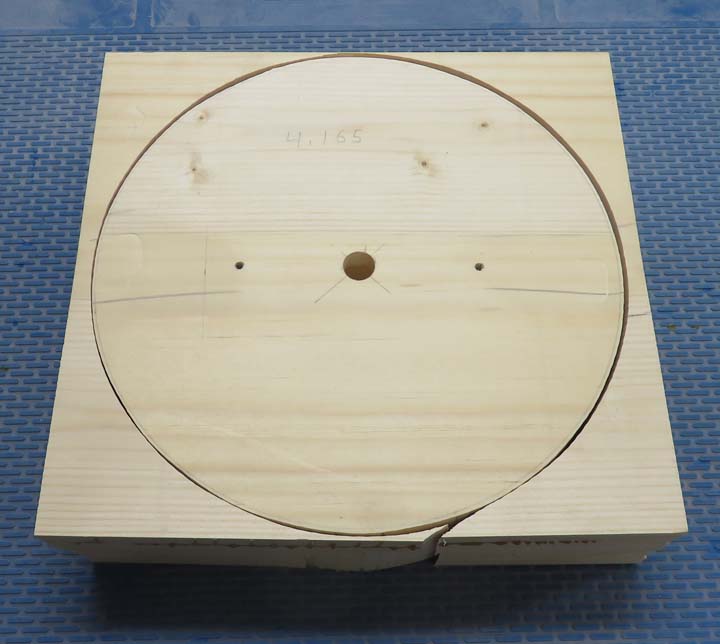
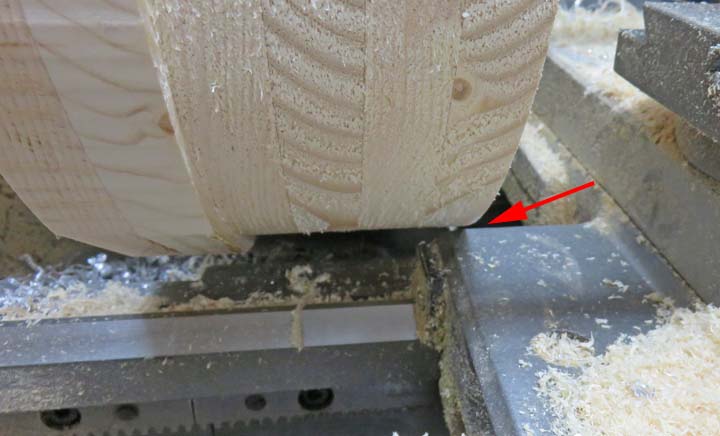
Her is a close-up of another one.
|
|
 |
|
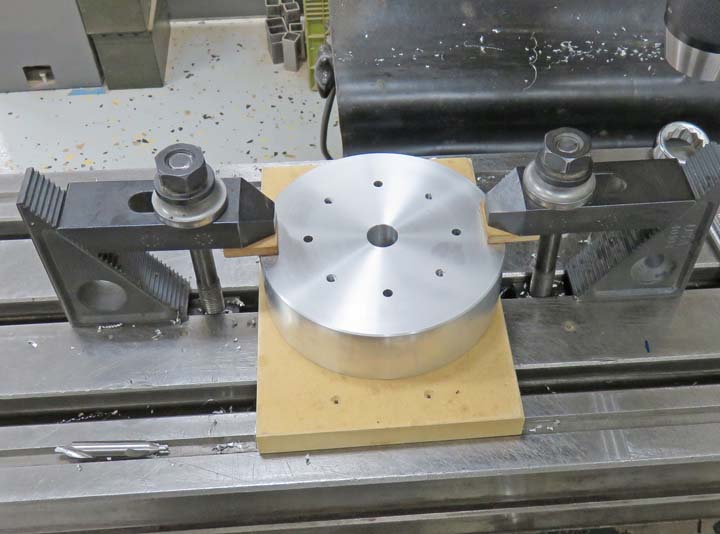
Making Tooling
Here I'm making a turning fixture for my lock wheels. The diameter is
about five inches which is the largest piece of tooling I had laying
around.
|
|
 |
Here I'm putting in some holes, four are tapped and the others are
clearance for some #8 drywall screws. This fixture will help me turn my
larger pieces, along with some smaller ones that I'll show you later.
|
|
 |
|
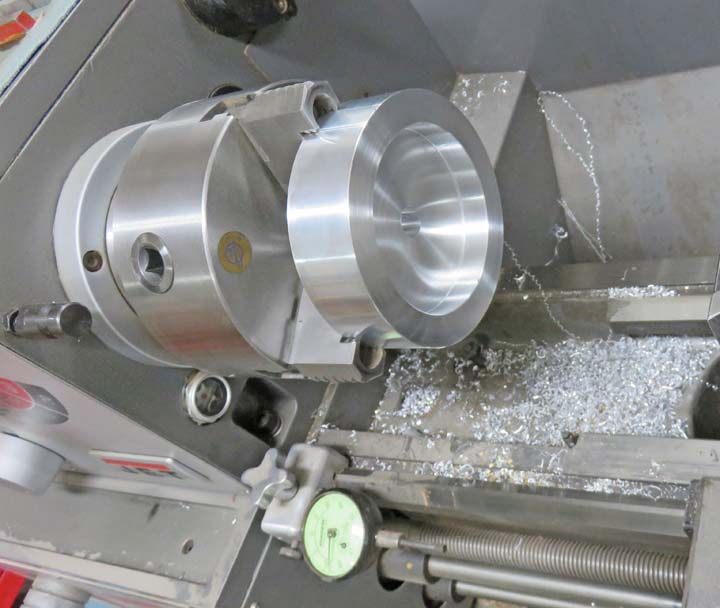
Working With Wood Again
The red arrow is pointing to my fixture that I just made
which is held in my three jaw chuck. What you can't see are the two
screws going through my fixture and into my work piece. And like I said
earlier, these screws are used to 'drive' my work piece so I can machine
it without it slipping.
Also notice the live center on the other side of my work
piece. This is to help stabilize my work with the help of that
smaller aluminum piece in the 3/4" hole.
Now I wasn't able to use a conventional turning tool to
machine this large work piece, because it has exceeded the capacity of
my lathe. So what I came up with is NOT a normal way of cutting
something and if this were anything other than wood, I probably would
not have
attempted it. The green arrow is pointing to a boring bar mounted on the
outside of my tool-rest. Now this is the first time I've done something
like this but I had no choice because there was no other way that I knew of.
|
|
 |
|
I wasn't able to use my power-feed like I would normally
because of clearance issues. So I had turn my compound rest parallel to
my Z axis and then use my cross slide to cut my work piece (arrow).
This method ended up working but it wasn't a very good setup I'll tell you
that.
|
|
 |
The diameter that you see here is right at 12.00" and it's just clearing
my carriage (arrow). And as you can see I wasn't able to cut the entire
length either.
|
|
 |
|
I switched to a longer boring bar which worked a little
better than the other one. However, I still had to use my cross slide to
cut the full length, which is not ideal at all. And once I had the
diameter that I wanted, I noticed that it had some run-out on the sides. That's not
good because I'll be making a trim-plate for this later and I want that
plate to ride as close as I can to the sides so you can't see behind it.
Time for plan B.
|
|
 |
|
1
2
3
4
5
6
7
8
9
10
11
12
13 |