|
Reed Switches Continued
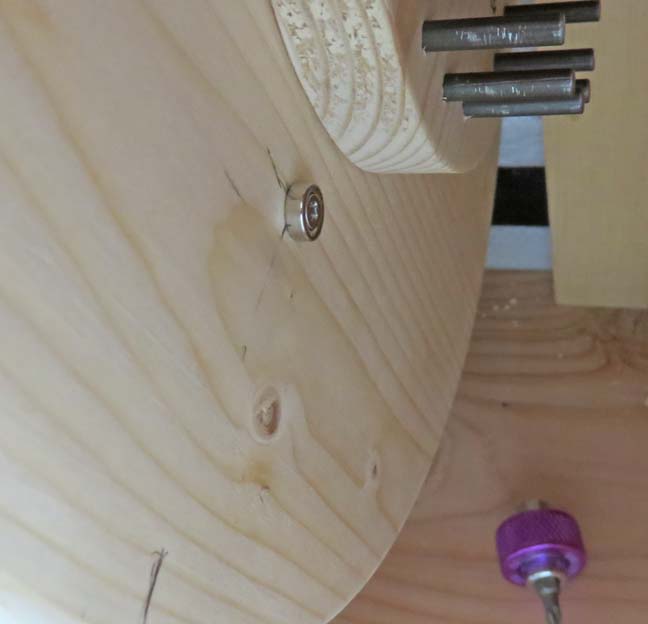
Here is a close-up of the magnet. Now I've used this kind of magnet
for other projects and they worked great. And after testing these, I had
no issues with them and everything performed flawless.
|
|
 |
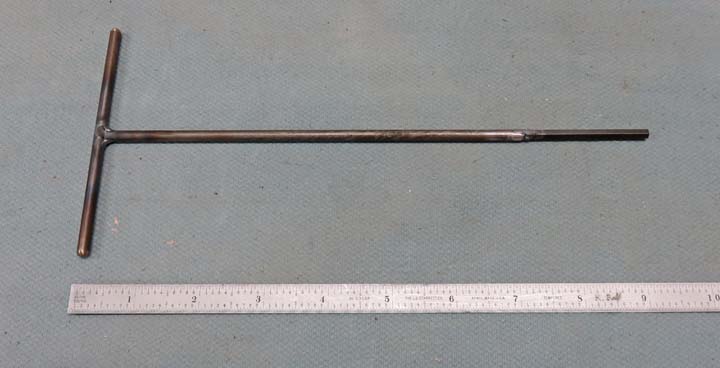
| Extended Hex Wrench
I was having a hard time trying to tighten and loosen
the collars that hold the wheels from moving side-to-side with a normal
sized hex wrench so I made an extended one to make my life easer. This
wrench will be used a few times because I've have to assembly/disassemble
everything as I paint. I'll give this to the kids just in case they have
to adjust something.
|
|
 |
|
Painting
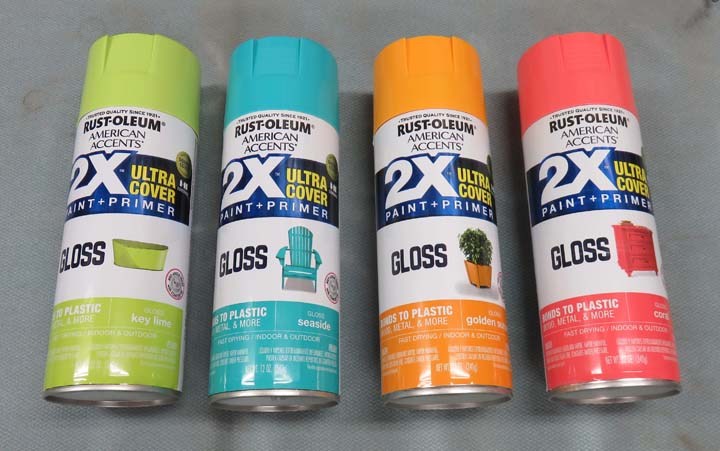
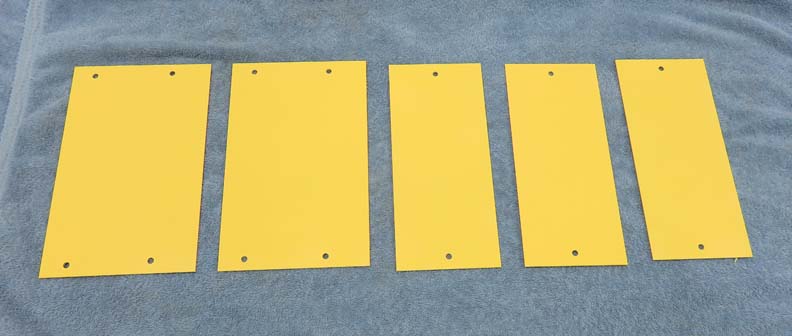
Here is what my daughter came up with for wheel colors. They're not
super bright, which is what she was after and they all have a gloss
sheen. This will make cleaning them much easier when people use them.
|
|
 |
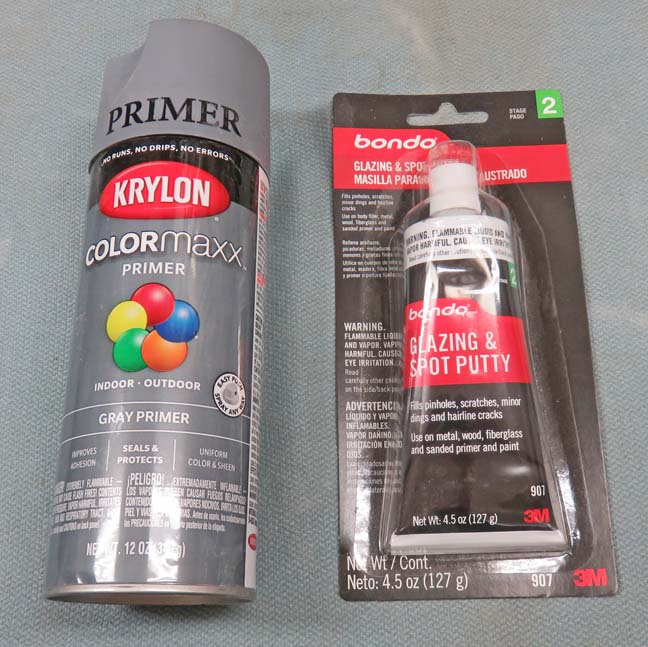
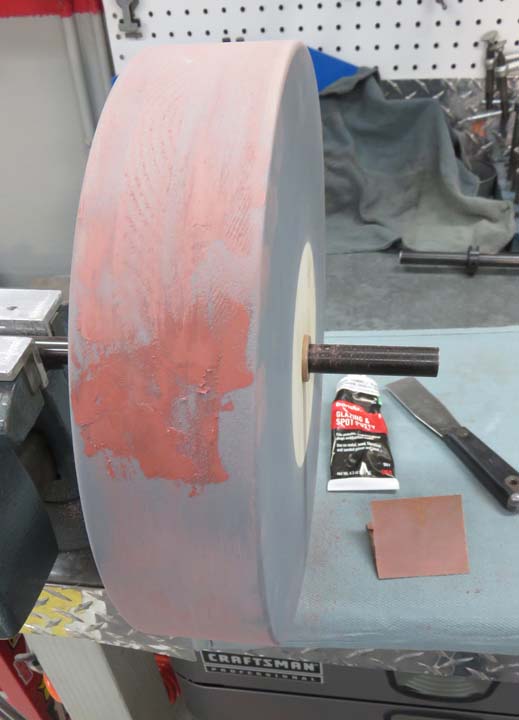
Before any paint is applied, I'll need to apply some primer. Then I'll
fill some end grain and some pin holes on the pine using the glazing putty. After that is
when I'll be sanding...lots of sanding.
|
|
 |
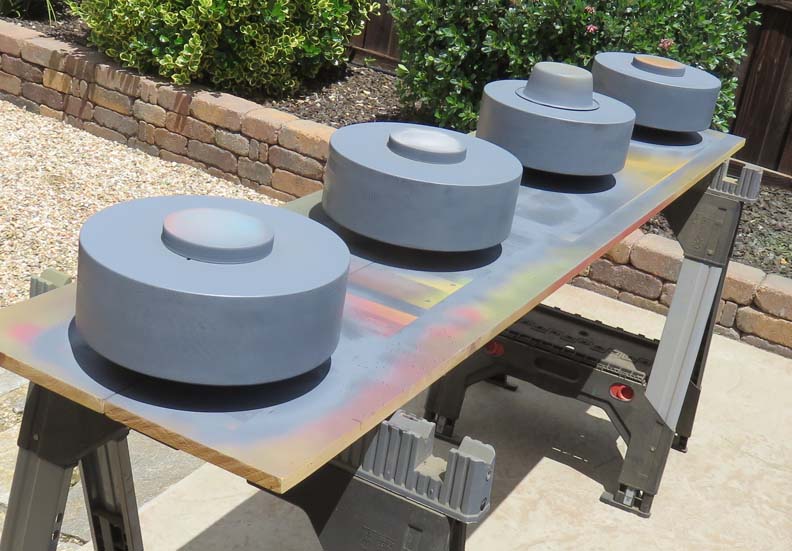
I shot two coats of primer on the aluminum trim pieces and then lightly
sanded them.
|
|
 |
The next day I applied some paint. I didn't take a picture of
this product but it's the same as the others, Rust-Oleum 2X.
|
|
 |
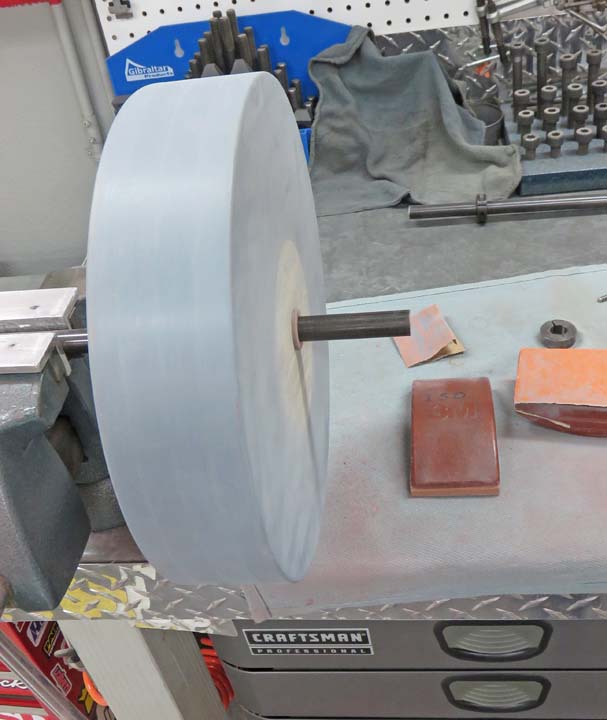
As the paint was drying on the yellow pieces, I was sanding on both sets of wheels. This is
the wider one and as you can see, I have lots of glazing putty on it.
|
|
 |
I would do a bunch of sanding, blow them off, apply three coats of
primer, wait till the next day, and then start sanding again.
|
|
 |
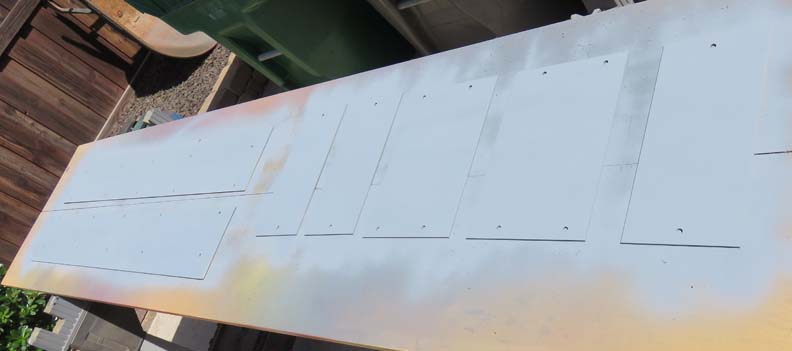
Here is what it looks like once I had all the pin holes and edge grain
filled and sanded. This one is ready for paint which took hours to get
like this.
|
|
 |
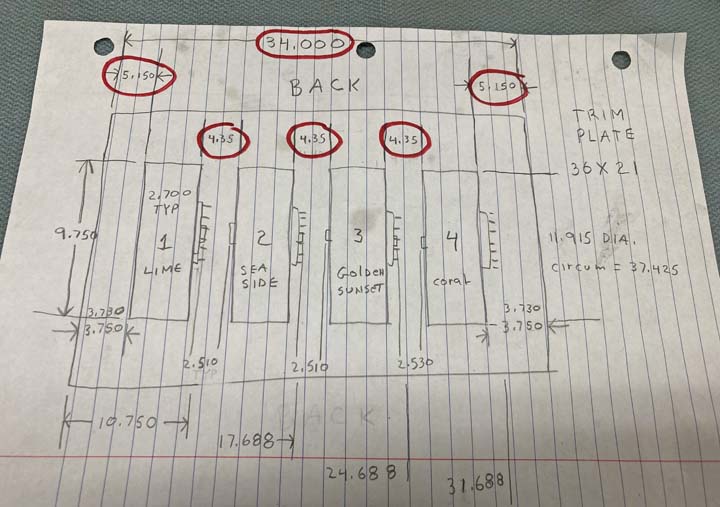
I made a sketch so I could keep track of some key dimensions. And this
came in handy when I did my reassembly.
|
 |
|
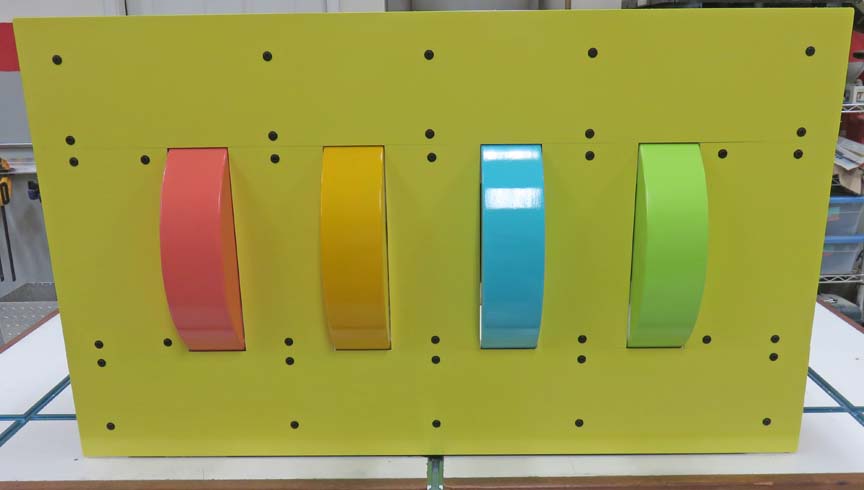
It's Finished
Here is the smaller one that is all finished, except for the images
that need to be painted on each wheel.
|
|
 |
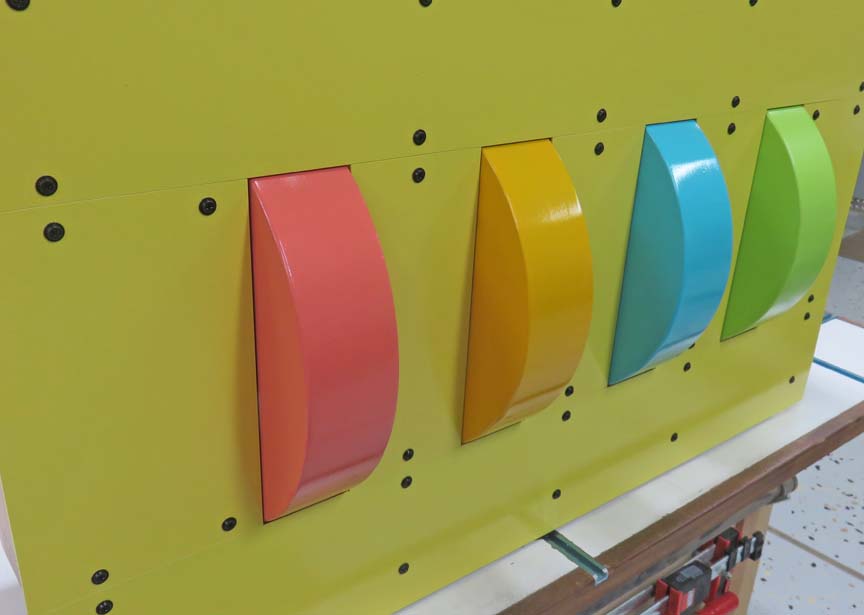
As you can see there is minimal clearance between each wheel and trim
plates. This will help hide the workings on the back side. Now it's time
to apply some images with the help of my daughter Angela.
|
 |
|
1
2
3
4
5
6
7
8
9
10
11
12
13 |