|
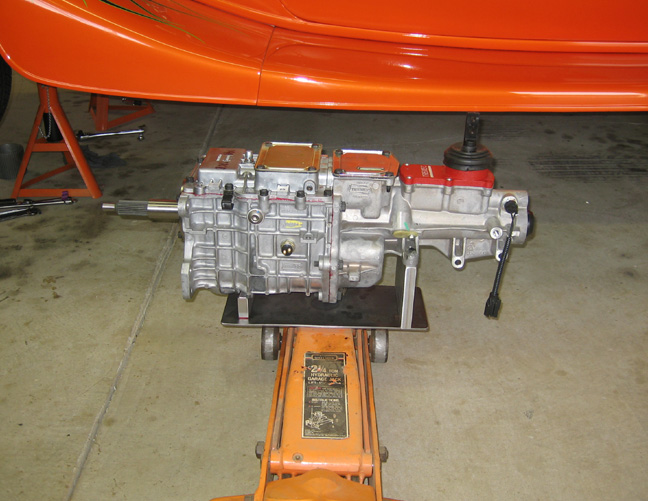
Here is what it looks like sitting my jack now. It's a little nose
heavy but with the use of a clamp placed over the plate and jack, it
sits pretty good. Without the clamp it wants to sit at an angle but it
wouldn't fall off the jack because if you remember I welded a spud to
the bottom of that plate.
|
|
 |
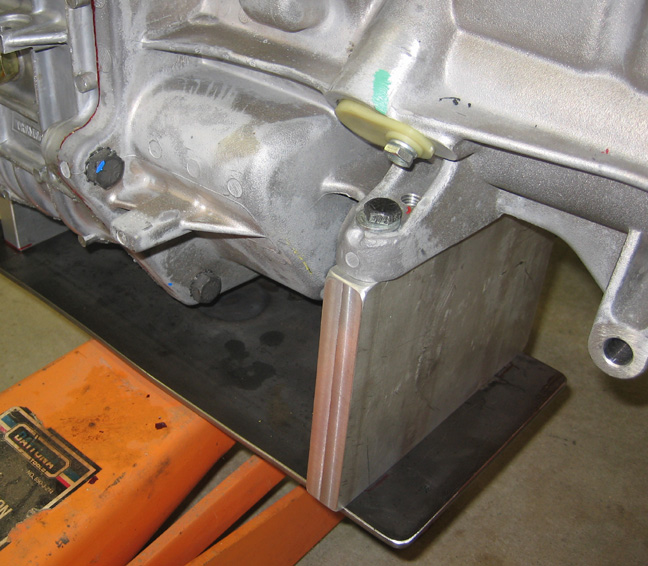
I tapped a 5/16-18" hole in the rear block and then used
a bolt on one side of the trans mount so it stays put while I'm wiggling
it into place. The trans mount hole size is much larger so this bolt
slips right through. Just a little insurance because you never know!
|
|
 |
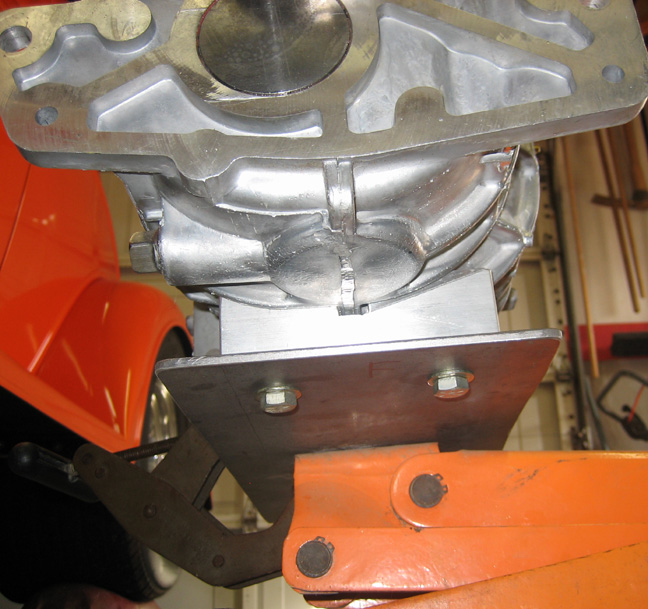
Here you can see the front block sitting between the casting ribs along
with two 3/8" bolts holding the block in place. The rear block has the
same size bolts and you can also see the clamp I'm using to hold it
level.
|
|
 |
|
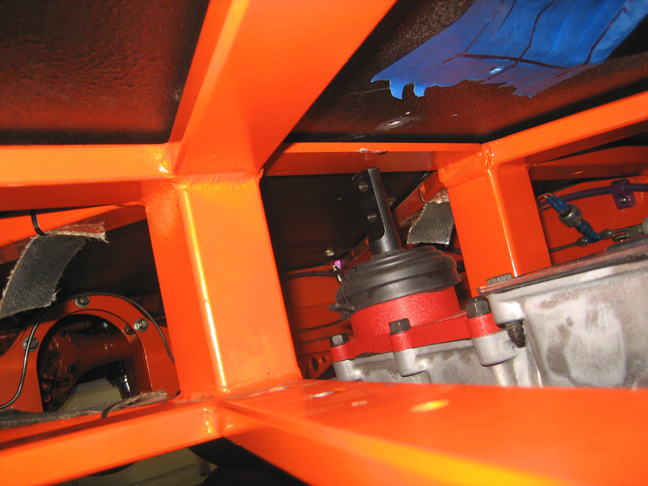
I had to try out my new jack to see what kind of clearance issues I had
and quickly found out the shifter was going to hit the chassis first. At
this point the trans wasn't even close to bolting up so the first thing
I did was remove the shifter from the trans. It's held on by six bolts
along with some sealant and was simple to remove.
With the shifter out of the way I tried it again but it didn't go
much better. I had all kinds of new clearance problems now so it's time
for a different plan.
|
|
 |
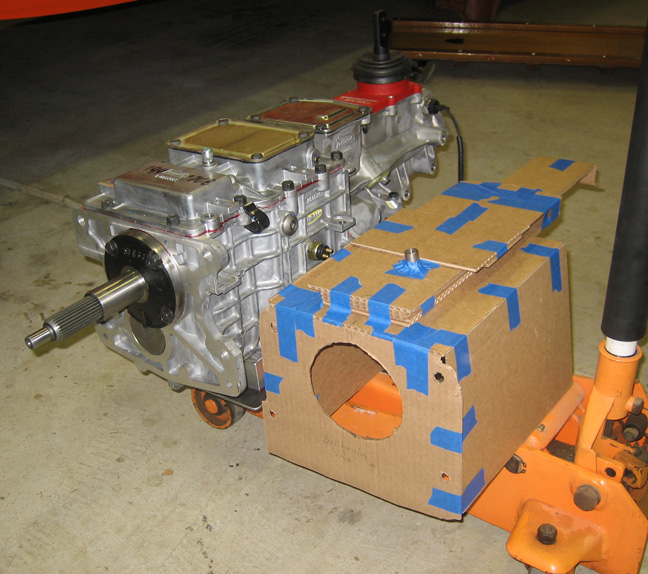
To help me with some of the clearance issues, I made this
cardboard replica to scale. I call it my timesaver because I can lift it
into place and see where something might not fit and take care it
without lifting the real one. It worked pretty good as I found a few
places that needed to be hacked on.
|
|
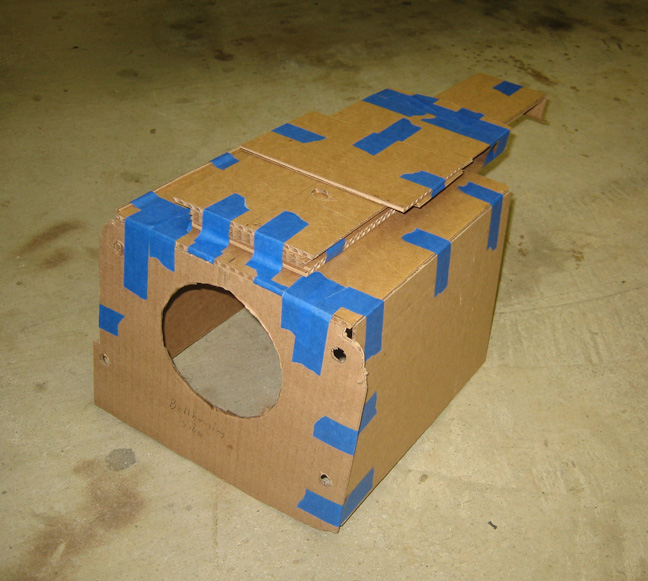 |
It didn't take very long to make and if you look close you can also see
four holes so I can fasten it to the scatter shield. With it bolted in
place I was able to layout some areas that needed to be worked on.
|
|
 |
|
1
2
3
4
5
6
7
8
9
10
11
12
13
14
15
16
17
18
19
20
21
22
23
24
25
26
27
28
|
|
29
30
31
32
33
34
35
36
37
38
39
40
41
42
43
44
45
46
47
48
49
50
51
52
53 |
|
54
55
56
57
58
59
60
61
62
63 |