|
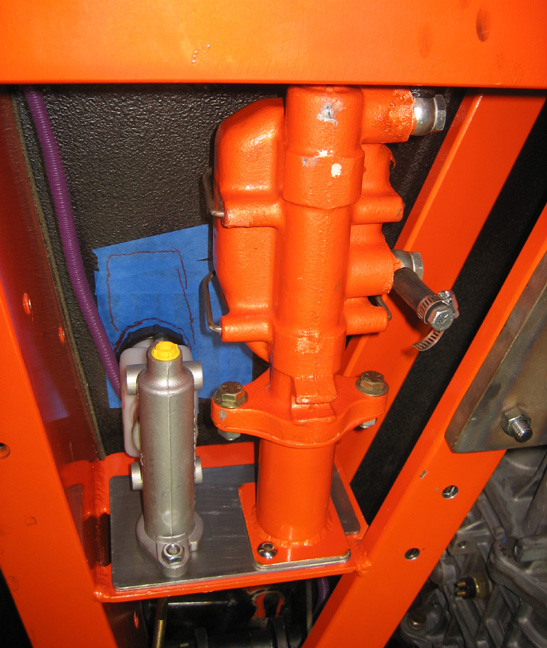
March 31st. I need to find a way to get the
cap off my clutch master cylinder because it's right against the floor
of the car. I figure that I need a little less than 1/2" to make this
happen so what I came up with was to make some clearance in the floor
around the cap. The floor on the car is about 3/4" thick so if I'm
careful, I won't go through it. You can see that I have laid out an area
that needs to be cut away here. I thought about cutting out the area to
the right of it but that would be harder to access so this seemed to be
the logical choice. Time to get out the Dremal and make some fiberglass
fly.
|
|
 |
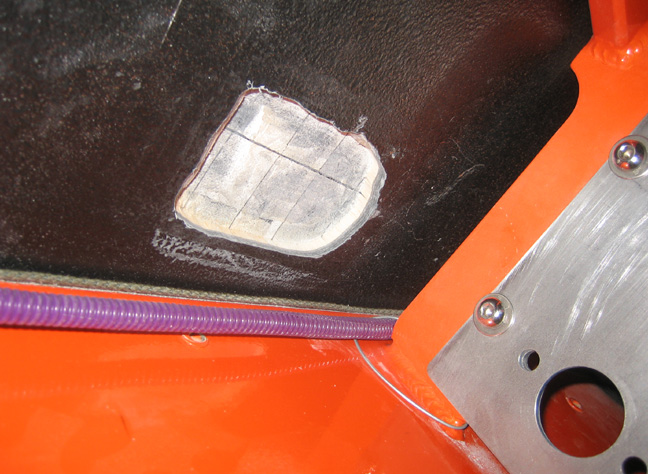
Here you can see what it looks like which didn't come out
to bad. On the other hand I can't say the same about my Dremal because
it quit on me about half way through. I had to finish it off with my
rotary air tool which works great but makes a bigger mess. I've had that
Dremal for a long time and it has done a ton of work for me so it's time
to buy another one because they're pretty handy.
|
|
 |
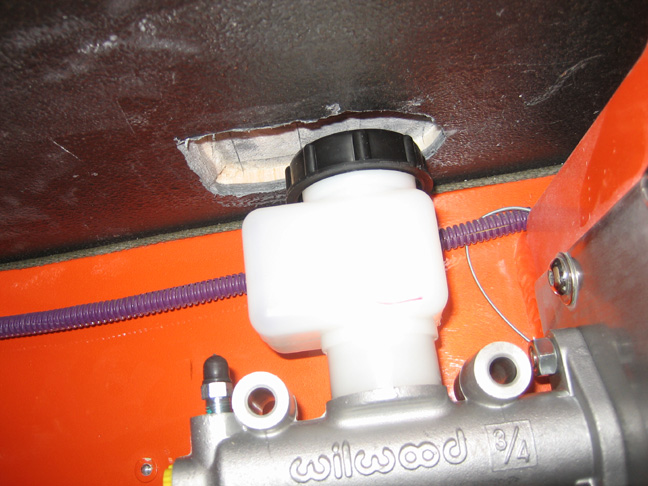
You can see how much clearance I have now and it seems to work just
fine. The cut-out is about 7/16" deep and notice I put a small chamfer
on the end to help get the cap in and out.
|
|
 |
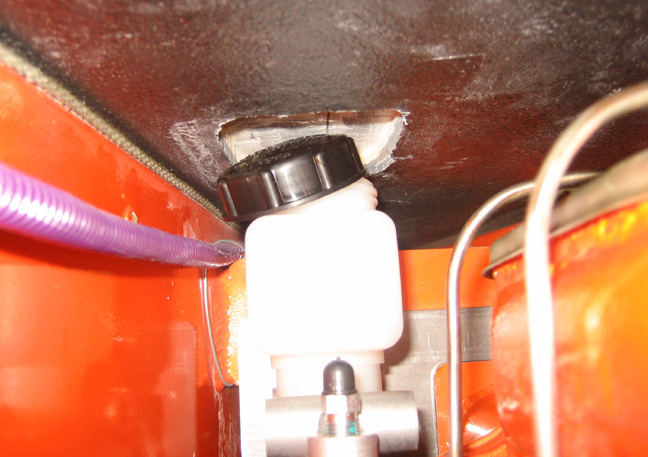
Here you can see the amount of clearance I have which is more than
enough. To fill the reservoir shouldn't be to bad because I was use to
my brake master cylinder being this close to the floor for years. To
check how much fluid the clutch has will be easy because you can see
through it but not so for the brakes. To do the brakes required a mirror
and it still will but with some added clearance now that it's been
relocated downward a small amount.
|
|
|
|
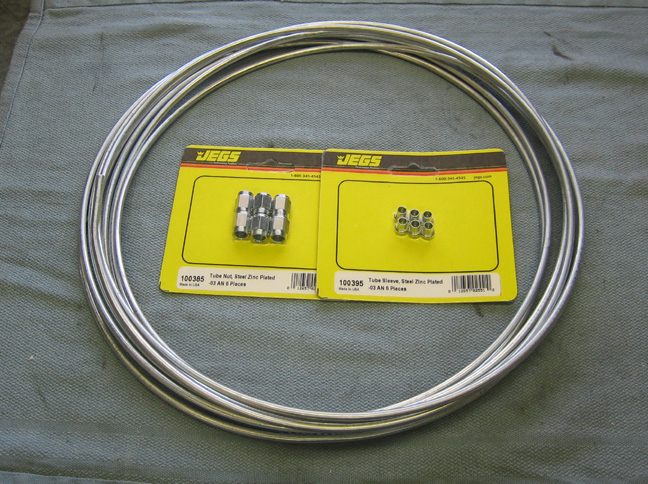
Now that the master cylinders are in place, it's time to make some new
hard lines for both of them. I bought 20 feet of 3/16" stainless steel
tubing along with some -3 AN fittings which should be more than enough
to do what I need. For those of you that don't know what AN stands for,
it's 'Army Navy'. The military came up with this standard many years ago
which have a numbering system from -1 to -16. Each number equals 1/16"
with a -16 equaling 1.000". And in my case a -3 equals 3/16".
I've had these parts for a week or so but after taking the tubing out
of the package, I noticed something that didn't look right. The fittings
seem to be just fine but the stainless steel tubing turning out to be
galvanized steel. I should've checked this right when it came in because
I could've exchanged it by now.
I got on the phone right away and talked to Jeg's about my problem
and they were very nice. The company that makes the galvanized tubing is
Stainless Steel Brake Company but when you are looking on their website,
it says Stainless Steel Brake which made me believe it was made out of
stainless. It was my fault but they said they would send out the right
stuff with no shipping charges and I'd have it in three days. Sounds
pretty good to me and now I play the waiting game till Friday or
Saturday.
To keep me busy while I'm waiting, I still need to make some pushrods
for both master cylinders so that will be the next project.
|
|
 |
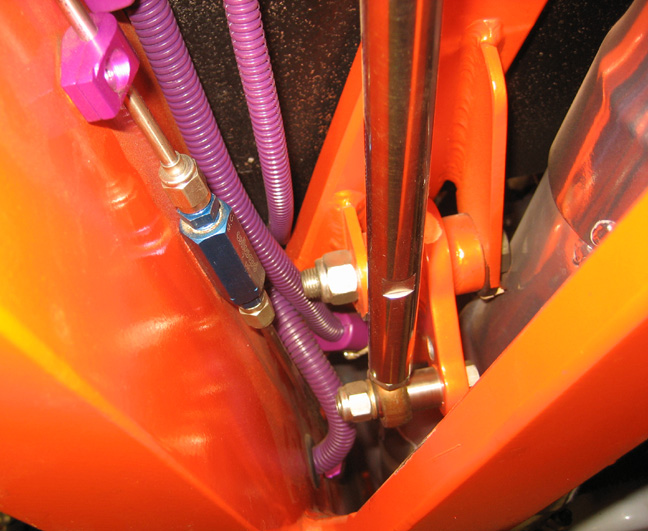
What you see here is my old brake pushrod that I made years ago which
I'm going to reuse for my new one. Now that my pedals have been
relocated rearward a few inches, I won't need it to be as long which
means I'll need to modify it a little.
|
|
|
|
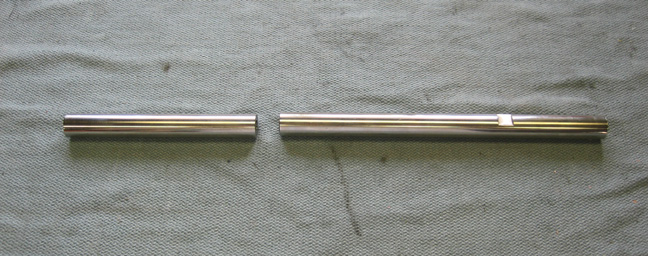
After measuring how much I needed, I cut it in two and
will use the piece on the right. It's made out of stainless steel bar
stock which is 5/8" diameter and it was drilled all the way through (to
make it lighter) which is accentually a piece of tubing now. One end
will have 3/8-24 left-hand threads to fit a rod-end that connects to the
pedal and the other will have 3/8-24 right-hand threads to fit another
mating part.
|
|
|
|
1
2
3
4
5
6
7
8
9
10
11
12
13
14
15
16
17
18
19
20
21
22
23
24
25
26
27
28
|
|
29
30
31
32
33
34
35
36
37
38
39
40
41
42
43
44
45
46
47
48
49
50
51
52
53 |
|
54
55
56
57
58
59
60
61
62
63 |