|
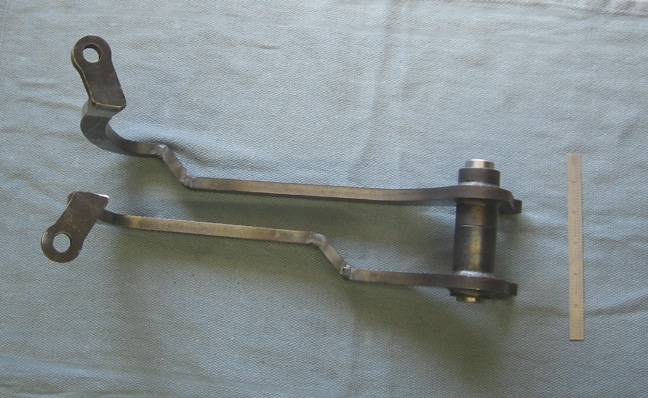
The next thing that needs to be done is to shorten the pivot pin a
small amount. After I cut the .400" off the pivot boss of the clutch
pedal, the pin is that much to long now. But before I do that I need to
weld the boss onto the chassis that a 1/2-20 bolt gets threaded into.
This bolt runs through the pivot pin that you see installed in the
pedals below and through the new bracket that I just welded on that was
2.5" farther back on my X member. If you're wondering what I'm going to
do about that pin being to long, I'll be making a spacer for it but I
don't know how long it needs to be yet. Once the boss is
welded on I'll be able to measure things and find that dimension.
|
|
 |
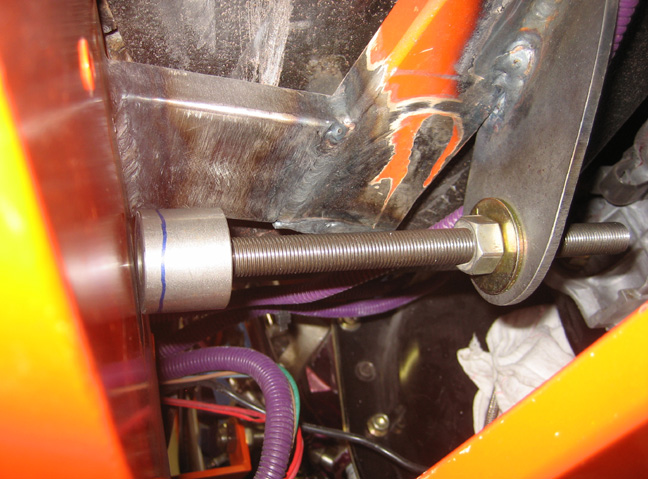
| Here is the boss against the frame but notice
there's a gap that needs to be addressed first. The reason for this is
because the bracket isn't
parallel to the frame so what I need to do is mill a taper on the end of
the boss to match the frame. I'm using a piece of 1/2-20 all-thread with
a nut and washer on both sides of the bracket to hold it in place. Once the nuts are
tightened the all-thread becomes square to the bracket and locates the
boss correctly.
What I needed to do was measure the distance between the boss and
chassis so I could trig out the angle that I needed. The max gap was
that you see here is .145" to .150" and with the boss being 1.250" in diameter,
my angle that I needed was just over 6 1/2 degrees. Time to do some
milling.
|
|
 |
|
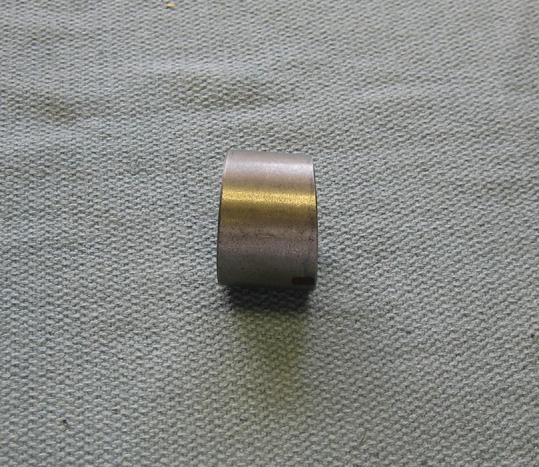
Here is the boss with 6 1/2 degrees of taper on it and I shortened it by
.100" as well. The reason I shortened it was because it started out
being 1.000" long and with a 1/2" bolt being used here, there was no
need to have all those extra threads.
The rule of thumb on threads are this; you're only as strong as your
fasteners diameter plus one thread. In other words if you had a 1/2"
bolt threaded into a piece two inches deep, it wouldn't be any stronger
than if it were threaded into a depth of 1/2" plus one more thread (
or.050). So if you do the math here the minimum depth to get you the max
holding power would be .550" of thread engagement. Just in case you
wanted to know!
|
|
 |
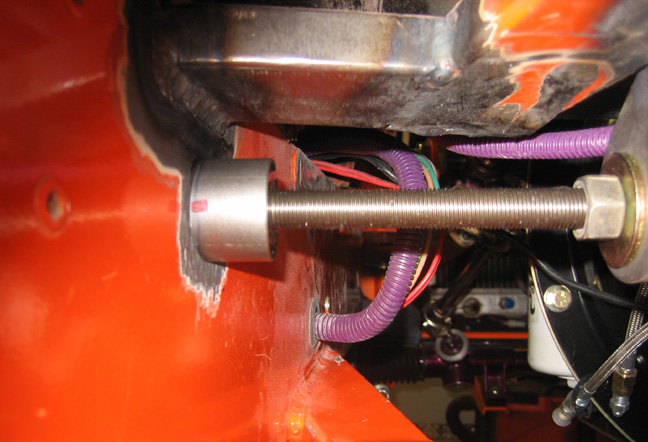
Here is the boss all ready to be welded in place. The red mark that you
see is the highest point of the boss which is just for reference. I'll
leave the threaded rod in place during the welding process which should
help keep it in the right spot. The only problem that I can see here is
that I don't think I can weld the top portion of the boss because I
don't have enough room.
|
|
 |
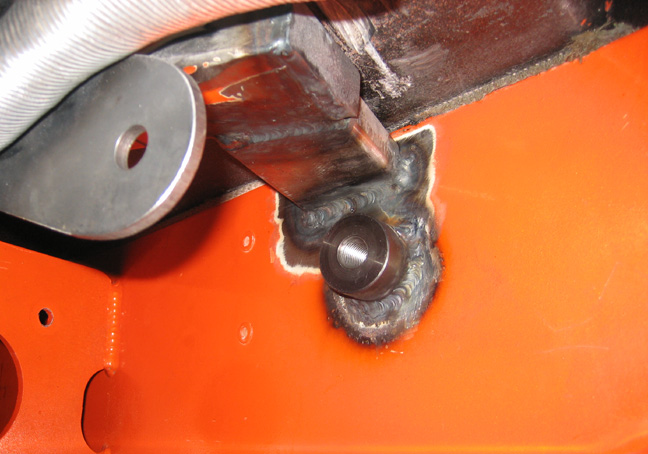
It's welded on but I was right, I wasn't able to go all the way around
it. I was able to get over 3/4 of it but I couldn't see the top with the
body on and the trans didn't help being in the way either. I'm pretty
sure it will be fine though.
|
|
 |
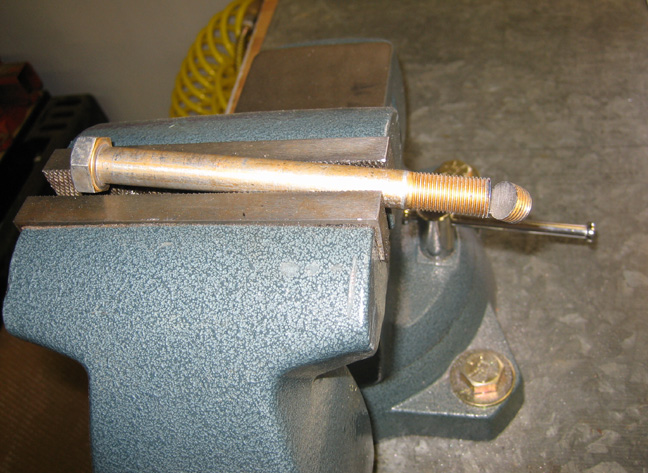
This is the 1/2-20 (fine thread) bolt that will hold the pedals on with.
What I had to do was cut a small amount off the end which is no usually
no big deal but when it's a grade 8 fastener, you have to approach it a
little differently. What I mean is most hardware has been heat treated
but grade 8 hardware is one of the toughest out there. That means when
you're ready to get your hacksaw out and start cutting you'll need to
remember one thing, 'speed kills'. All you have to do while cutting
something hardened is to go slow with your strokes. If you run your
hacksaw blade through something like this fast then the blade won't last
but if you take your time and slow way down, your blade will last a lot
longer. Now if it's something softer like mild steel then you can get
after it much faster and if it's aluminum then there is no limit to how
fast you can go.
|
|
 |
|
1
2
3
4
5
6
7
8
9
10
11
12
13
14
15
16
17
18
19
20
21
22
23
24
25
26
27
28
|
|
29
30
31
32
33
34
35
36
37
38
39
40
41
42
43
44
45
46
47
48
49
50
51
52
53 |
|
54
55
56
57
58
59
60
61
62
63 |